Hello, welcome to my blog!!
I want to start out by thanking everyone for the support and nice comments you all leave for me. I truly appreciate the support of this blog!! I enjoy card making and bringing my creations to you, this wouldn't be possible without your support, so again, thank you!!!
***I wanted to make you aware of the sales going on over at Scrapbookcom. They are offering 15% - 50% off all stamping and stamping supplies! They are also offering a free add-on with any purchase. You can receive the Waffle Flower Cloud Magnetic Storage Card, just click on the "coupon" section of the website and add it to your order *this free add on is good through today only. They are also offering a free "Layered Blossoms" stamp set with any $40.00 or more purchase, again click on the "coupon" section of the website and add it to your order. I have a banner located at the lower right side of my blog that takes you directly to the website.
Today I am sharing a very simple water colored card with you. I kept this card clean and simple using the The Best Flowers stamp set from the newest card kit from Gina K. Designs. This kit is currently sold out but will be back in stock very soon. If you are interested in this kit, you can click HERE then click on the "notify me" button to be notified when it is back in stock. I will also be using the Master Layouts 1 Die Set which are also currently sold out but again, will be back in stock soon. You can click HERE then click on the "notify me" button to be notified when they are back in stock. These dies are so easy to use and give you the perfect mat when layered together. Gina says there will be more dies in this line coming in July, I'm so excited!! I will be using Gina's inks for my water coloring as well as coordinating cardstock. Let's get started!!

I will be doing all of my work today on my Tim Holtz Glass Media Mat.
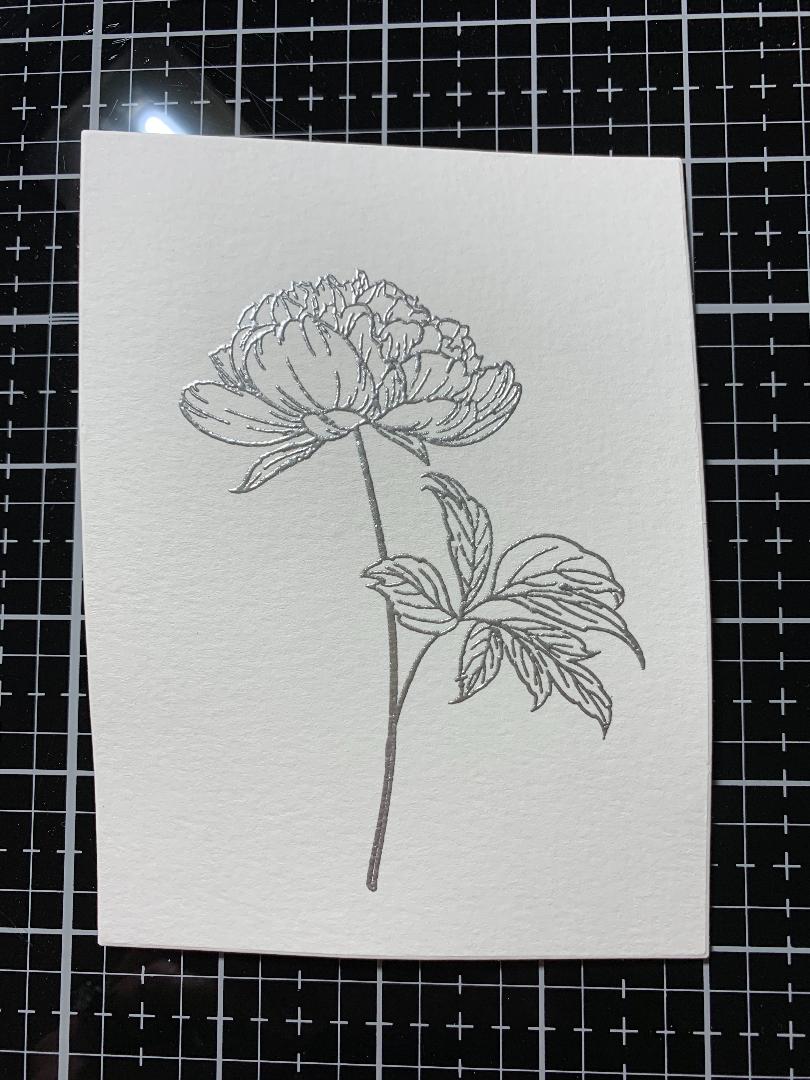
To start, I take the smaller rectangle die from the Master Layouts 1 Die Set and cut out of Water Color Cardstock, running them through my Big Shot Die Cut Machine. I then place my panel into my MISTI Stamp Positioner and prep it using my Anti Static Powder Bag. I choose an image from The Best Flowers Stamp Set and stamp it onto my panel using Versamark Embossing Ink. I add Detail Silver Embossing Powder and heat set with my Heat Tool.


Next, I press some ink onto the white area of my Glass Mat and use this as my palette. I will be using two Water Brushes to do my coloring, one for wetting and blending, the other for adding ink. To start my coloring, I wet a petal then add Sea Glass Ink to the base of the petal. I then blend the color out towards the end of the petal. I repeat this process for all of the petals.


I now add Turquoise Sea Ink to the base of the petal and blend out about half way towards the end of each petal.


To add more depth, I add a little Blue Lagoon Ink to the base of the petals, keeping the color concentrated at the base of the petals and also where petals overlap.

Next, I wet a leaf then add Jelly Bean Green Ink and blend out towards the ends. I repeat the process for each leaf. For a little contrast, I add Fresh Asparagus Ink to the base and blend out through the veins until all leaves are colored.


After all of my water coloring is finished, I place the panel into my MISTI. I then choose a greeting from the Natural Silhouette Stamp Set and stamp it onto the lower portion of my panel using Black Onyx Ink. *I lined this greeting up over the embossed stem making sure the words would stamp on either side onto the cardstock.


I now take the bigger die from the Master Layouts 1 Die Set and cut out of Black Onyx Cardstock, running them through my Big Shot.

Using Terrific Tape, I adhere my water colored panel onto the black panel. For a little dimension, I add Foam Tape to the back then mount onto a Sea Glass Cardstock card base and this completes my card.


I hope you enjoyed today's card and the simplicity of it. I thought about adding some ink blending around the flower but decided to leave it as is. There's just something about the crispness of a plain white background, sometimes less is more!
If this is the first time visiting my blog, welcome and I hope you return. If you are a returning visitor, thank you so much for your support!
Should you have any questions or comments please leave them in the comments section. I'd love to hear from you and what you thought about today's card.
If you would like to be notified by email each time I post something new to my blog, you can click on the subscribe button at the top of the page. There is also a follow button that you can click on located below my profile if you would like to follow my blog.
Thank you for visiting and I hope you come back soon!
Happy Stamping and God bless!!
Jeannie
Love it! A beautiful card and great directions with pictures. It is like having a video and watching you make it. I love that you tell us all the details so we don't have to guess which size dies you used. Thanks so much for great tutorials.
ReplyDeleteThank you so much Nana!! I'm happy you enjoy my blog!!
Delete