Hello, welcome to my blog!!
I want to start out by thanking everyone for the support and nice comments you all leave for me. I truly appreciate the support of this blog!! I enjoy card making and bringing my creations to you, this wouldn't be possible without your support, so again, thank you!! *Affiliate links are used at no additional cost to you. When you purchase products through my links I receive a small commission from these sales, thank you so much for your support, it is greatly appreciated!!
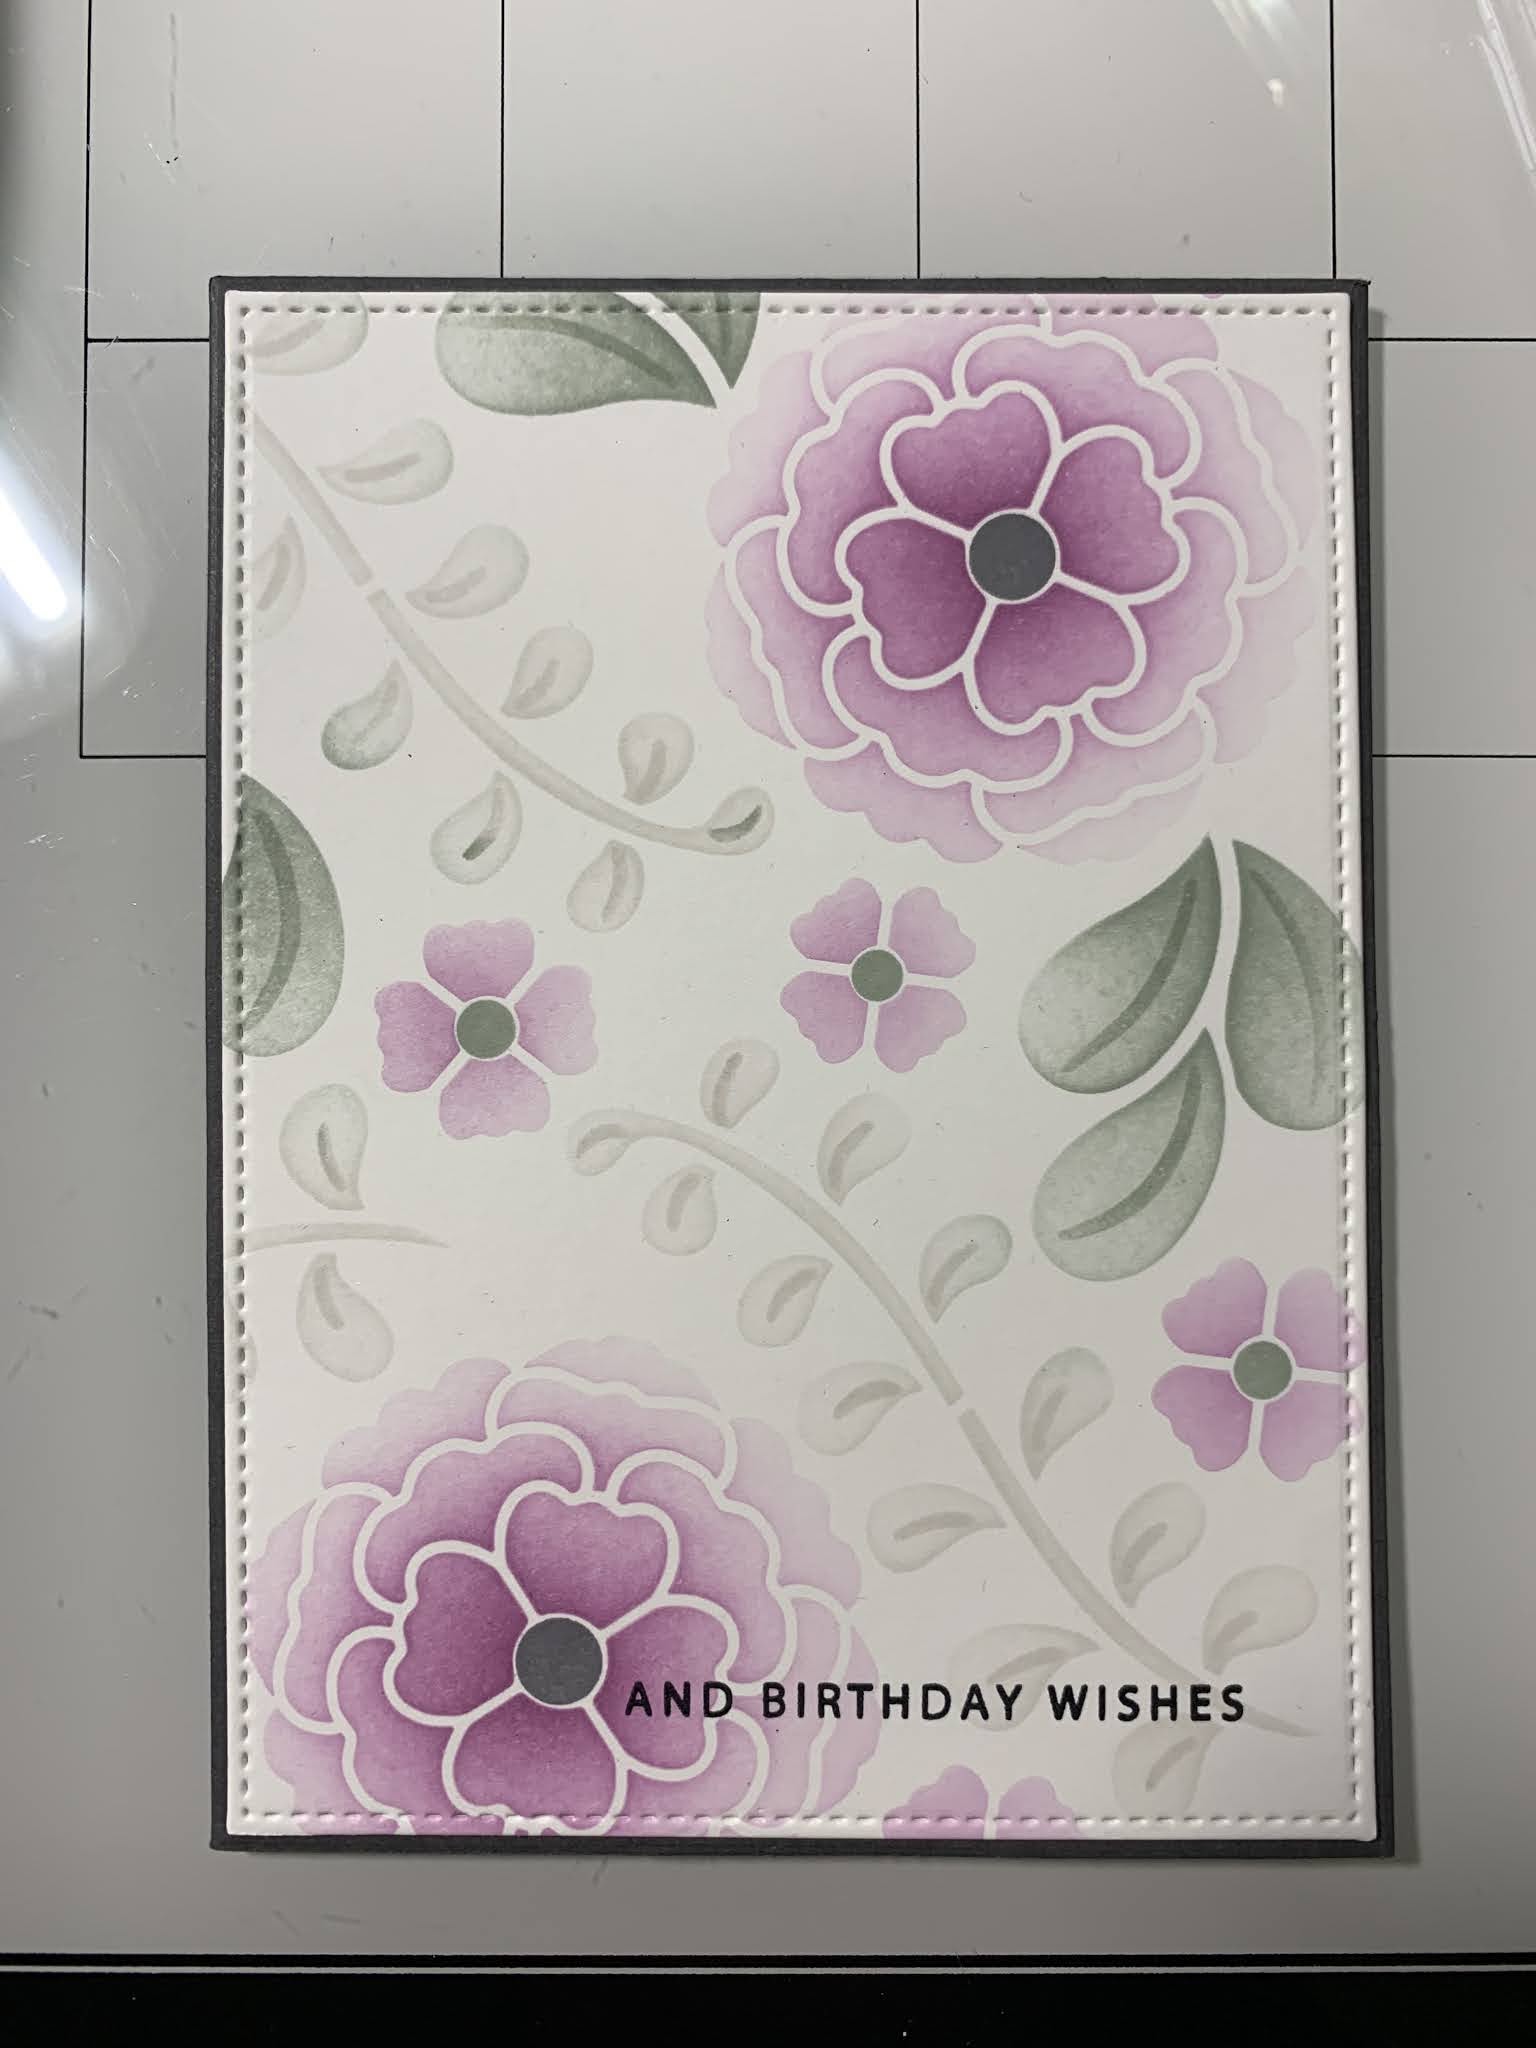
For everyone that has been waiting for the A Little Love Layering Stencil Bundle - from Gina K. Designs, it is now back in stock!!! ***This "Love die" is also available for purchase on it's own! Love And Shadow Die Also back in stock are the Blending Brushes!! I used the stencil bundle to create today's card by doing simple blending and adding dimension with stacked die cuts. I love the many color combinations that can be used with this set! I love using gray tones for my foliage instead of green at times. I ended up using Moonlit Fog which is a gray/green tone and loved the results paired with the purple and plum colors! All of the inks, stamps, stencils and cardstock I use today are from Gina K. Designs. Let's get started!!

I will be doing all of my work today on my Tim Holtz Glass Media Mat.
To start, I cut a 6" x 6" piece out of White Cardstock using my Tim Holtz Guillotine Paper Trimmer. *I like to use the same size cardstock as the stencil when I am creating then cut the panel down later for the card so I can choose which blended area I like best. I then tape the first stencil from the A Little Love Layering Stencil Bundle onto the panel to begin my ink blending. *These stencils have the names etched and are numbered at the bottom to easily tell which order to blend. There are also dots that can be blended on each corner of the stencil that makes it easy to line up each blend when changing stencils. I find it easy to cut my cardstock the same size as my stencil for perfect alignment, either way works great! Using my Blending Brush I blend Lovely Lavender Ink over all of the flowers on the first stencil.


To add some depth to my flowers, I blend Plum Punch Ink over just the centers of each flower being careful not to cover up all of the previous color as I want the outer edges of the flowers to be lighter in color. After I am satisfied with my blend I remove the first stencil.


Next, I tape the second stencil onto my panel. Using my Blending Brush I blend Moonlit Fog Ink onto the rounded clusters of leaves concentrating the color more towards the base or pointed end of the leaves. I then blend Soft Stone Ink over the longer vine leaves. Once all areas are blended I remove the second stencil from my panel.


For my final blending I tape the third stencil onto my panel which is the detail stencil. You can use different colors of ink for the details, but I chose to go with the same colors that I used for the leaves for a tone on tone look. Using my Blending Brush I first blend Moonlit Fog Ink onto the rounded cluster of leaves and also onto the centers of the small flowers. Next, I blend Soft Stone Ink onto the longer vine leaves. To finish, I blend Slate Ink onto the centers of the three large flowers. Now that my blending is complete I remove the final stencil.


Using the large stitched rectangle from the Master Layouts 2 Die Set I cut out of my stenciled panel, running them through my Big Shot Die Cut Machine. *I knew I wanted to pop up one of the large flowers on my card so I was careful where to cut my panel from.


Now I take the flower die from the A Little Love Layering Stencil Bundle and cut the remaining flower out, running them through my Big Shot. I take this same die and cut out of White Cardstock three times. I then take the coordinating die from the same set to cut out my clusters of leaves, running them through my Big Shot. It's ok that not all of my leaves are whole as I will mount them tucked under the flower later.


Next, I take the love die from the A Little Love Layering Stencil Bundle (Also available as a stand alone die - Love And Shadow Die Set) and cut out of Slate Cardstock three times. I then use Liquid Glue to stack and glue them together. *When using intricate dies I place a Metal Adaptor Plate under the bottom cutting plate of my die cut machine.


I now place my stenciled panel into my MISTI Stamp Positioner and lay out my pieces to figure out my stamp placement. I choose a sentiment from the A Little Love Layering Stencil Bundle and stamp it onto my panel with Amalgam Obsidian Black Ink.


Next, I use the large layering rectangle from the Master Layouts 2 Die Set and cut out of Slate Cardstock, running them through my Big Shot. Using Liquid Glue I adhere my stenciled panel onto the layering panel. I then place a 5 1/2" x 8 1/2" piece of White Cardstock into my Scor Buddy and score it at 4 1/4" creating a side folding card base. Using Liquid Glue I adhere my panel onto the card base.


I take my stacked love die cut and add Liquid Glue to the back of it then mount it just above the sentiment on my card front. For the flower die cuts I stack and glue the three white die cuts together, then hold my stenciled flower die cut over my card front to figure out the leaf placements. I then add Liquid glue the base of my leaves and adhere them behind my stenciled flower die cut. I then glue the stacked die cuts to the back. Using Liquid Glue I mount the flower die cut onto my card front.


Finally, I take my Jewel Picker and add a few Dew Drops with Liquid Glue and this completes my card.

I hope you enjoyed today's card! I really love these layering stencils, they are so fun to play with! There are so many different color combinations that can be used together to create the perfect card for any occasion! Gina has another layering stencil set called A Little Hello Layering Stencil Bundle that is currently out of stock. Be sure to click on the "notify me" button to be the first to be notified when it is restocked if you are interested.
If this is your first time visiting my blog, welcome and I hope you return. If you are a returning visitor, thank you so much for your support!
Should you have any questions or comments please leave them in the comments section. I'd love to hear from you and what you thought about today's card.
If you would like to be notified by email each time I post something new to my blog, you can click on the subscribe button at the top of the page. *Be sure to verify your subscription through the email link to activate. There is also a follow button that you can click on located below my profile if you would like to follow my blog.
Thank you for visiting and I hope you come back soon!
Happy Stamping and God bless!!
Jeannie
Absolutely gorgeous!
ReplyDeleteThank you so much Kim!!
ReplyDeleteThank you for your explanation. I just did purchase this set. Don’t have her inks. Really like your card
ReplyDeleteYou are so welcome and thank you so much!! Soon you will be creating with your own set, enjoy!!
Delete