Hello, welcome to my blog!!
I want to start out by thanking everyone for the support and nice comments you all leave for me. I truly appreciate the support of this blog!! I enjoy card making and bringing my creations to you, this wouldn't be possible without your support, so again, thank you!! *Affiliate links are used at no additional cost to you. When you purchase products through my links I receive a small commission from these sales, thank you so much for your support, it is greatly appreciated!!
Today I have a beautiful butterfly inlay piece against a subtle embossed resist background. With all of the new butterflies coming out from different releases, I thought I would add my spin on them with products I already have! I will be doing some ink blending with the brand new distress ink color, Salvaged Patina! This new color is so soft and beautiful and it just so happens to match Gina K. Designs' Sea Glass cardstock perfectly! I will again be doing some die cut inlay for my focal image. This die cuts beautifully and is very easy to inlay. I wanted a subtle background to tie in with my focal image so I decided to embossing a text background in white then created a soft area to balance my image. I will also use Salvaged Patina paint to add a few spatters to bring everything together, followed by a simple die cut greeting (gifted to me by Jennifer McGuire in a drawing I won). Let's get started!!

I will be doing all of my work today on my Tim Holtz Glass Media Mat.
To start I cut a 3 1/4" x 4 1/4" piece out of White Cardstock using my Tim Holtz Guillotine Paper Trimmer. Taking my Blending Brush I blend Salvaged Patina Distress Oxide Ink onto the top half of the panel, fading out towards the center. I then blend Twisted Citron Distress Oxide Ink onto the lower half of the panel, fading back into the previous color. *I have to apologize for the coloring in some of my photos, I'm not sure what happened there! Some of the green ink looks a bit orange?? I assure you it is green!


After leaving my panel dry for a few minutes I take the Vanessa Butterfly Large Die Set and cut out of the panel, running it through my Big Shot Die Cut Machine. Using my Tool N One I carefully pop the pieces out from the die keeping them in order. I will keep the colored die cut for a future card. When using intricate dies I like to place a Metal Adaptor Plate under the bottom cutting plate of my die cut machine.


Taking the same die I cut out of White Cardstock three times, running them through my Big Shot. To create a base for my inlayed pieces, I take the shadow die from the Vanessa Butterfly Large Die Set and cut out of Vellum once, running it through my Big Shot. Using Liquid Glue I stack and glue two of the white die cuts together then glue them onto the Vellum die cut.


Next, I add Liquid Glue into a few of the open areas of the butterfly die then take my Jewel Picker to pick up the coordinating blended pieces and begin to inlay them. I continue to add Liquid Glue to a few open spaces at a time and inlay the blended pieces until my butterfly die is complete. To give a more finished look I add small drops of Liquid Glue to the back of my third white die cut then mount it over the inlayed butterfly. Using a Jewel Picker or some other type of embellishment tool makes inlaying small pieces SO much easier! *I like the look of dimension that stacked dies give, however, you could use just one butterfly die cut also.


For my background I place the You Are Background Stamp onto the door of my MISTI Stamp Positioner. I then add a little Adhesive Dot Runner to the back of a 4" x 5 1/4" piece of White Cardstock and place it face down over the stamp making sure the text is lined up straight. I close the base of my MISTI onto the door then flip it over and press down on the door so the panel adheres onto the base. My panel is now perfectly lined up for my stamping. I prep the panel with my Anti Static Powder Tool then ink up the background stamp with Versamark Ink and stamp it. I add White Embossing Powder and heat set with my Heat Tool.


Using my Blending Brush I blend Salvaged Patina Regular Distress Ink onto a small area of my panel, just above the center and fade out to white. I then take a soft dry cloth to buff off any ink that may be sitting on the embossing. To add a little texture I add a small amount of Salvaged Patina Distress Paint to my Glass Mat and add a little water. I mix the water into the paint to thin it out just a bit then lightly spatter it over my blended area with a small paintbrush and set it aside to dry for a few minutes.


Next, I place a 4 1/4" x 11" piece of Sea Glass Cardstock into my Scor Buddy and score it at 5 1/2" creating a top folding card base. I then add Liquid Glue to the back of my embossed panel and adhere it onto the card base.


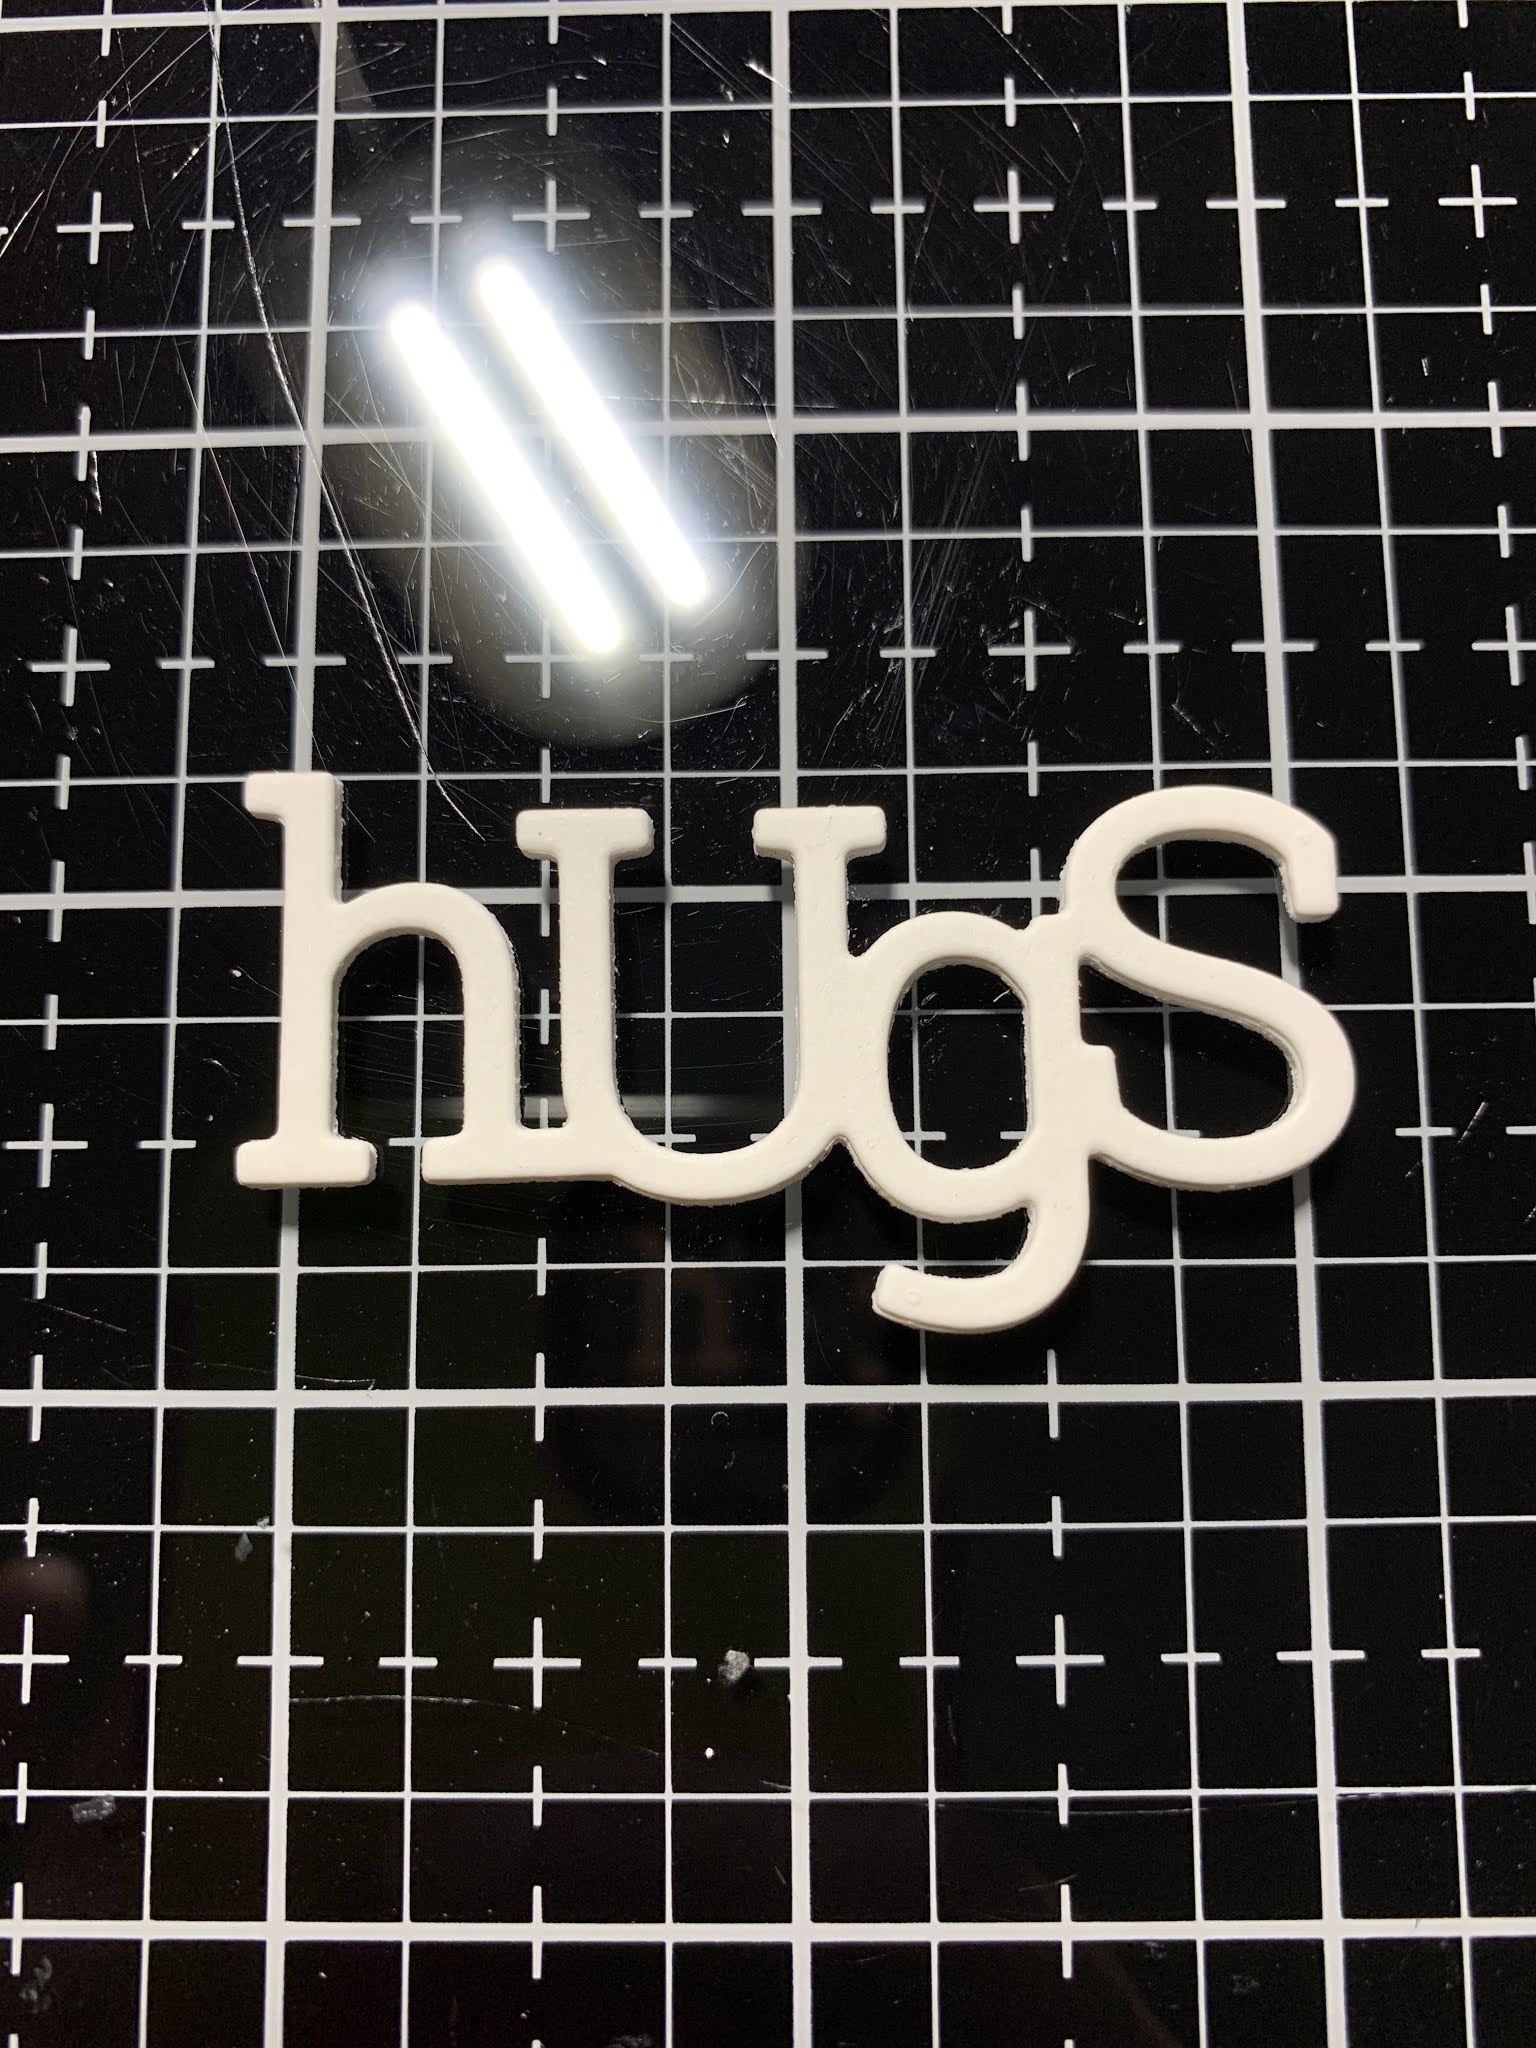
Taking my Playful Hugs Die I cut out of White Cardstock four times, running it through my Big Shot. I then stack and glue all four of the die cuts together using Liquid Glue.

Now that my ink spatters are dry I add Liquid Glue to the body of my butterfly die cut and mount it over the blended area of my card front at an angle. I then add small drops of Liquid Glue to the back of my stacked die cut and mount it just below the butterfly. I included the third picture to show how the embossed background looks as it is harder to see in the final picture.


Using my Jewel Picker I scatter Clear Round Drops then adhere with Liquid Glue and this completes my card.

As with everyone else, I LOVE this new distress color!!!! It goes great with so many of the colors, I especially love the way it blended with Twisted Citron. I recently started purchasing some of the paints for spattering my backgrounds, and I have been so pleased with the results I have been getting when using them. I like the vibrant true color that matches the ink pad so I get good results each time. I also purchased my first Oxide Spray in the Salvaged Patina, but have yet to try it out on a card. I can't wait to try some more ink blends with the new Salvaged Patina, it really is a gorgeous color!!
If this is your first time visiting my blog, welcome and I hope you return. If you are a returning visitor, thank you so much for your support!
Should you have any questions or comments please leave them in the comments section. I'd love to hear from you and what you thought about today's card.
If you would like to be notified by email each time I post something new to my blog, you can click on the subscribe button at the top of the page. *Be sure to verify your subscription through the email link to activate. There is also a follow button that you can click on located below my profile if you would like to follow my blog.
Thank you for visiting and I hope you come back soon!
Happy Stamping and God bless!!
Jeannie
Comments
Post a Comment