Hello, welcome to my blog!!
I want to start out by thanking everyone for the support and nice comments you all leave for me. I truly appreciate the support of this blog!! I enjoy card making and bringing my creations to you, this wouldn't be possible without your support, so again, thank you!!!
I have another card made with the Nature's Touch Card Kit from Gina K. Designs. I will be using the Hands Of Love Stamp Set that is included in the kit. This kit is currently sold out but will be back in stock soon. To be notified when the kit is back in stock, click HERE then click on the "notify me" button. I will also be using the Master Layouts 1 Die Set that is sold out as well but will be back in stock soon. Click HERE then click on the "notify me" button. These dies save so much time creating the perfect layer for matting. I hope Gina comes out with more layering dies in the future... I think scalloped, stitched, or even different shaped dies would be awesome!! Let's get started!!

I will be doing all of my work today on my Tim Holtz Glass Media Mat.
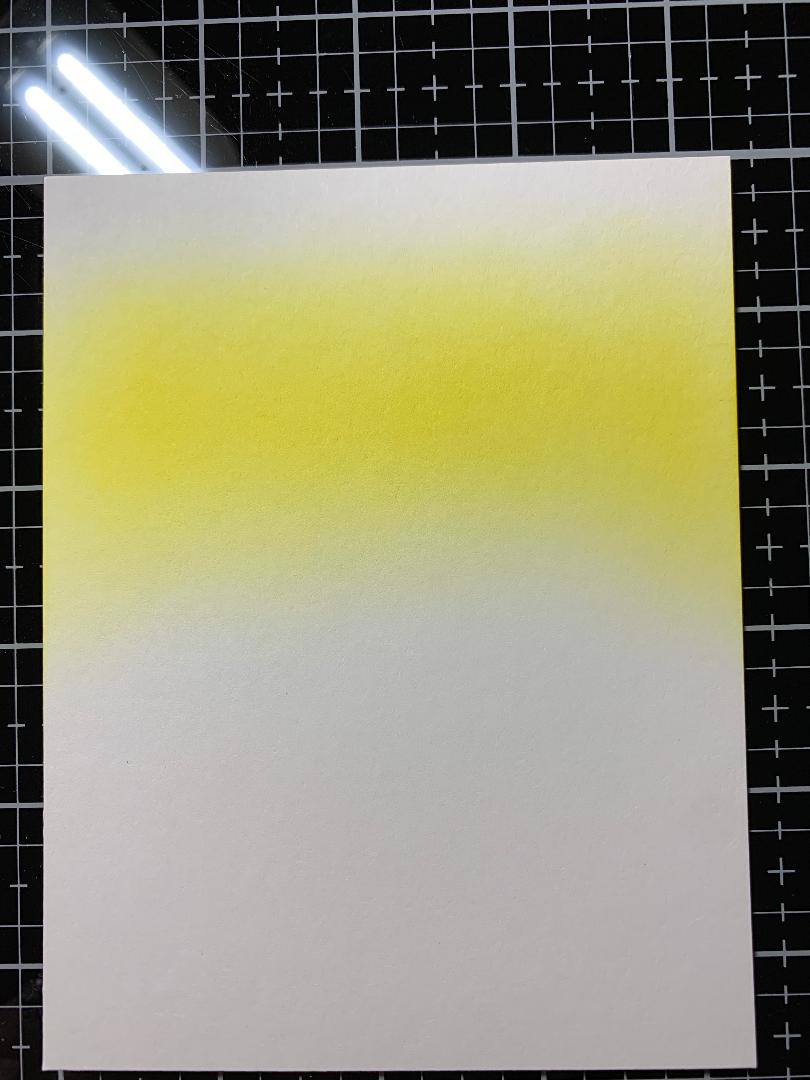
To start, I cut a 4 1/4" x 5 1/2" panel out of White Cardstock using my Tim Holtz Guillotine Paper Trimmer. Taking my Blender Brushes, I blend Wild Dandelion Ink onto the top of the panel and fade out a bit. Next, I blend Key Lime Ink onto the center of the panel blending back into the previous color then fade out a bit. I then blend Sea Glass Ink onto the lower portion of the panel, blending back into the previous color. I wanted a little deeper blue, so I lightly blend Blue Lagoon Ink over the last color. To make the green a little more vibrant, I blend the Blue Lagoon Ink over it lightly. I then go back through each color with the remaining ink on my brushes and blend into each other to soften the blend.


I now place my blended panel into my MISTI Stamp Positioner and stamp an image from the Hands Of Love Stamp Set using Amalgam Obsidian Ink.
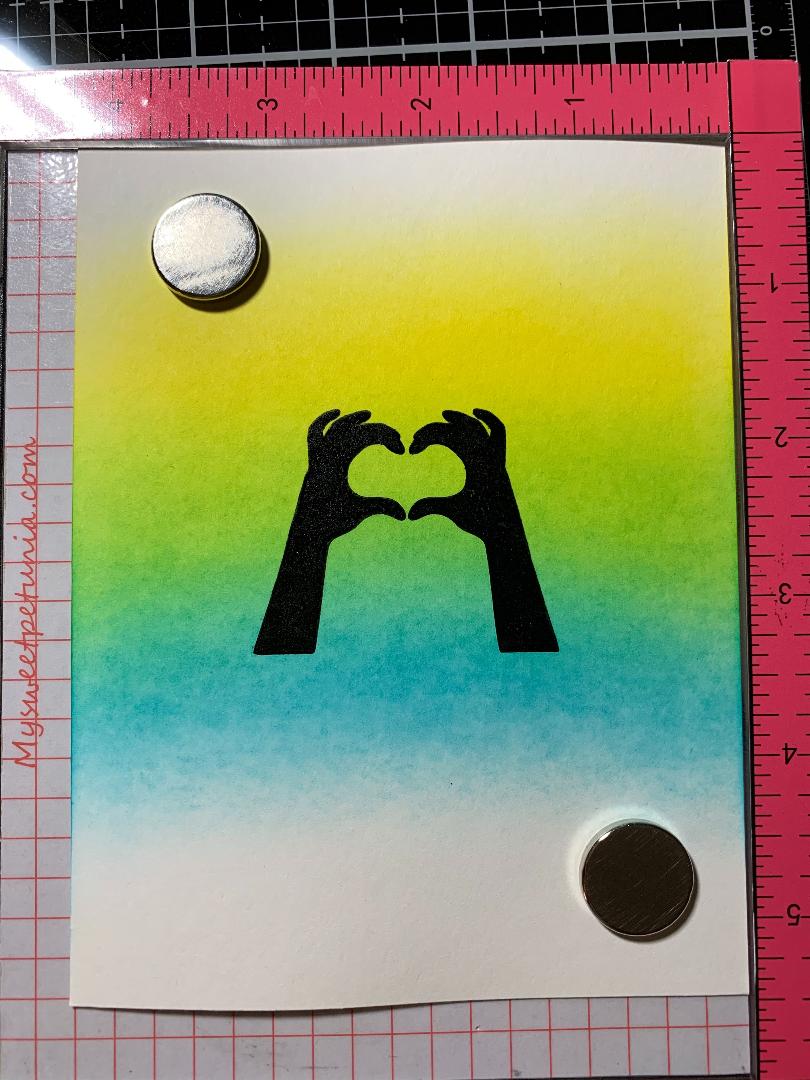
Using a die from my Infinity Hearts Die Set, I adhere it over all three colors on my panel using Purple Tape then run through my Big Shot Die Cut Machine.


Next, I cut out of White Cardstock using the smaller rectangle die from the Master Layouts 1 Die Set, running them through my Big Shot. I then place the panel into my MISTI and set the blended heart onto the panel to determine my layout. I then line up a greeting from the Hands Of Love Stamp Set and stamp using Amalgam Obsidian Ink. I do the same with a sentiment from the same set, lining it up just below the greeting then stamp it.


Taking the bigger rectangle die from the Master Layouts 1 Die Set I cut out of Black Onyx Cardstock, running them through my Big Shot. I then use Terrific Tape and adhere my white panel onto the black panel.


Next, I take a Key Lime Cardstock card base and mount my layered panel onto it using Terrific Tape. I add Foam Tape to the back of my heart and mount it above the greeting and this finishes off my card.


I hope you are enjoying the different cards that can be created using this card kit. If you already own this kit I'm sure you are having fun coming up with your own creations! If you missed out purchasing the kit before it sold out and still wish to get one, be sure you sign up to be notified when the new shipment comes in.
If this is the first time visiting my blog, welcome and I hope you return. If you are a returning visitor, thank you so much for your support!
Should you have any questions or comments please leave them in the comments section. I'd love to hear from you and what you thought about today's card.
If you would like to be notified by email each time I post something new to my blog, you can click on the subscribe button at the top of the page. There is also a follow button that you can click on located below my profile if you would like to follow my blog.
Thank you for visiting and I hope you come back soon!
Happy Stamping and God bless!!
Jeannie
Comments
Post a Comment