
Elegant Script Background W/Ink Smooshing


Hello, welcome to my blog!!

I want to start out by thanking everyone for the support and nice comments you all leave for me. I truly appreciate the support of this blog!! I enjoy card making and bringing my creations to you, this wouldn't be possible without your support, so again, thank you!!!

***ALERT!!!*** I wanted to let everyone know that the Master Layouts 1 Dies and the Nature's Touch Card Kit are both back in stock over at Gina K. Designs!!! These have been very popular and many of you have been waiting for them to come back in stock, so I'm here to let you know they have arrived... YAY!! I have a banner located towards the bottom right on my blog page that takes you directly to her store or you can click on the links in this notice. *Affiliate links are used at not additional cost to you, thank you for your support!!

***Scrapbookcom continues their Christmas In July celebration! Right now they are offering 15% or more off on all Die Cutting, plus a free gift! Click on the coupons button at the top of their home page and find "free gift", then click on it to have it added to your cart. I have a Scrapbookcom banner located towards the bottom right side of my blog that takes you directly to their site. *Affiliate links used at no additional cost to you.
*Re-Design, Rina K, Gina K, Lawn Fawn, My Sweet Petunia (MISTI), and Scrapbook.com 'Handmade Essentials' Stamp Set (SKU sbc-ds19-7) are excluded from all discounts and promotions.

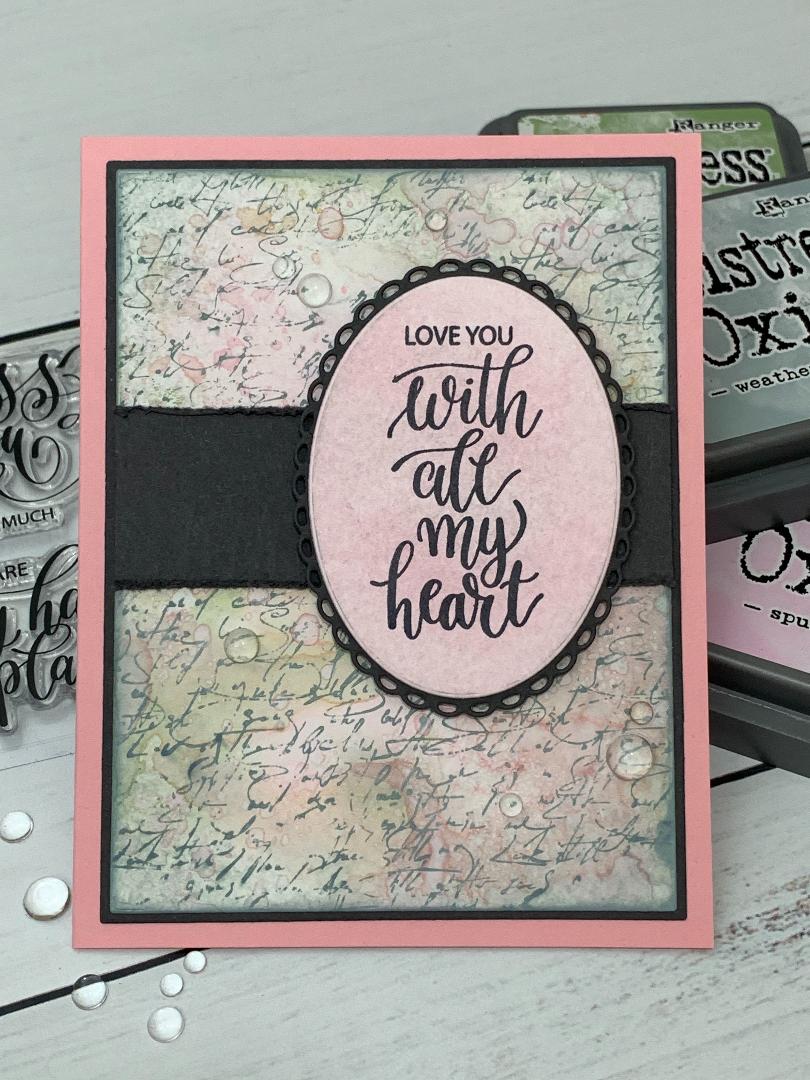
For today's card, I will be creating a background with the ink smooshing technique using Distress Oxide Inks. This is one of the most popular techniques associated with Oxide Inks. Oxide inks layer on top of each other without giving muddy colors and makes beautiful backgrounds. I will be using a script background stamp, cardstock, dies and greeting, all from Gina K. Designs. Let's get started!!


I will be doing all of my work today on my Tim Holtz Glass Media Mat.

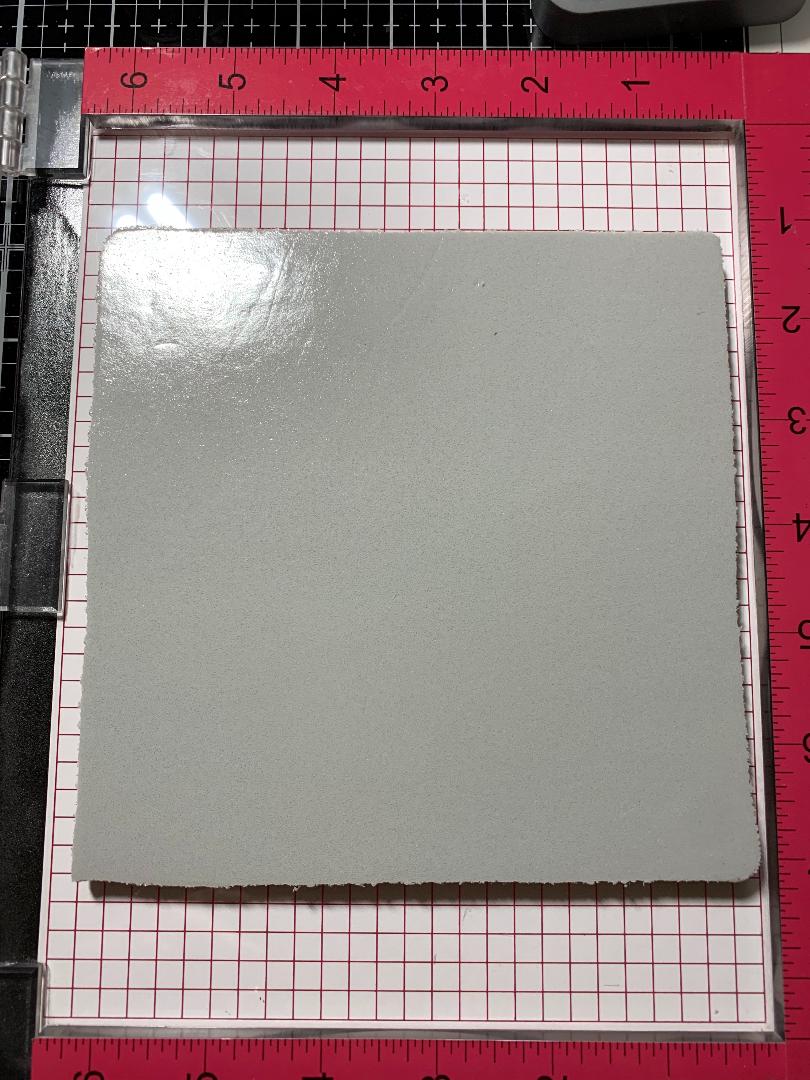
To start, I take the smaller rectangle die from the Master Layouts 1 Die Set and cut out of Heavy Base White Cardstock, running them through my Big Shot Die Cut Machine.


Using my Blender Brushes, I blend Spun Sugar Distress Oxide Ink randomly onto the panel. Next, I blend Weathered Wood Distress Oxide Ink around the edges and corners. Finally, I blend Bundled Sage Distress Oxide Ink in several places. *This is just a light, blotchy blend. I like to add color to my panel before ink smooshing, as it helps to prevent too much white areas. I am going for more of an "aged" look for this panel.


Now that I have some color on my panel, I lay out the silicone mat that comes with the Glass Mat and press Spun Sugar Distress Oxide Ink onto it. I then use my Distress Sprayer filled with clean water and spray over the ink, creating ink droplets. Next, I lightly press my panel over the ink droplets. I then dry the panel using my Heat It Craft Tool. Once the first layer is dry, I again press the panel over the ink droplets. You can repeat this process as much as you want, building up the layers. I'm going for a lighter, soft affect so I only do a few layers. *You could also dry the panel using an embossing heat tool, however I like to use the craft tool as it has more diffused air so it doesn't blow the droplets around, but instead just dries. 


Next, I press Bundled Sage Distress Oxide Ink onto my silicone mat and again spray with water. I then lightly press my panel over the ink droplets then dry. Once I'm satisfied with the look, I clean off my mat and lightly spray clean water onto the mat creating water droplets. I very lightly tap areas of my panel over the droplets and again dry. I wanted more spotting on my panel without adding more ink, this is why I use only water. 


Once my panel is completely dry, I place it into my MISTI Stamp Positioner. I add Adhesive Dot Runner to the back of the panel to hold it into place. Using the Elegant Script Background Stamp, I partially ink with Weathered Wood Distress Oxide Ink. I lightly ink the stamp, skipping over areas so that the entire stamp is not inked. I do not want a complete stamped image, I want it to look a little aged with some of the text missing.


Using the bigger rectangle die from the Master Layouts 1 Die Set I cut out of Slate Cardstock, running them through my Big Shot. I then blend around the very edges of the stamped panel using Weathered Wood Distress Oxide Ink then adhere to the slate panel using Terrific Tape. I then mount onto a Dusty Rose Cardstock card base.


Using Spun Sugar Distress Oxide Ink, I blend onto a white piece of cardstock. I then take the oval die from the Master Layouts 1 Die Set. I also take the scalloped edge oval die from the same set and cut out of Slate Cardstock, running them through my Big Shot.


To dull out the pink a bit, I lightly blend Weathered Wood Distress Oxide Ink over it. I add a little Adhesive Dot Runner to the back of the oval and place into my MISTI then stamp a sentiment from the Hearty Greetings Stamp Set using Amalgam Obsidian Ink. I then use Liquid Glue and adhere to the scalloped oval. ***This stamp set is only available as an incentive set, which is free when you spend $75.00 at Gina K. Designs.


Using my Tim Holtz Guillotine Paper Trimmer, I cut a 1 1/4" x 3 3/4" strip out of Slate Cardstock. I then use my Paper Distresser and run it up and down the sides of the strip. I add Terrific Tape and adhere to the front of the card. I add Foam Tape to the back of the oval and mount over the strip. Using Liquid Glue I add Water Droplets and this completes my card.


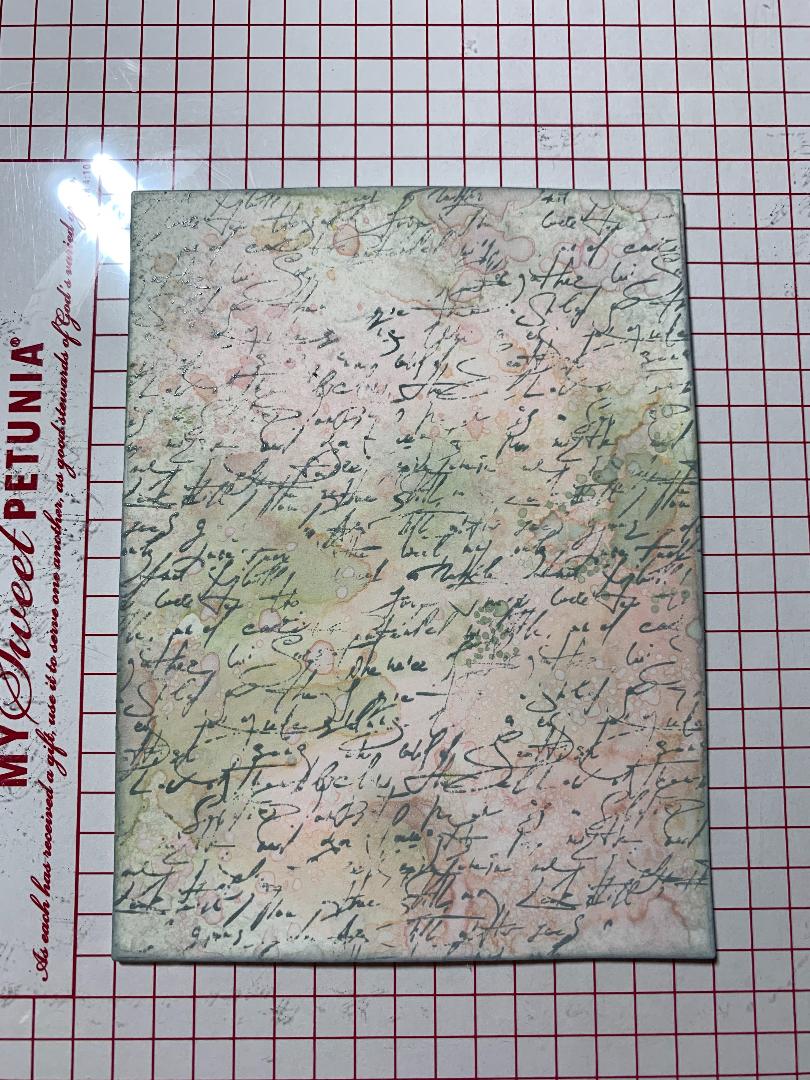
I forget how fun ink smooshing can be! Back when oxide inks first came out, this technique was all the hype! Oxide inks can also be used to ink blend, stamp with and even watercolor images! 


If this is the first time visiting my blog, welcome and I hope you return. If you are a returning visitor, thank you so much for your support!

Should you have any questions or comments please leave them in the comments section. I'd love to hear from you and what you thought about today's card.

If you would like to be notified by email each time I post something new to my blog, you can click on the subscribe button at the top of the page. There is also a follow button that you can click on located below my profile if you would like to follow my blog.

Thank you for visiting and I hope you come back soon!

Happy Stamping and God bless!!

Jeannie

Comments

Popular posts from this blog

Shadow Stamping With Stencils

Hello, welcome to my blog!! ***I wanted to let everyone know that Scrapbook.com has kicked off Freebie February!! Every couple of days they will be offering free items along with great sales! Check often as the sales will be frequently changing. I have placed a store logo on the front page of my blog just down below my profile that brings you directly to their store!    *I know die cut machines can be a bigger investment, but if you are in need of one and looking for a good price, Scrapbook.com has some really good prices on Big Shots -  stand alone  machines and bundles.   Today's card project is similar to yesterday's blog post using the shadow stamping technique, but today, I will be using a stencil. I will be using kraft cardstock as well as black cardstock. This is a fun technique to use on any color of cardstock. I wanted to show the look on a light colored cardstock vs a dark color. The key to using any color of cardstock is to first lay down white pigment ink follo

Love & Birthday Wishes - A Little Love Layering Stencils

  Hello, welcome to my blog!!  I want to start out by thanking everyone for the support and nice comments you all leave for me. I truly appreciate the support of this blog!! I enjoy card making and bringing my creations to you, this wouldn't be possible without your support, so again, thank you!! *Affiliate links are used at no additional cost to you. When you purchase products through my links I receive a small commission from these sales, thank you so much for your support, it is greatly appreciated!! For everyone that has been waiting for the A Little Love Layering Stencil Bundle - from Gina K. Designs, it is now back in stock!!! ***This "Love die" is also available for purchase on it's own! Love And Shadow Die Also back in stock are the Blending Brushes !! I used the stencil bundle to create today's card by doing simple blending and adding dimension with stacked die cuts. I love the many color combinations that can be used with this set! I love using gray to

Embossing With Stencils

Hello, welcome to my blog! Today's card project focuses on heat embossing with stencils. Stencils are great for ink blending and are economical. Did you know you can also heat emboss with your stencils? I am showing an example of white heat embossing, but you could also ink blend your stencil then heat emboss with clear embossing powder, if you don't mind getting your embossing pad dirty. Some people have a clean embossing pad dedicated for embossing only, and another embossing pad that they use for different techniques that may get the pad dirty. Let's get started!! To start, I cut a 4 1/4" x 5 1/2" white Neenah cardstock panel using my Tim Holtz Guillotine paper trimmer. I add Gina K. Designs Adhesive Dot Runner  to the corners on the back side of my white card panel to temporarily hold it down onto my Tonic Studios Tim Holtz Glass Media Mat . Next, I prep my panel with my Anti Static powder bag. I then place my Gina K. Designs Water Droplets stencil