Hello, welcome to my blog!!
Today's card is about stencils, blending and embossing. I've made cards like this in the past, but today I wanted to blend groups of single colors and get a gradient ink blend with each color, starting heavy then fading out. I will also be using both dry and heat embossing techniques. For today's card, I will be using Gina K. Designs products, inks and cardstock. Let's get started!!

I will be doing all of my work on my Tim Holtz Glass Media Mat.
To start, I cut a 6" x 6" panel out of Heavy Base White Cardstock using my Tim Holtz Guillotine Paper Trimmer. *When using stencils, I like to cut my cardstock to fit the stencil, that way I can trim down and use the portion I like best. Taking my Water Droplets Stencil, I tape it onto my card panel using Purple Tape. The colors of ink I will be using today are Passionate Pink, Tangerine Twist, Wild Dandelion, Lucky Clover, Blue Raspberry and Wild Lilac. Using Purple Tape, I tape off an area I want to blend, this helps to avoid getting color where I don't want it. Taking a Blender Brush, I start blending color onto the taped off area. I start out heavy with my ink then fade out on each section. When I'm finished with each section, I lay the tape onto my glass mat and wipe off the ink with a damp rag so I do not transfer color. Next, I peel the tape off my glass mat and tape off another section to add my next color. I continue with this until all areas are inked.


Leaving my panel taped to the stencil, I put a 6' x 6" piece of printer paper (to keep my cutting plates clean) over the top of the ink and run through my Big Shot Die Cut Machine. This dry emboss technique will raise the inked image giving a nice dimensional look. With the panel still taped to the stencil, I take my Embossing Watermark Re-inker and add a few drops to my Glass Media Mat. I then take a Foam Applicator and Blending Tool and tap it into the ink until the foam pad is saturated. Starting with the yellow area, I tap up and down over each inked area of the stencil.


Next, I carefully remove the stencil from the inked panel. I add Detail Clear Embossing Powder over the entire panel then heat set with my Heat Tool.


Next, I trim my panel to be 4" x 5 1/4" and mount onto a Blue Raspberry Cardstock card base using Connect Liquid Glue.

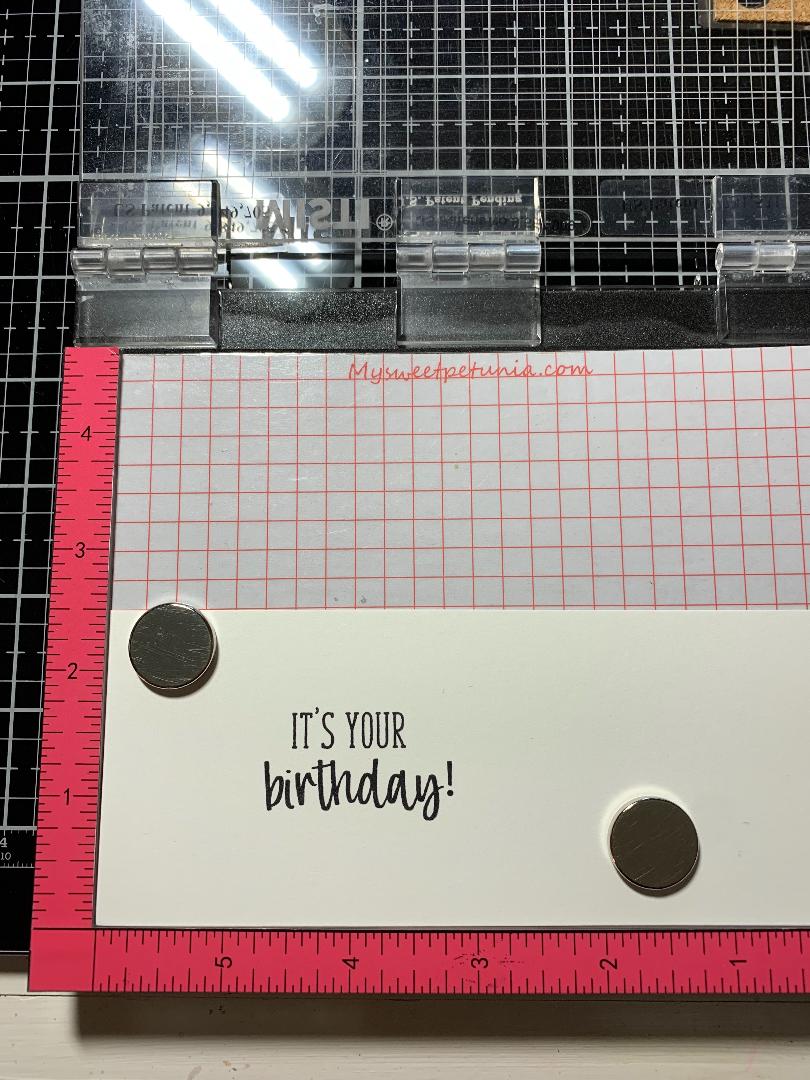
Taking a piece of white cardstock, I place it into my MISTI Stamp Positioner. I take a greeting from Doodle Sayings Stamp Set and stamp it using Amalgam Ink. I cut the greeting out using a die from my Single Stitched Dies, running them through my Big Shot Die Cut Machine. Next, I take a slightly larger circle die from my Infinity Circle Dies set and cut out of Blue Raspberry cardstock. I then adhere the two together using Connect Liquid Glue. Foam Tape is added to the back of the sentiment and attached to my card front. I add Rainbow Jewels to the sentiment using Connect Liquid Glue and this completes my card.


I hope you enjoyed today's card and learned some tips. This was such a fun card to make! A couple of things I learned were when blotting the blending tool with embossing ink onto the colored areas, it seemed to spread the ink a little. My original blending left more white area than shows with the end results. One thing that really surprised me was once the clear embossing powder was heat set, it really seemed to soften the ink colors. I'm excited to give this technique another try, this time adding less ink for a subtle look. I hope you give this a try for yourself. It really is a fun technique!!
If this is the first time visiting my blog, welcome and I hope you return. If you are a returning visitor, thank you so much for your support!
Should you have any questions or comments please leave them in the comments section. I'd love to hear from you and what you thought about today's card.
If you would like to be notified by email each time I post something new to my blog, you can click on the subscribe button at the top of the page. There is also a follow button that you can click on located below my profile if you would like to follow my blog.
Thank you for visiting and I hope you come back soon!
Happy Stamping!!
Jeannie
Today's card is about stencils, blending and embossing. I've made cards like this in the past, but today I wanted to blend groups of single colors and get a gradient ink blend with each color, starting heavy then fading out. I will also be using both dry and heat embossing techniques. For today's card, I will be using Gina K. Designs products, inks and cardstock. Let's get started!!

I will be doing all of my work on my Tim Holtz Glass Media Mat.
To start, I cut a 6" x 6" panel out of Heavy Base White Cardstock using my Tim Holtz Guillotine Paper Trimmer. *When using stencils, I like to cut my cardstock to fit the stencil, that way I can trim down and use the portion I like best. Taking my Water Droplets Stencil, I tape it onto my card panel using Purple Tape. The colors of ink I will be using today are Passionate Pink, Tangerine Twist, Wild Dandelion, Lucky Clover, Blue Raspberry and Wild Lilac. Using Purple Tape, I tape off an area I want to blend, this helps to avoid getting color where I don't want it. Taking a Blender Brush, I start blending color onto the taped off area. I start out heavy with my ink then fade out on each section. When I'm finished with each section, I lay the tape onto my glass mat and wipe off the ink with a damp rag so I do not transfer color. Next, I peel the tape off my glass mat and tape off another section to add my next color. I continue with this until all areas are inked.


Leaving my panel taped to the stencil, I put a 6' x 6" piece of printer paper (to keep my cutting plates clean) over the top of the ink and run through my Big Shot Die Cut Machine. This dry emboss technique will raise the inked image giving a nice dimensional look. With the panel still taped to the stencil, I take my Embossing Watermark Re-inker and add a few drops to my Glass Media Mat. I then take a Foam Applicator and Blending Tool and tap it into the ink until the foam pad is saturated. Starting with the yellow area, I tap up and down over each inked area of the stencil.


Next, I trim my panel to be 4" x 5 1/4" and mount onto a Blue Raspberry Cardstock card base using Connect Liquid Glue.

Taking a piece of white cardstock, I place it into my MISTI Stamp Positioner. I take a greeting from Doodle Sayings Stamp Set and stamp it using Amalgam Ink. I cut the greeting out using a die from my Single Stitched Dies, running them through my Big Shot Die Cut Machine. Next, I take a slightly larger circle die from my Infinity Circle Dies set and cut out of Blue Raspberry cardstock. I then adhere the two together using Connect Liquid Glue. Foam Tape is added to the back of the sentiment and attached to my card front. I add Rainbow Jewels to the sentiment using Connect Liquid Glue and this completes my card.

If this is the first time visiting my blog, welcome and I hope you return. If you are a returning visitor, thank you so much for your support!
Should you have any questions or comments please leave them in the comments section. I'd love to hear from you and what you thought about today's card.
If you would like to be notified by email each time I post something new to my blog, you can click on the subscribe button at the top of the page. There is also a follow button that you can click on located below my profile if you would like to follow my blog.
Thank you for visiting and I hope you come back soon!
Happy Stamping!!
Jeannie
This is such a lovely card. The ink blending is beautiful.
ReplyDeleteThank you Jeannie, I have to try this.
ReplyDeleteYou are welcome Diana, it is a very fun technique!!
Delete