Hello, welcome to my blog!!
***If interested in the tin I use for my Color Burst Powders, please see the bottom of yesterday's blog post for info and the video showing how to create a palette.
For today's card project, I will again be using Ken Oliver Color Burst Powders. I had so much interest in yesterday's card that I thought I would watercolor a flower from a different stamp set. I will also be using a 3D embossing folder to create a background. I love using embossing folders that are 3D for deeply etched designs and dimension. I will be using Distress Oxide Ink to create a colored background in my embossing folder giving it a two tone look. I love how this inked panel turned out, it reminds me of old fashioned Victorian wallpaper, LOL! I also cut some leaf branches out of vellum, which gives a great backdrop to images so they don't look like they are just floating on a background.
Let's get started!!

I will be doing all of today's work on my Tim Holtz Glass Media Mat.
I take a piece of Tim Holtz Distress Watercolor Cardstock and place it into my MISTI Stamp Positioner and prep it with my Anti Static Powder Bag. Next, I choose an image from the Precious Peony Stamp Set and stamp it onto my panel using Versamark Embossing Ink, I stamp it two times to make sure I get good coverage because of the texture of the watercolor cardstock. I then add Detail Silver Embossing Powder and heat set with my Heat Tool.


Taking my Water Brushes, (I use two, one to wet the image and blend, the other for adding color) I wet a petal and add Wisteria Color Burst to the base of my petal. I then pull the color and fade towards the end. I will go through each petal with this process, keeping the base and any petal that is under another the darkest. *By wetting the petal first, it helps the color to bleed out and blend on it's own, then I take the water brush to finish the fade.


For my leaves, I add Olive Green Color Burst to the base of each leaf, then pull the color out to the ends. I like using Olive Green as it has greens and browns creating a nice look.


Once my coloring is complete, I fussy cut my image using my Fiskars Razor Edge Shears.

For my background, I take my Sizzix Botanical 3D Embossing Folder and ink up the side with the inverted images using Milled Lavender Distress Oxide Ink by gently twisting and rubbing the pad against the surface. I then take a 4 1/4" x 5 1/2" piece of white cardstock and lightly mist with my Distress Sprayer filled with clean water, then set misted side up onto the non inked side of the embossing folder and close. I then run it through my Big Shot Die Cut Machine. *Be sure to check the sandwich order for your die cut machine when using 3D folders. **I lightly mist the cardstock before putting into my folder to soften the fibers, this prevents cracking when using 3D folders. It also helps the oxide ink to react and create a soft chalky look.


Next, I trim the panel down to be 3 5/8" x 5 1/2" using my Tim Holtz Guillotine Paper Trimmer. I then cut a panel out of black cardstock to be 3 3/4" x 5 1/2" and mount it onto the middle of a Plum Punch Cardstock card base using Double Sided Tape. I then adhere my embossed panel over the black panel.


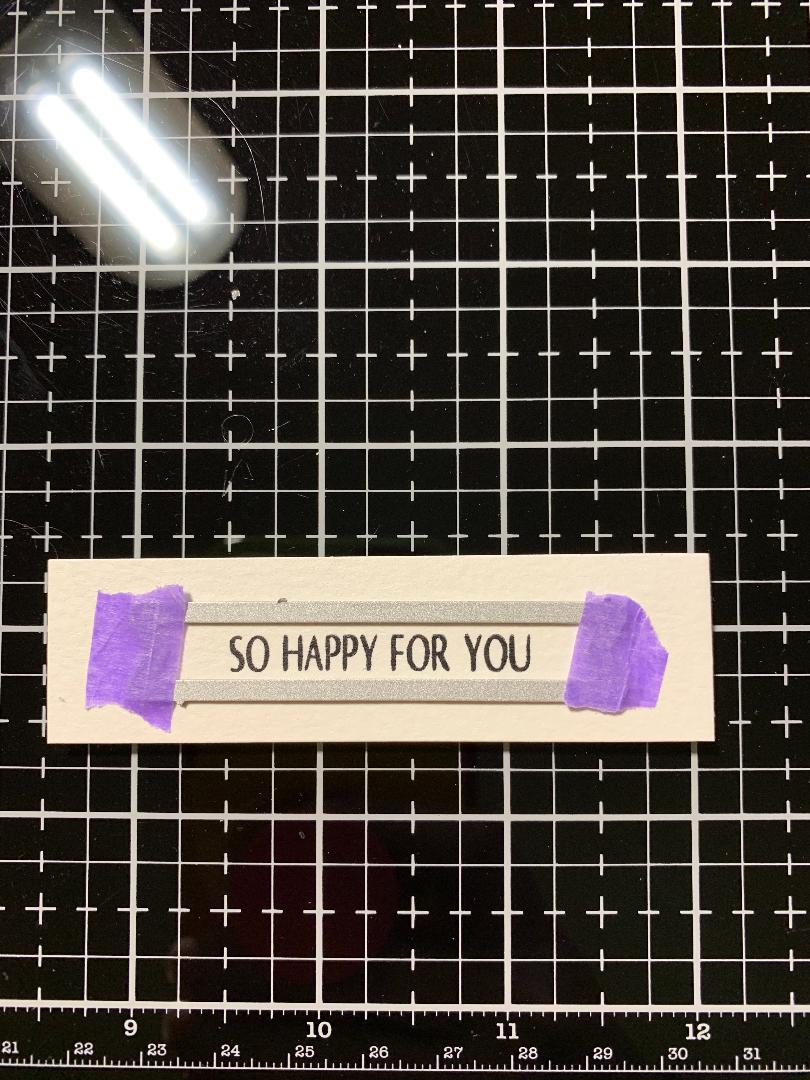
For my sentiment, I place a strip of watercolor cardstock into my MISTI Stamp Positioner and choose a stamp from the same Precious Peony Stamp Set and stamp it using Versafine Clair Nocturn Ink. I then take a die from the Sentiment Banners Die Set, center it over my sentiment and secure it down using Purple Tape, then them through my Big Shot Die Cut Machine.


Next, I take my Leafy Branch Die and cut out of Vellum two times running them through my Big Shot Die Cut Machine. I cut the dies in half and adhere onto the back of my floral image using Liquid Glue.


Finally, I add Foam Tape onto the back of my floral image then adhere to the front of my card. I also add a strip of Foam Tape to my sentiment and mount onto the lower section of my floral image and this completes my card.


I don't usually use the same technique two days in a row, but I had a lot of interest with the Color Bursts that I thought I would share one more card. I really love how this card turned out with the 3D embossing folder, I feel like the background really pulled this card together! I used the same color of Color Burst for today as I did on the small flower buds from yesterday's card. Against the deep, bright purple I used yesterday, it seemed more burgundy but on it's own for today's card, it looks more purple!
I will be out of town tomorrow so there will not be a card, but I will be back on Friday with another fun card project!!
If this is the first time visiting my blog, welcome and I hope you return. If you are a returning visitor, thank you so much for your support!
Should you have any questions or comments please leave them in the comments section. I'd love to hear from you and what you thought about today's card.
If you would like to be notified by email each time I post something new to my blog, you can click on the subscribe button at the top of the page. There is also a follow button that you can click on located below my profile if you would like to follow my blog.
Thank you for visiting and I hope you come back soon!
Happy Stamping!!
Jeannie
That Leafy Branch die adds such a beautiful touch of layered dimension! Thanks for all the details include on creating you cards.
ReplyDeleteThank you Joan! I agree, the Leafy Branch die adds a nice, subtle look !
ReplyDelete