Hello, welcome to my blog!!
There has been SO MUCH interest in the Water Droplets I use on my cards that I wanted to started out by letting everyone know that they are now BACK IN STOCK!!! Yay!
Today's card is all about celebrating! Creating shaker cards is a favorite of mine, they are so fun to fill with sequins, beads, crystals and anything else small that will move around freely in the wells of a card. I will be using a die that covers the entire front of an A2 card, creating lots of room for my shaker bits to move around. I will give this card to my sweet little granddaughter who turns 5 in May. Let's get started!!

I will be doing all of my work on my Tim Holtz Glass Media Mat.
To start, I cut a 4 1/4" x 5 1/2" panel out of Neenah White Cardstock using my Tim Holtz Guillotine Paper Trimmer. Taking my Blender Brush, I blend Picked Raspberry Distress Ink blending heavy at one end of the panel and gradually fading out to white towards to top.

Taking my Star Cover Plate Die, I use Purple Tape to hold together the frame and star window dies to create a star cut panel. I then place over my blending panel and run them through my Big Shot Die Cut Machine. Next, I poke out all of the pieces using my Craft Pick.


Next, I take the two dies apart and take only the star plate. I center and tape down the die to cut out a window into a 4 1/4" x 5 1/2" panel of white cardstock, running them through my Big Shot Die Cut Machine. I again poke out all of the pieces. I now I adhere my blended panel over the white window using Liquid Glue.


Now, I add Double Sided Tape to the edges on the back side of the white panel. I then cut a piece of Acetate slightly smaller than my white panel, remove the release paper on the tape and adhere the acetate down. Next, I add Foam Tape onto all four edges on the back of the white panel making sure each piece is snug against each other. Adding foam tape will create the depth needed for the sequins to move around in the finished card.


I now create a mix using sequins from my stash in pinks and purples then add them to the inside of the well I created. Next, I cut a 4 1/4" x 5 1/2" panel out of white cardstock. When using dies that create large windows for shaker cards, I like to glue down a few sequins onto the back panel that will show through the window. Doing this helps to make some of the sequins get "stuck" and stick higher up on the panel so that they don't all fall to the bottom. I now remove the release paper from the foam tape and adhere the white panel. The sequins are now secured and can be shaken.
Using Liquid Glue, I adhere my shaker panel onto a white card base.


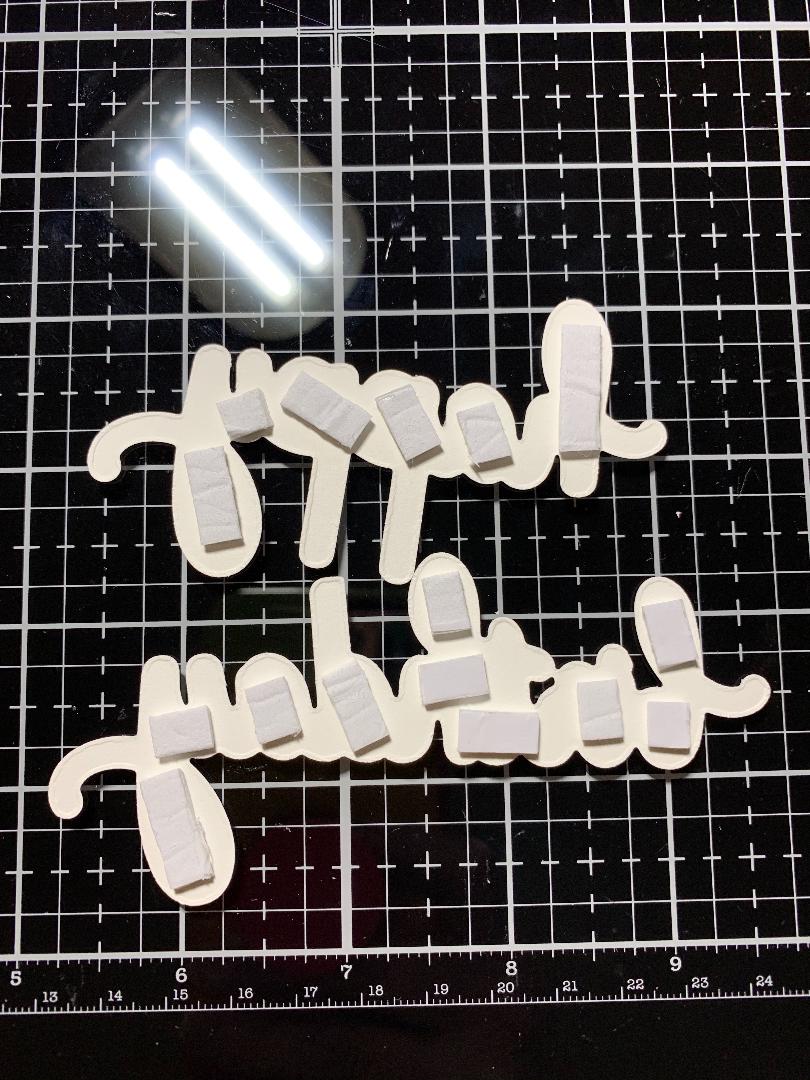
Next, I take my Happy Birthday Die and cut out of Sugarplum Cardstock and cut the shadow die out of white cardstock, running them through my Big Shot Die Cut Machine. Using Liquid Glue, I adhere the happy birthday onto the shadow. For a little added dimension, I add Foam Tape to the back of my greeting and adhere onto the front of my card. To add a little sparkle, I use Aqua Shimmer Glitter Gloss to the letters. Using Liquid Glue, I add a few sequins from my mix onto the stars and this completes my card.


I hope you enjoyed today's card, it was really fun to make! Shaker cards do not have to be intimidating. They can be as simple or as complicated as you want to make them. If you've never made a shaker card, I encourage you to give it a try!
If this is the first time visiting my blog, welcome and I hope you return. If you are a returning visitor, thank you so much for your support!
Should you have any questions or comments please leave them in the comments section. I'd love to hear from you and what you thought about today's card.
If you would like to be notified by email each time I post something new to my blog, you can click on the subscribe button at the top of the page. There is also a follow button that you can click on located below my profile if you would like to follow my blog.
Thank you for visiting and I hope you come back soon!
Happy Stamping!!
Jeannie
Comments
Post a Comment