Hello, welcome to my blog!!
I want to start out by thanking everyone for the support and nice comments you all leave for me. I truly appreciate the support of this blog!! I enjoy card making and bringing my creations to you, this wouldn't be possible without your support, so again, thank you!!!
***Beginning next week, I will be posting cards to my blog every Monday, Wednesday and Friday only. Creating a card, blogging and linking all of the products takes a lot of time and is sometimes hard to squeeze into one day. I want to structure the time with my blog so I can continue to bring you cards and also fit in all of the day to day things that may come up. My hope is to one day (in the future) throw in a video tutorial every once in a while in addition to my normal blogging. That will be a whole new learning experience in itself! LOL!!
Thank you for your continued support, I am very blessed and grateful!
Today I have for you a fun holiday card made with the String Of Lights die set. This is a super fun die set that includes three different sized bulbs with toppers as well as a swirly stringer to attach the bulbs to. I am going for more of a vintage look for today's card so I used kraft as my main color and accented with red and blue. For my back drop panel, I used a snowflake stamp then spattered with diluted white acrylic paint. All of these combined elements give off a warm old fashioned feel. For my ink blending I will be using regular Distress Ink. Let's get started!!

I will be doing all of my work today on my Tim Hotlz Glass Media Mat.
To start, I cut a 2 1/4" x 5 1/2" panel out of Kraft Cardstock using my Tim Holtz Guillotine Paper Trimmer. I place the panel into my MISTI Stamp Postioner and stamp it using the Delicate Snowflakes Background Stamp with Kraft Ink. I then adhere it onto a top folding Kraft Cardstock card base using Double Sided Tape.


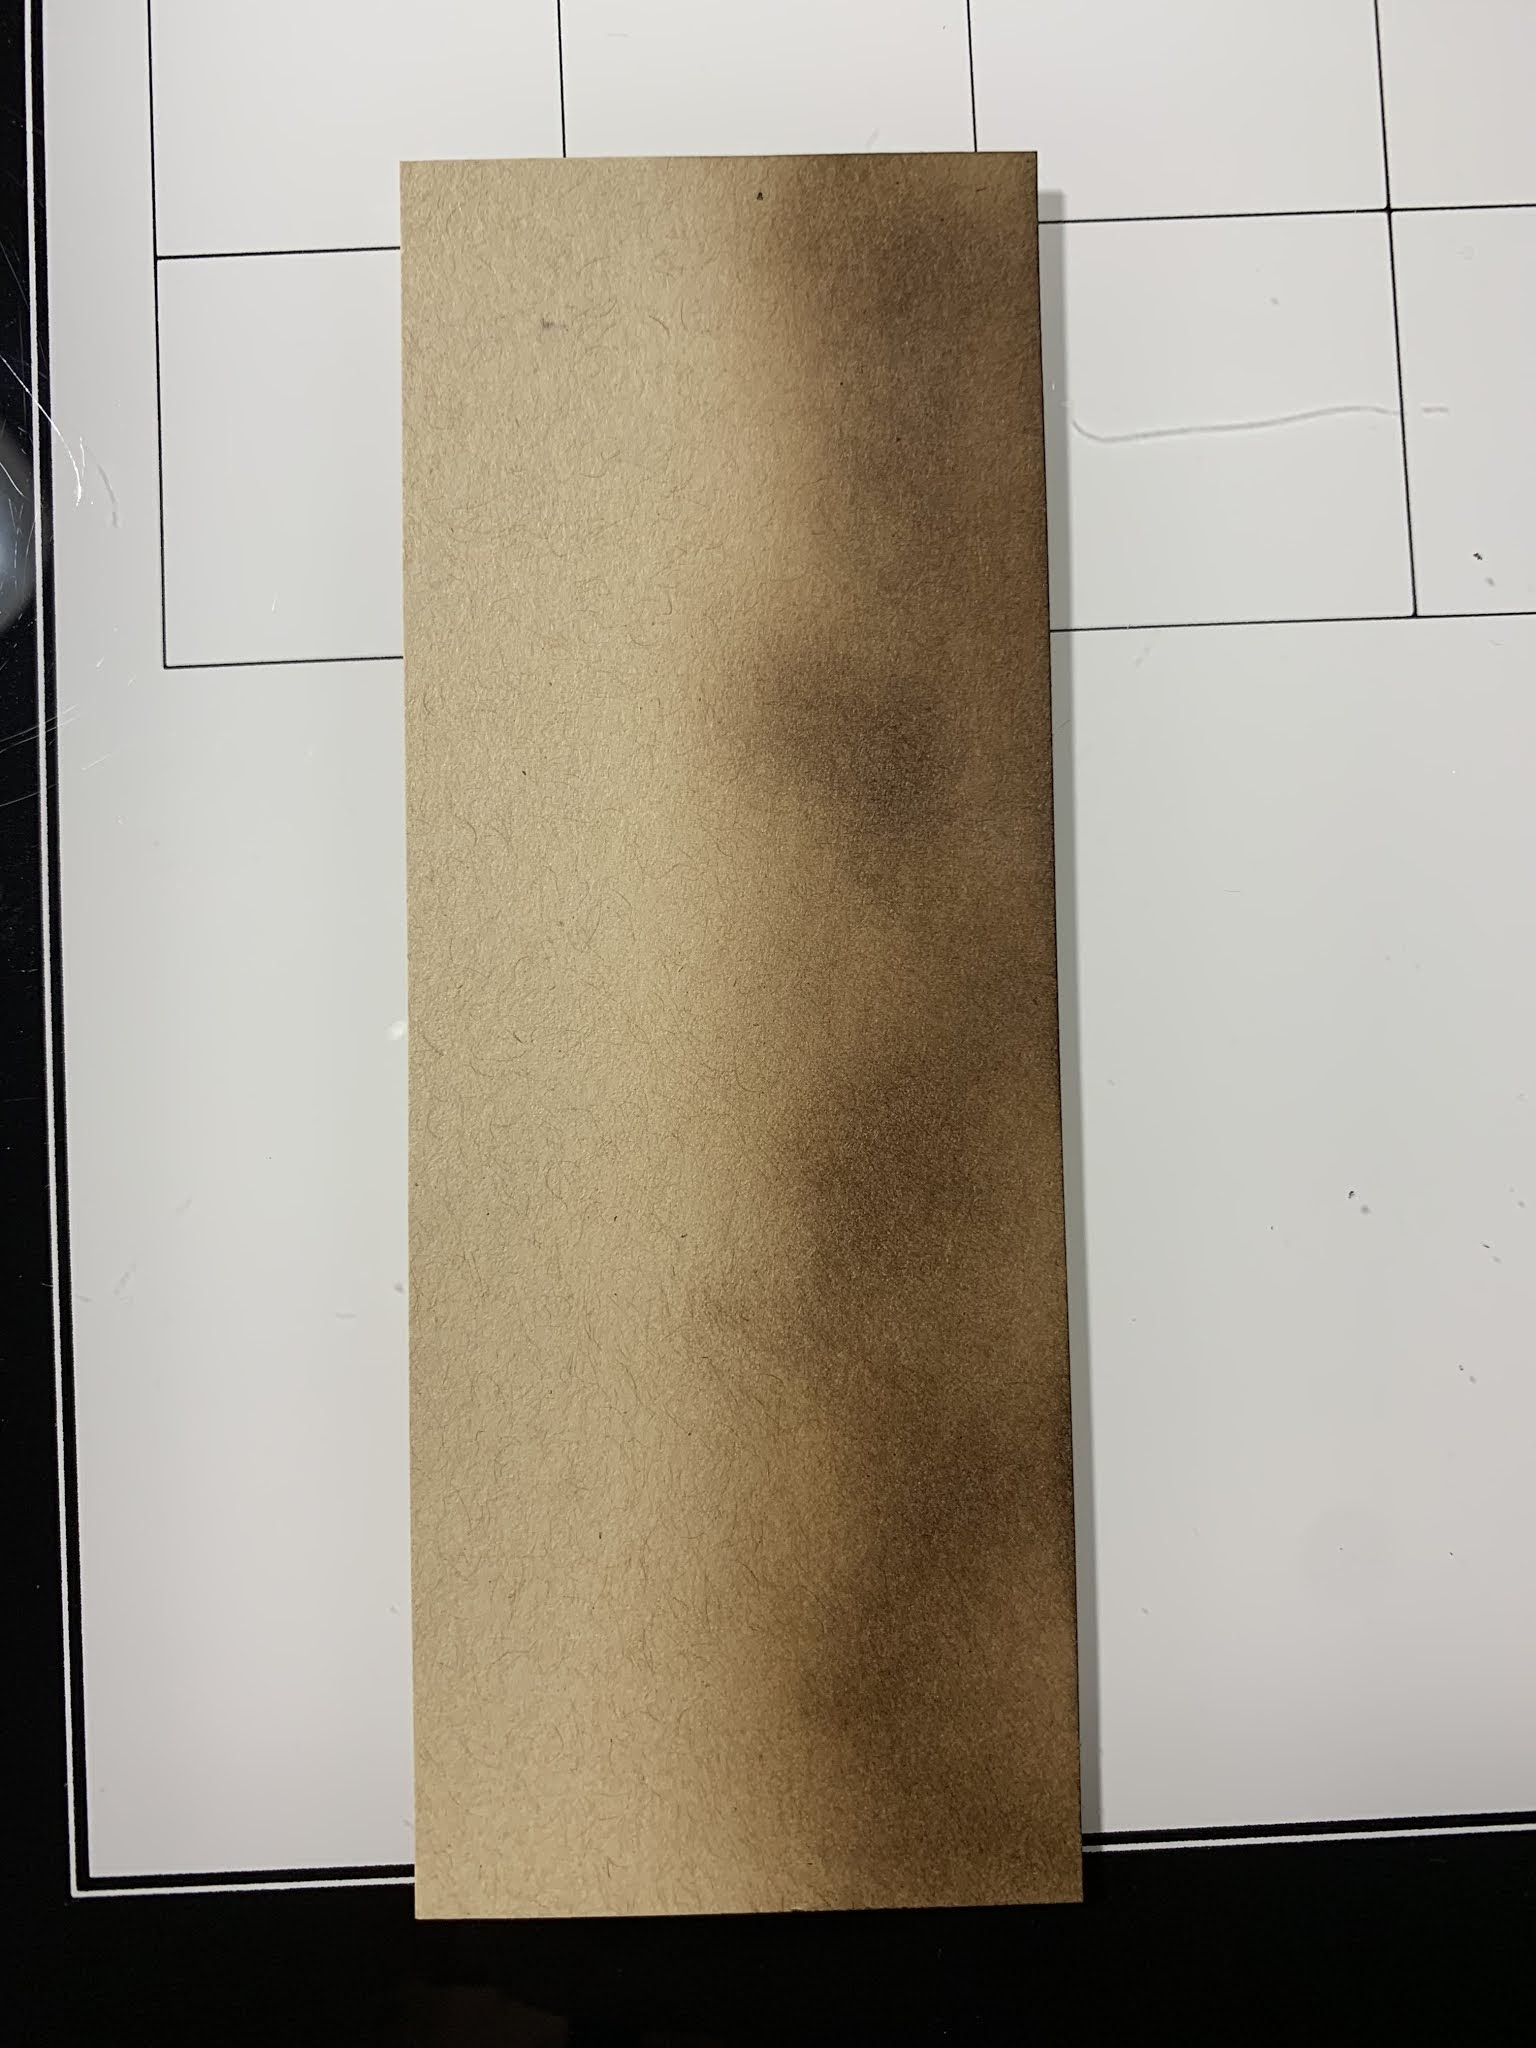
Using my Blender Brush, I create a splotchy ink blend onto a piece of Kraft Cardstock using Walnut Stain Distress Ink. I then trim two 1/8" strips from it using my Guillotine Paper Trimmer. Using Liquid Glue, I adhere the strips to each side of my snowflake panel on the card front.


To give a snow effect, I add a small amount of white acrylic paint onto my Glass Mat and dilute it with a little bit of water. I then pick up the paint with a paintbrush and splatter it over the card front and leave it to dry while I work on the pieces for my card.


Taking a piece of Kraft Cardstock, I use my Blender Brush to create another splotchy ink blend with Walnut Stain Distress Ink. I then take the stringer and topper dies from the String Of Lights Die Set and cut out of the blended piece, running them through my Big Shot Die Cut Machine.


Using the medium sized bulbs, (both the solid and highlight) from the String Of Lights Die Set, I cut five bulbs out of Neenah White Cardstock, running them through my Big Shot. **I save the small highlight pieces**. Using my Blender Brushes, I blend Candied Apple Distress Ink onto two of the highlight bulbs and Tumbled Glass Distress Ink onto the remaining three highlight bulbs leaving the areas with the highlight opening a little lighter. I then use Liquid Glue to adhere the blended pieces onto the solid backer pieces. *I suggest blending and assembling the blue bulbs first then the red so that the red ink doesn't get on the blue bulbs from your fingers. I figured this out the hard way and had to redo a couple of the blue bulbs, ha!


Next, using Liquid Glue I inlay the small white highlight pieces back into the bulbs then glue them onto the solid backer pieces and finish by adhering the toppers.


I add Foam Tape to the back of each bulb and start adhering them to the card front. I remove the release paper from one of the red bulbs as well as one of the blue bulbs and adhere the red one to the top of the snowflake panel and the blue one to the bottom of the panel. I then run the top of the stringer through the opening of the topper on the red bulb and the bottom of the stringer through the opening of the topper on the blue bulb.

To adhere the rest of the bulbs, I use my Razor Shears and snip the toppers where they will join the stringer. I then remove the release paper from the foam and slide the stringer through the snipped ends of the toppers. I adhere the bulbs down so that the snipped areas are hidden under the stringer. After all of the bulbs are attached, I trim of any overhang from the ends of the stringer. *I took a scrap cardstock strip and added a small amount of Liquid Glue to the end of it then slid it under a couple of areas of the stringer to apply some glue. I then pressed down onto the card front to hold down areas that were sticking up a bit. This also helps to hold the stringer into place so that it doesn't pop through the snipped pieces of the toppers.


Next, I place a scrap piece of Kraft Cardstock into my MISTI and stamp a couple of sentiments from the Christmas Sentiments Stamp Set using Versafine Clair Nocturn Ink. I then adhere a die from the Sentiment Banners Die Set using Purple Tape and run them through my Big Shot.


To help the sentiments stand out I use the edge of my Blender Brush to apply Walnut Stain Distress Ink to the edges of the banners. I then add two layers of Foam Tape to the back of the banners and adhere them onto my card front and this completes my card.

I love the way this card turned out! It reminds my of a string of lights hanging on a rooftop with the snow lightly falling. This die set is a fun set to use on Christmas cards and the biggest bulb can even be used as a small gift tag! Lawn Fawn has some cute tag stamp sets with small images that would be perfect for this... Tiny Tags Sayings and Say What - Christmas Critters are a couple of good ones! Adding Glossy Accents would be a fun way to add some shine to these bulbs making them appear lit up!
If this is the first time visiting my blog, welcome and I hope you return. If you are a returning visitor, thank you so much for your support!
Should you have any questions or comments please leave them in the comments section. I'd love to hear from you and what you thought about today's card.
If you would like to be notified by email each time I post something new to my blog, you can click on the subscribe button at the top of the page. *Be sure to verify your subscription through the email link to activate. There is also a follow button that you can click on located below my profile if you would like to follow my blog.
Thank you for visiting and I hope you come back soon!
Happy Stamping and God bless!!
Jeannie
Comments
Post a Comment