Hello, welcome to my blog!!
I want to start out by thanking everyone for the support and nice comments you all leave for me. I truly appreciate the support of this blog!! I enjoy card making and bringing my creations to you, this wouldn't be possible without your support, so again, thank you!!!
Scrapbbookcom is having their Semi Annual Die Cutting Sale along with a couple of freebies! Just click on the "coupons" tab at the top of their homepage to see the current offers. Also, be sure to check out their clearance section as there are so many deeply discounted items! I have a Scrapbookcom logo located at the bottom right of my blog that takes you directly to their store. *Affiliate links used at no cost to you. If you purchase items through my links, thank you so much for your support!!
Today I have a card showing the easiest way to add a watercolored look to your image! You need ZERO experience with watercolor to achieve this look!! All that is needed for this technique is Color Burst Powders and water, that's it! I use a simple embossed image from Hero Arts, Color Bursts and my Distress Sprayer filled with clean water, that's it and my image is done! Color Burst Powders are highly pigmented and highly reactive with water. Let's get started!!

I will be doing all of my work today on my Tim Holtz Glass Media Mat.
To start, I place a piece of watercolor cardstock into my MISTI Stamp Positioner and prep it with my Anti Static Powder Bag. I stamp the image from the Hero Florals - Nasturtium Stamp Set with Versamark Ink then add Gold Embossing Powder and heat set with my Heat Tool. *Because of the textured cardstock, I end up stamping my image three times to get good coverage. **The first picture shows the watercolor cardstock I use. I find it at Walmart for under $6.00!!


I will be using the Galaxy Color Burst collection for my coloring. Taking a Water Brush filled with clean water I add Jupiter Color Burst Powder to the base of all of the petals on each flower. I then add Terrestrial Color Burst Powder to the center of each of the leaves.
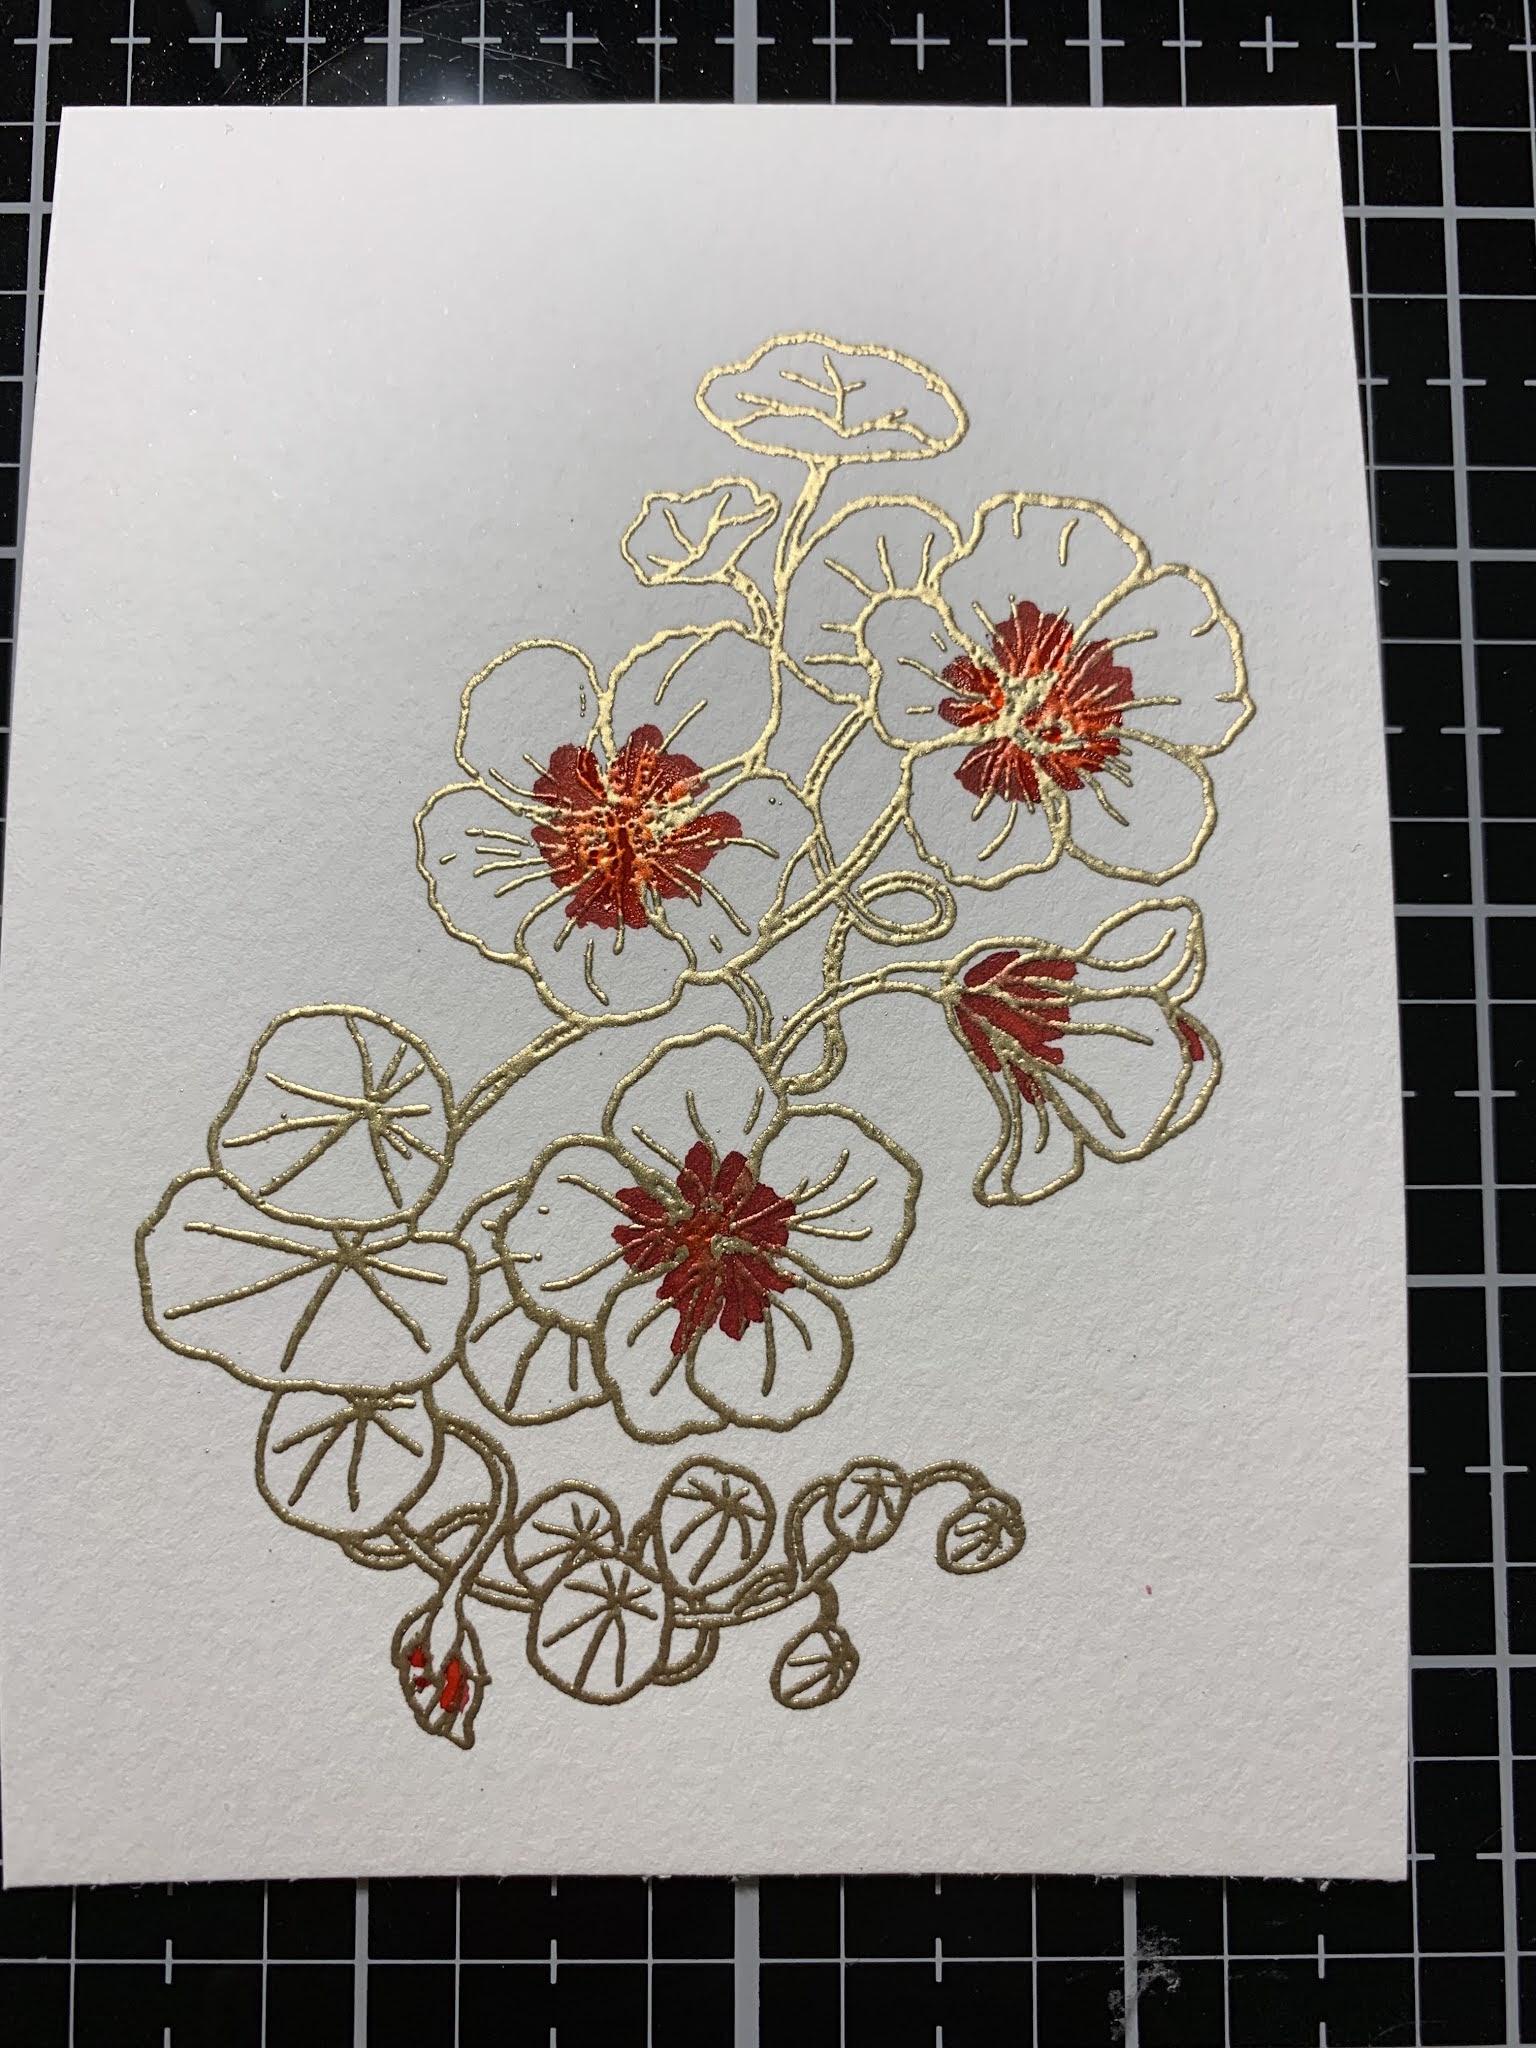

Using my Distress Sprayer filled with clean water, I spritz my panel until the colors move. I sprayed the panel about three times. I then set the panel aside and leave it to air dry until the colors are completely dry. I ended up using my Water Brush to add green to the fine areas of the vine and my coloring is complete. *I did not add any color to the fine lines of the vine before spraying with water as these areas are so small, I didn't want them to bleed outside of the lines.


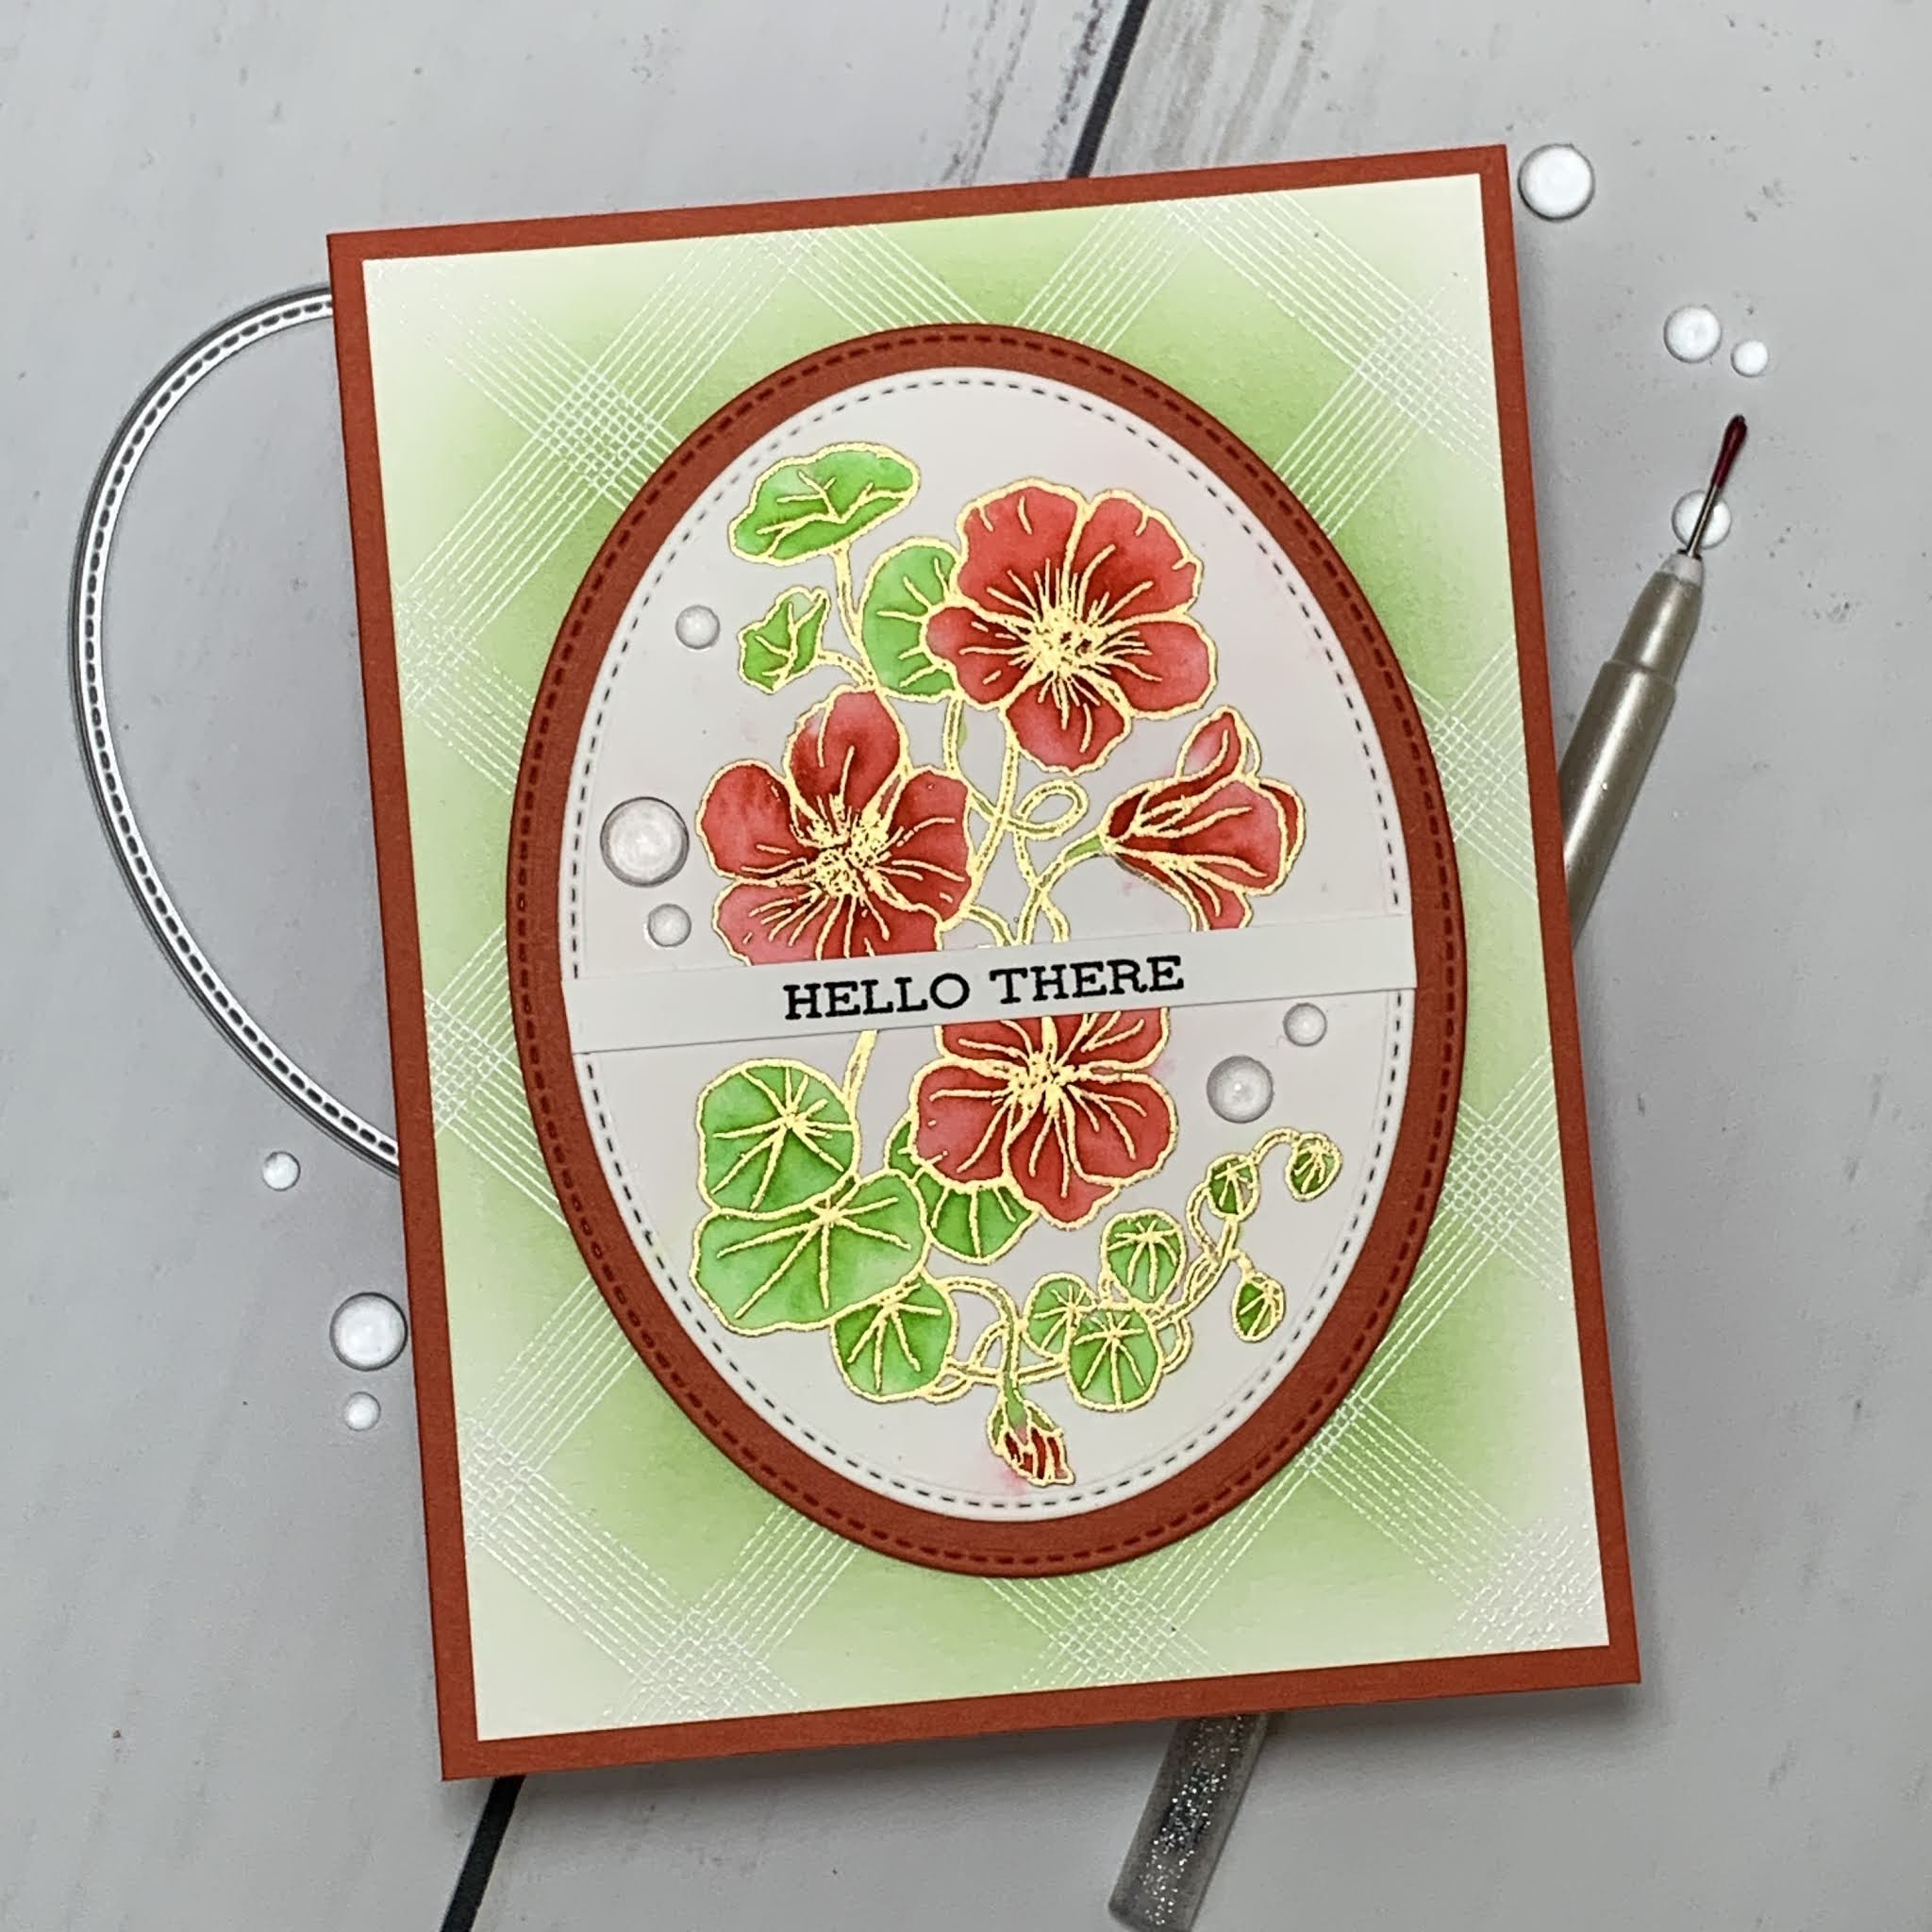
After my panel is completely dry, I take a die from my Stitched Ovals Die Set and adhere over my panel using Purple Tape, then run them through my Big Shot Die Cut Machine.


For my sentiment, I place a thin strip of the same watercolor cardstock into my MISTI and stamp a greeting from the Sentiment Strips 2 Stamp Set using Versafine Clair Nocturn Ink. I then add Double Sided Tape to the back of the strip and adhere over the center of my watercolored image. Using my Razor Shears, I trim off both ends to match the oval die cut.


Using the next larger die from my Stitched Ovals Die Set I cut out of Tomato Soup Cardstock, running them through my Big Shot. I then adhere the two oval die cuts together using Double Sided Tape and set aside.


Next, I cut a 4" x 5 1/4" panel out of the same watercolor cardstock using my Tim Holtz Guillotine Paper Trimmer and place it into my MISTI. I prep the panel with my Anti Static Powder Bag then stamp the Diamond Tiles Background Stamp with Versamark Ink, add White Embossing Powder and heat set with my Heat Tool.


To create a backdrop for my image, I use a Blender Brush to blend Mowed Lawn Distress Ink over my background panel, fading out towards the edges. I then use Double Sided Tape and adhere my background onto a side folding Tomato Soup Cardstock card base.


To finish my card, I add Foam Tape to the back of the oval image then mount onto my card front. Using my Jewel Picker I add Water Droplets with Liquid Glue and this completes my card.

I hope you found today's technique helpful and learned how quick and easy it is to create a water colored image using Color Burst Powders. This technique would be great to use on large floral images as well. Larger images would provide more white space, giving the image more of a watercolored look. Embossing the image first helps to contain the color within the lines. I like to create little pans of colors with my powders. To do this I add the powders to small pans and add a few drops of water then let them dry and harden. Doing this creates a palette of hardened colors that I can go back to with a water brush and pick up color to apply to my projects. If you would like more details on this method, you can check out my blog post that shows the process, just type in "Majestic Peony With Color Bursts" and scroll to the end of that post. I show my palette tin and there is also a video where I learned this set up from.
If this is the first time visiting my blog, welcome and I hope you return. If you are a returning visitor, thank you so much for your support!
Should you have any questions or comments please leave them in the comments section. I'd love to hear from you and what you thought about today's card.
If you would like to be notified by email each time I post something new to my blog, you can click on the subscribe button at the top of the page. *Be sure to verify your subscription through the email link to activate. There is also a follow button that you can click on located below my profile if you would like to follow my blog.
Thank you for visiting and I hope you come back soon!
Happy Stamping and God bless!!
Jeannie
I've always struggled with watercoloring, so I really appreciate this easy-to-do technique! Thanks for sharing!
ReplyDeleteYou are so welcome, I hope you give it a try!!
DeleteThank you! Have fun with your new goodies!!
ReplyDelete