Hello, welcome to my blog!!
I want to start out by thanking everyone for the support and nice comments you all leave for me. I truly appreciate the support of this blog!! I enjoy card making and bringing my creations to you, this wouldn't be possible without your support, so again, thank you!!!
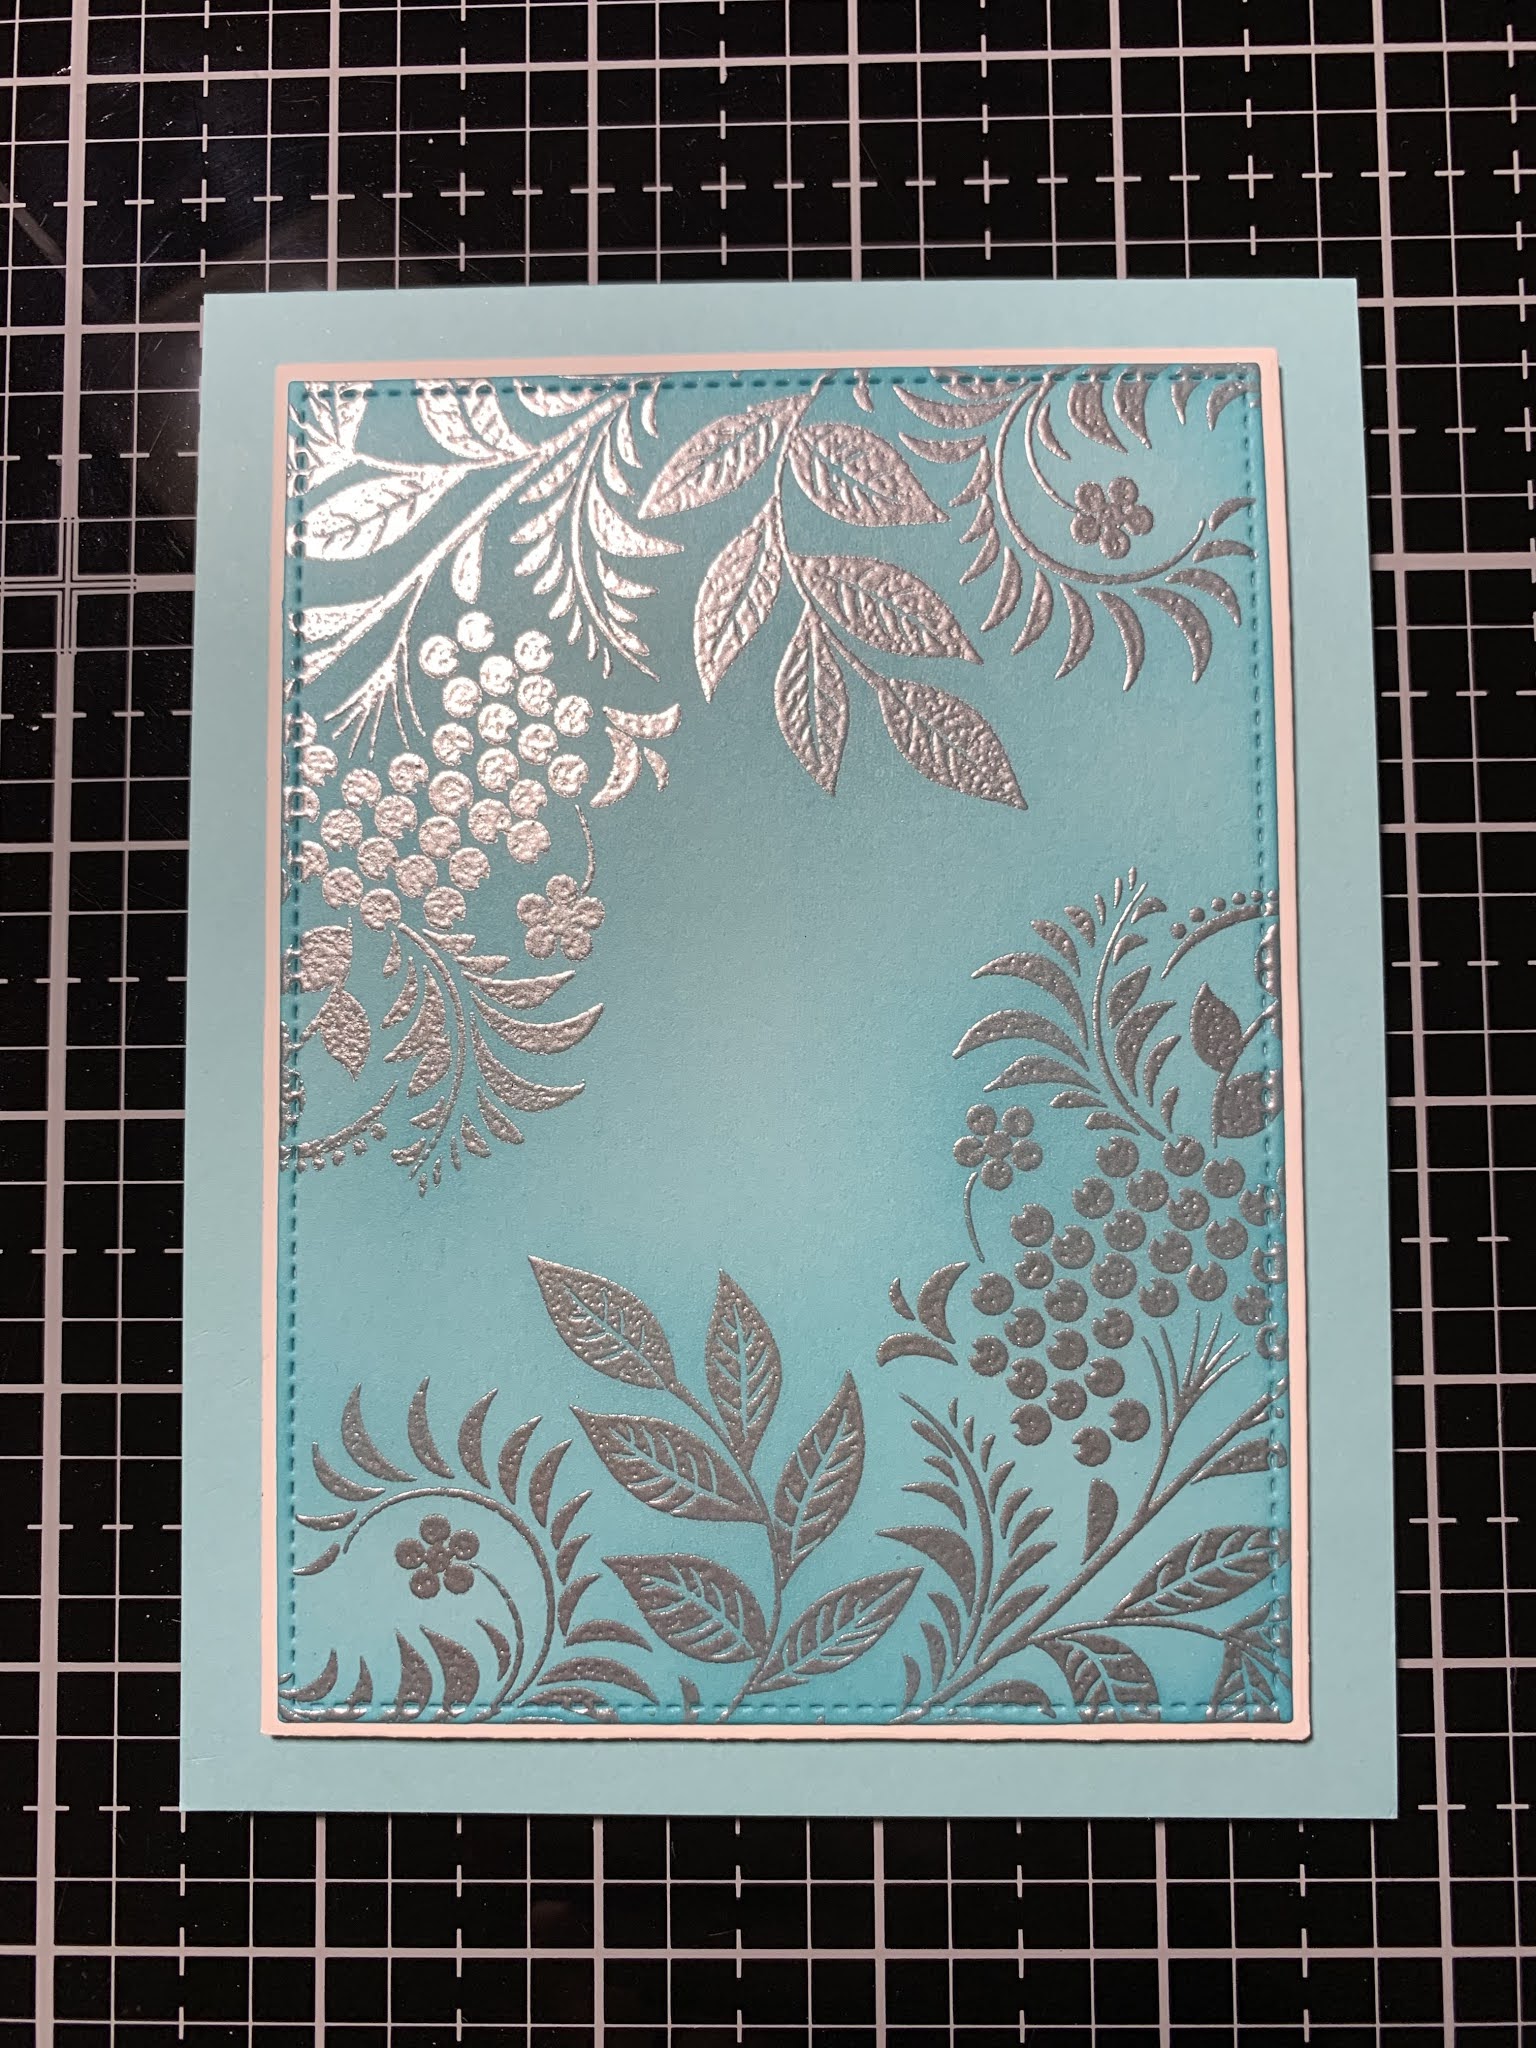
I just received my kit from Gina K. Designs and couldn't wait to play with it! Today, I created a simple card with heat embossing. With such an elegant looking stamp I knew right away, it needed to be embossed! This card is quick and simple and would be easy to mass produce. I added a little bit of ink blending to create some color variance to the card. All of the stamps, inks and cardstock I will be using today are from Gina K. To cut out all of my panels, including the greeting I used the Master Layouts 2 and the new Master Layouts 3 Die Sets... these die sets are game changers!!
***UPDATE*** THESE SETS ARE BACK IN STOCK!!!
The "kit" is currently sold out, but Gina has everything on reorder and will be selling everything from the kit individually when they come in. I will be sure to let everyone know when things are back in stock for those of you who may be interested. Let's get started!!

I will be doing all of my work today on my Tim Holtz Glass Media Mat.
I apologize ahead of time for lighting in some of the photos. To start, I take the biggest stitched rectangle from the Master Layouts 2 Die Set and cut out of Sea Glass Cardstock, running them through my Big Shot Die Cut Machine. I then add a small amount of Adhesive Dot Runner to the back of the panel and place it into my MISTI Stamp Positioner and prep it with my Anti Static Powder Bag. ***I make note of where my image is placed with the ruler markings on my MISTI (which is at the 1 1/4" and 2" marks) as I will need this information for my second stamping. Taking an image from the Holiday Tapestry Stamp Set, I position it over the top of my panel, coming down the left side a bit and stamp it using Versamark Ink. I then add Silver Embossing Powder and heat set with my Heat Tool.


Next, I turn the panel around and line it back up (at the 1 1/4" and 2" marks) into my MISTI and again prep with my Anti Static Powder Bag. I then ink up the stamp (which was left attached in the same position) with Versamark Ink and stamp onto the panel. I add Silver Embossing Powder and heat set with my Heat Tool. *Placing the panel at the same measurement marks gives the card an evenly stamped image on both the top and bottom. This also saves time from having to clean and remove the stamp to reposition it, this is great for mass producing!!


Using my Blender Brush, I blend Turquoise Sea Ink to random areas here and there. I then blend Blue Lagoon Ink around those same areas to give a little gradient shading. This is a very subtle look, I am just creating a light blend to add in some shadow areas.


Taking the layering die from the Master Layouts 2 Die Set I cut out of White Cardstock, running them through my Big Shot. Using Terrific Tape I adhere my embossed panel onto the white panel. I then add Foam Tape to the back of the panel and mount onto a Sea Glass Cardstock side folding card base.


Next, I take the biggest circle die and layering die from the same Master Layouts 3 Die Set and cut out of White Cardstock and Sea Glass Cardstock, running them through my Big Shot. I add a small amount of Adhesive Dot Runner to the back of the stitched die cut and place it into my MISTI. I then prep it with my Anti Static Powder Bag and stamp it with a greeting from the Holiday Tapestry Stamp Set using Versamark Ink. I add Silver Embossing Powder and heat set with my Heat Tool.


Using Terrific Tape I adhere my greeting onto the white circle die cut then add Foam Tape to the back and mount it onto my card front.


To finish, I use my Jewel Picker to add some Dazzling Diamond Rhinestones with Liquid Glue and this completes my card.

I hope you enjoyed today's card! I love the look of silver embossing powder against light colored cardstock. This card would look rich and elegant embossed in silver or gold against dark cardstock such as navy, eggplant, teal or red to name just a few. This stamp set also has a beautiful border strip design that would be great for stamping the flap of an envelope to coordinate. There are greetings as well as small images that would be perfect to use with the Wreath Builder... this set is so versatile and can be used well beyond the holidays!
If this is your first time visiting my blog, welcome and I hope you return. If you are a returning visitor, thank you so much for your support!
Should you have any questions or comments please leave them in the comments section. I'd love to hear from you and what you thought about today's card.
If you would like to be notified by email each time I post something new to my blog, you can click on the subscribe button at the top of the page. *Be sure to verify your subscription through the email link to activate. There is also a follow button that you can click on located below my profile if you would like to follow my blog.
Thank you for visiting and I hope you come back soon!
Happy Stamping and God bless!!
Jeannie
STUNNING! Thank you for sharing!
ReplyDeleteThank you Cathy!! You are so welcome!
DeleteBeautiful card! I clicked on the 3 lines in the right corner and my first name came up. My first thought was how, “How did it know my name?” Then I realized it was information about you. Lol! Same spelling and everything. Too early in the morning I guess. Another connection is that I am also from MN. Anyway, I love your work!
ReplyDeleteThat's funny! I can see you thinking that as it is not a very popular name, especially the spelling! Thank you Jeannie in Minnesota!!
DeleteThank you Cindy!!
ReplyDeleteAbsolutely beautiful card!
ReplyDeleteThank you!!
DeleteThank you for this tutorial. It makes me even more glad that I decided to order this kit last week. I love the card you made.
ReplyDeleteThank you Lilann!! You will be so happy that you decided to order this kit, it is wonderful!!
Deletestunning👏
ReplyDeleteThank you Debbie!!
DeleteYes, absolute stunning stamp design and you have displayed it so well! I will have to look for this timeless stamp. Thanks for sharing your inspiration.
ReplyDeleteThank you Connie! This stamp set should be available for purchase any day now from Gina K!
DeleteJust beautiful! Thank you for sharing!!!
ReplyDeleteThank you so much Jan!!
DeleteBravo et merci! Toutes tes cartes sont superbes
ReplyDeleteFrançoise de Bourgogne en France
Thank you so much!!
DeleteBeautiful!!
ReplyDeleteThank you so much!!
ReplyDeleteThis is so beautiful! Thank you for sharing it along with great instructions.
ReplyDeleteThank you so much, Anne for your kind words!
DeleteI am from Austria (Europe) love tihs card and I`m wondering, if I could get this stamp. Havent seen it over here before. I`m very thankful for an answer. Trudy
ReplyDeleteHello Trudy, sorry! I am just now seeing your comment. The Holiday Tapestry stamp set is available at Gina K. Designs. It can be purchased by going to her website, or by clicking my product link on my blog, which takes you directly to her website. You may be able to check and see if any of the craft stores in Austria carries GK products? Have a wonderful day!!
Delete