Hello, welcome to my blog!!
I want to start out by thanking everyone for the support and nice comments you all leave for me. I truly appreciate the support of this blog!! I enjoy card making and bringing my creations to you, this wouldn't be possible without your support, so again, thank you!!!
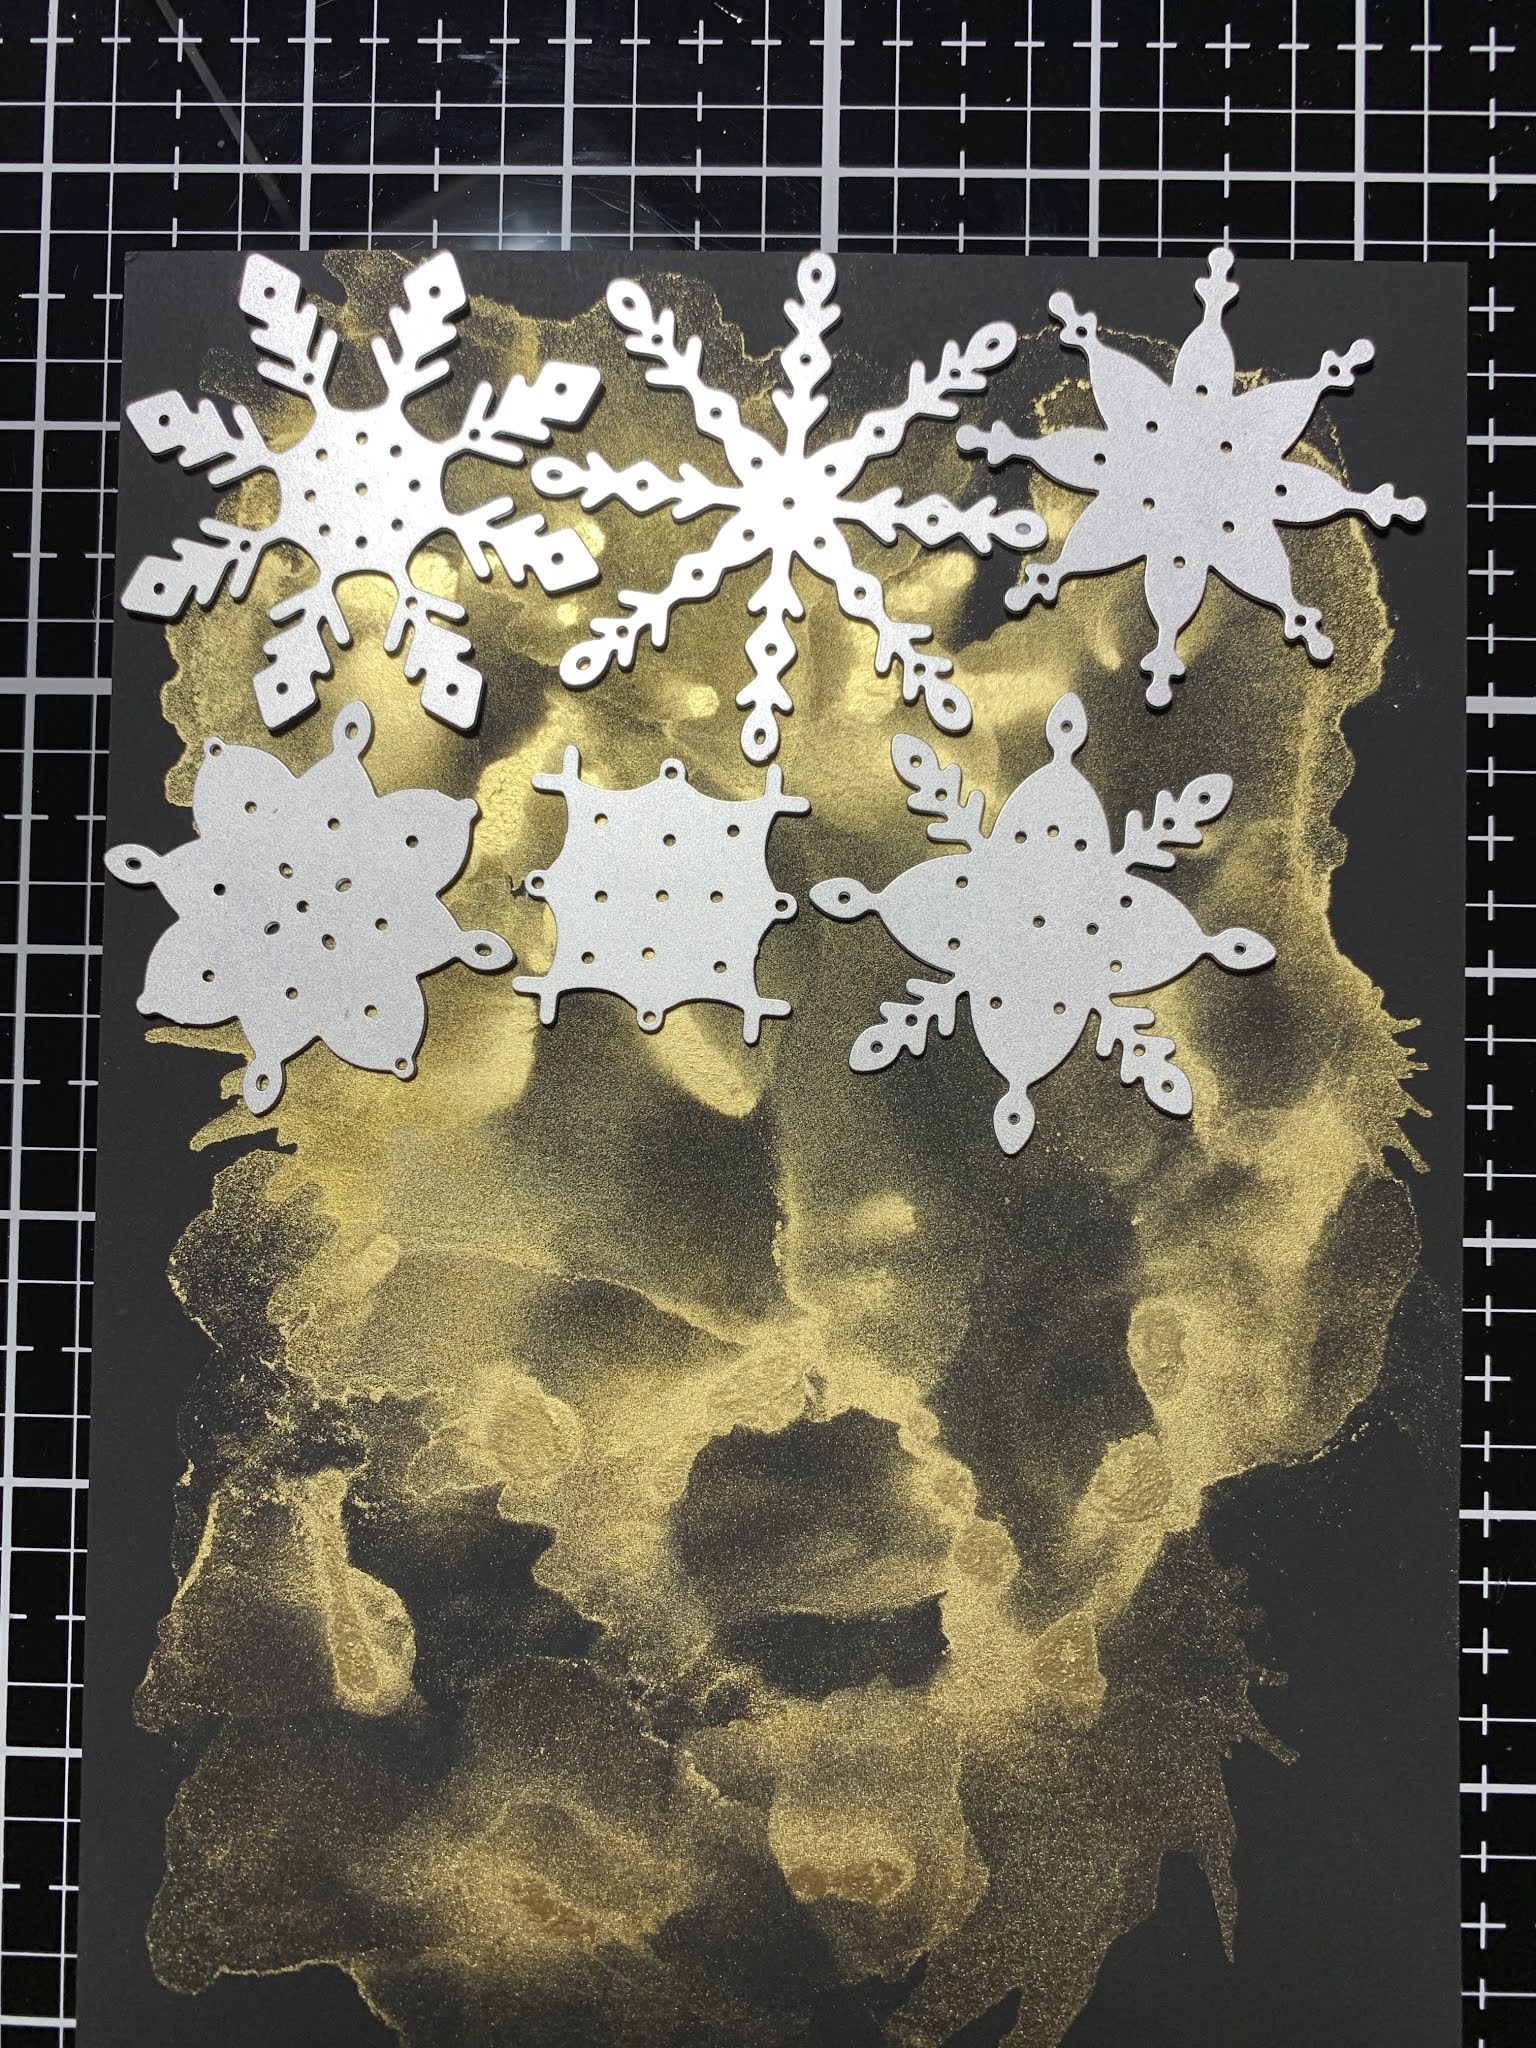
Today I am creating a non traditional Christmas card using the Layered Snowflake Dies from Pinkfresh Studio. These snowflakes layer beautifully together using colored cardstock, metallic cardstock and even vellum. Today I will be using black matte alcohol ink cardstock along with a gold alloy to create a background to cut my snowflakes from. Alloy alcohol inks show up beautifully on the black matte alcohol ink cardstock and gives a unique look by allowing the black cardstock to show through. Although I chose to go with black against kraft for my colors, any other dark colors like navy, burgundy, dark green or even plum would also look great. This is a simple yet elegant looking card due to the contrast between the gold alloy and dark cardstock. Let's get started!!

I will be doing all of my work today on my Tim Holtz Glass Media Mat.
To begin, I take a piece of Black Matte Alcohol Ink Cardstock and add several drops of Gilded Alloy Alcohol Ink to it. Next, I add Blending Solution over the drops to break them up and get them moving. I then use my Air Blower to move the ink around the panel until I am happy with the coverage. Once I'm satisfied with the look I set the panel aside to dry while I work on my card front.


Using my Tim Holtz Guillotine Paper Trimmer I cut a 4 1/4" x 5 1/2" panel out of Kraft Cardstock then place it into my MISTI Stamp Positioner. I then take my Delicate Snowflake Background Stamp and stamp the panel using Kraft Ink.


Next, I take the biggest die from the Outside In Stitched Rectangle Die Set and cut out of my panel. I also use the same die and cut out of Black Cardstock, running them both through my Big Shot Die Cut Machine.


I now take the black panel and cut it at an angle, lining it up on my Guillotine Paper Trimmer at the lower left corner to just above half way up the side. I then use Double Sided Tape and adhere it onto the kraft panel.


Next, I place the panel into my MISTI and prep it using my Anti Static Powder Bag. I then line up a greeting from the Christmas Sentiments Stamp Set over the lower portion of my panel. Using Versamark Ink, I stamp my greeting then add Gold Embossing Powder and heat set with my Heat Tool.


Using my Scor Buddy, I place a 5 1/2" x 8 1/2" piece of Black Cardstock into it and score it at 4 1/4" creating a side folding card base. I use Double Sided Tape and adhere my panel onto the card base.


Going back to my alcohol inked panel, I take a few dies from the Layered Snowflakes Die Set and cut out of it, I also cut out of Black Cardstock, running them through my Big Shot. I use my Craft Pick to remove all of the small pieces. *When cutting with intricate dies I place a Metal Adapter Plate under the bottom cutting plate of my die cutting machine.


Using Liquid Glue, I layer and glue the alcohol inked snowflakes onto the black snowflakes. I then use Liquid Glue and adhere the layered snowflakes onto my card front.


To finish my card I use my Jewel Picker to add Dazzling Diamonds Rhinestones to the centers of the snowflakes with Liquid Glue and this completes my card.

I hope you enjoyed today's card. Although this isn't your typical, traditional Christmas card, I do love the richness these combined colors give. Using kraft colored cardstock gives kind of a rustic, old fashioned feel that ties in great with snowflakes.
If this is the first time visiting my blog, welcome and I hope you return. If you are a returning visitor, thank you so much for your support!
Should you have any questions or comments please leave them in the comments section. I'd love to hear from you and what you thought about today's card.
If you would like to be notified by email each time I post something new to my blog, you can click on the subscribe button at the top of the page. *Be sure to verify your subscription through the email link to activate. There is also a follow button that you can click on located below my profile if you would like to follow my blog.
Thank you for visiting and I hope you come back soon!
Happy Stamping and God bless!!
Jeannie
Comments
Post a Comment