Hello, welcome to my blog!!
I want to start out by thanking everyone for the support and nice comments you all leave for me. I truly appreciate the support of this blog!! I enjoy card making and bringing my creations to you, this wouldn't be possible without your support, so again, thank you!!!
Today I will be creating a background using regular alcohol inks along with an alloy. I just love the way the alloy reacts with the ink and blending solution. Alloys are alcohol ink that reacts with blending solution and gives a "leafing" affect or foiled look (I will show two close ups at the end of the blog that shows this affect). There are five different alloys available, today I will be using the gilded or gold color. After completing my panel I will take a background stamp with alcohol lift ink to remove some of the ink leaving behind the image from my stamp. This technique is a great way to add interest and design to an alcohol inked panel. I will be using pink and green alcohol inks to create some floral colors. These colors would normally make a muddy mess, however, controlling the amount of movement when blowing the inks around can keep this from happening. I will then cut the panel into strips and mount to my card, with some gold mirrored cardstock to accent the alloy in my panel. I will also use the same mirrored cardstock for my greeting to tie everything together. Let's get started!!

To start, I take a piece of Yupo Paper and add some Blending Solution to it. I then add several drops of Fiesta Alcohol Ink, Mojito Alcohol Ink and a few drops of Gilded Alcohol Ink Alloy. Before blending I add a drop of Blending Solution over each drop of alloy, this helps to break up and move the alloy. Taking my Air Blower I push the ink around being careful not to over mix the colors. Because I am using two colors that do not play well together, I want to move them enough to blend where they meet without creating a muddy color. As I was moving the ink I decided I wanted it to be brighter so I add more pink and green ink with a little more blending solution and move it around more with the Air Blower. Once I'm satisfied with the results, I set the panel aside to dry for about twenty minutes. Once my panel is dry I add Dot Adhesive Runner to the back and place it into the center of my MISTI Stamp Positioner.


Taking the Flower Garden Bold Prints Background Stamp I ink it up using Alcohol Lift Ink. I then stamp it onto my panel applying even pressure over the entire stamp. I lift the door of my MISTI and clean my stamp off right away. Taking a soft clean cloth I blot the ink from my panel. I then take a clean part of the cloth and gently buff the panel to reveal the stamped image. I ink my stamp again and stamp the panel, repeating the process. Stamping a second or third time removes more ink making the image more clear. *If I were only stamping the panel once, instead of cleaning off my stamp right away I would have removed my panel and replaced it with a white cardstock panel and stamped the ink from my stamp onto it, creating another panel that could be used on a different card. **If you are stamping your panel more than once be sure to clean your stamp off well before re-inking to avoid contaminating your ink pad.


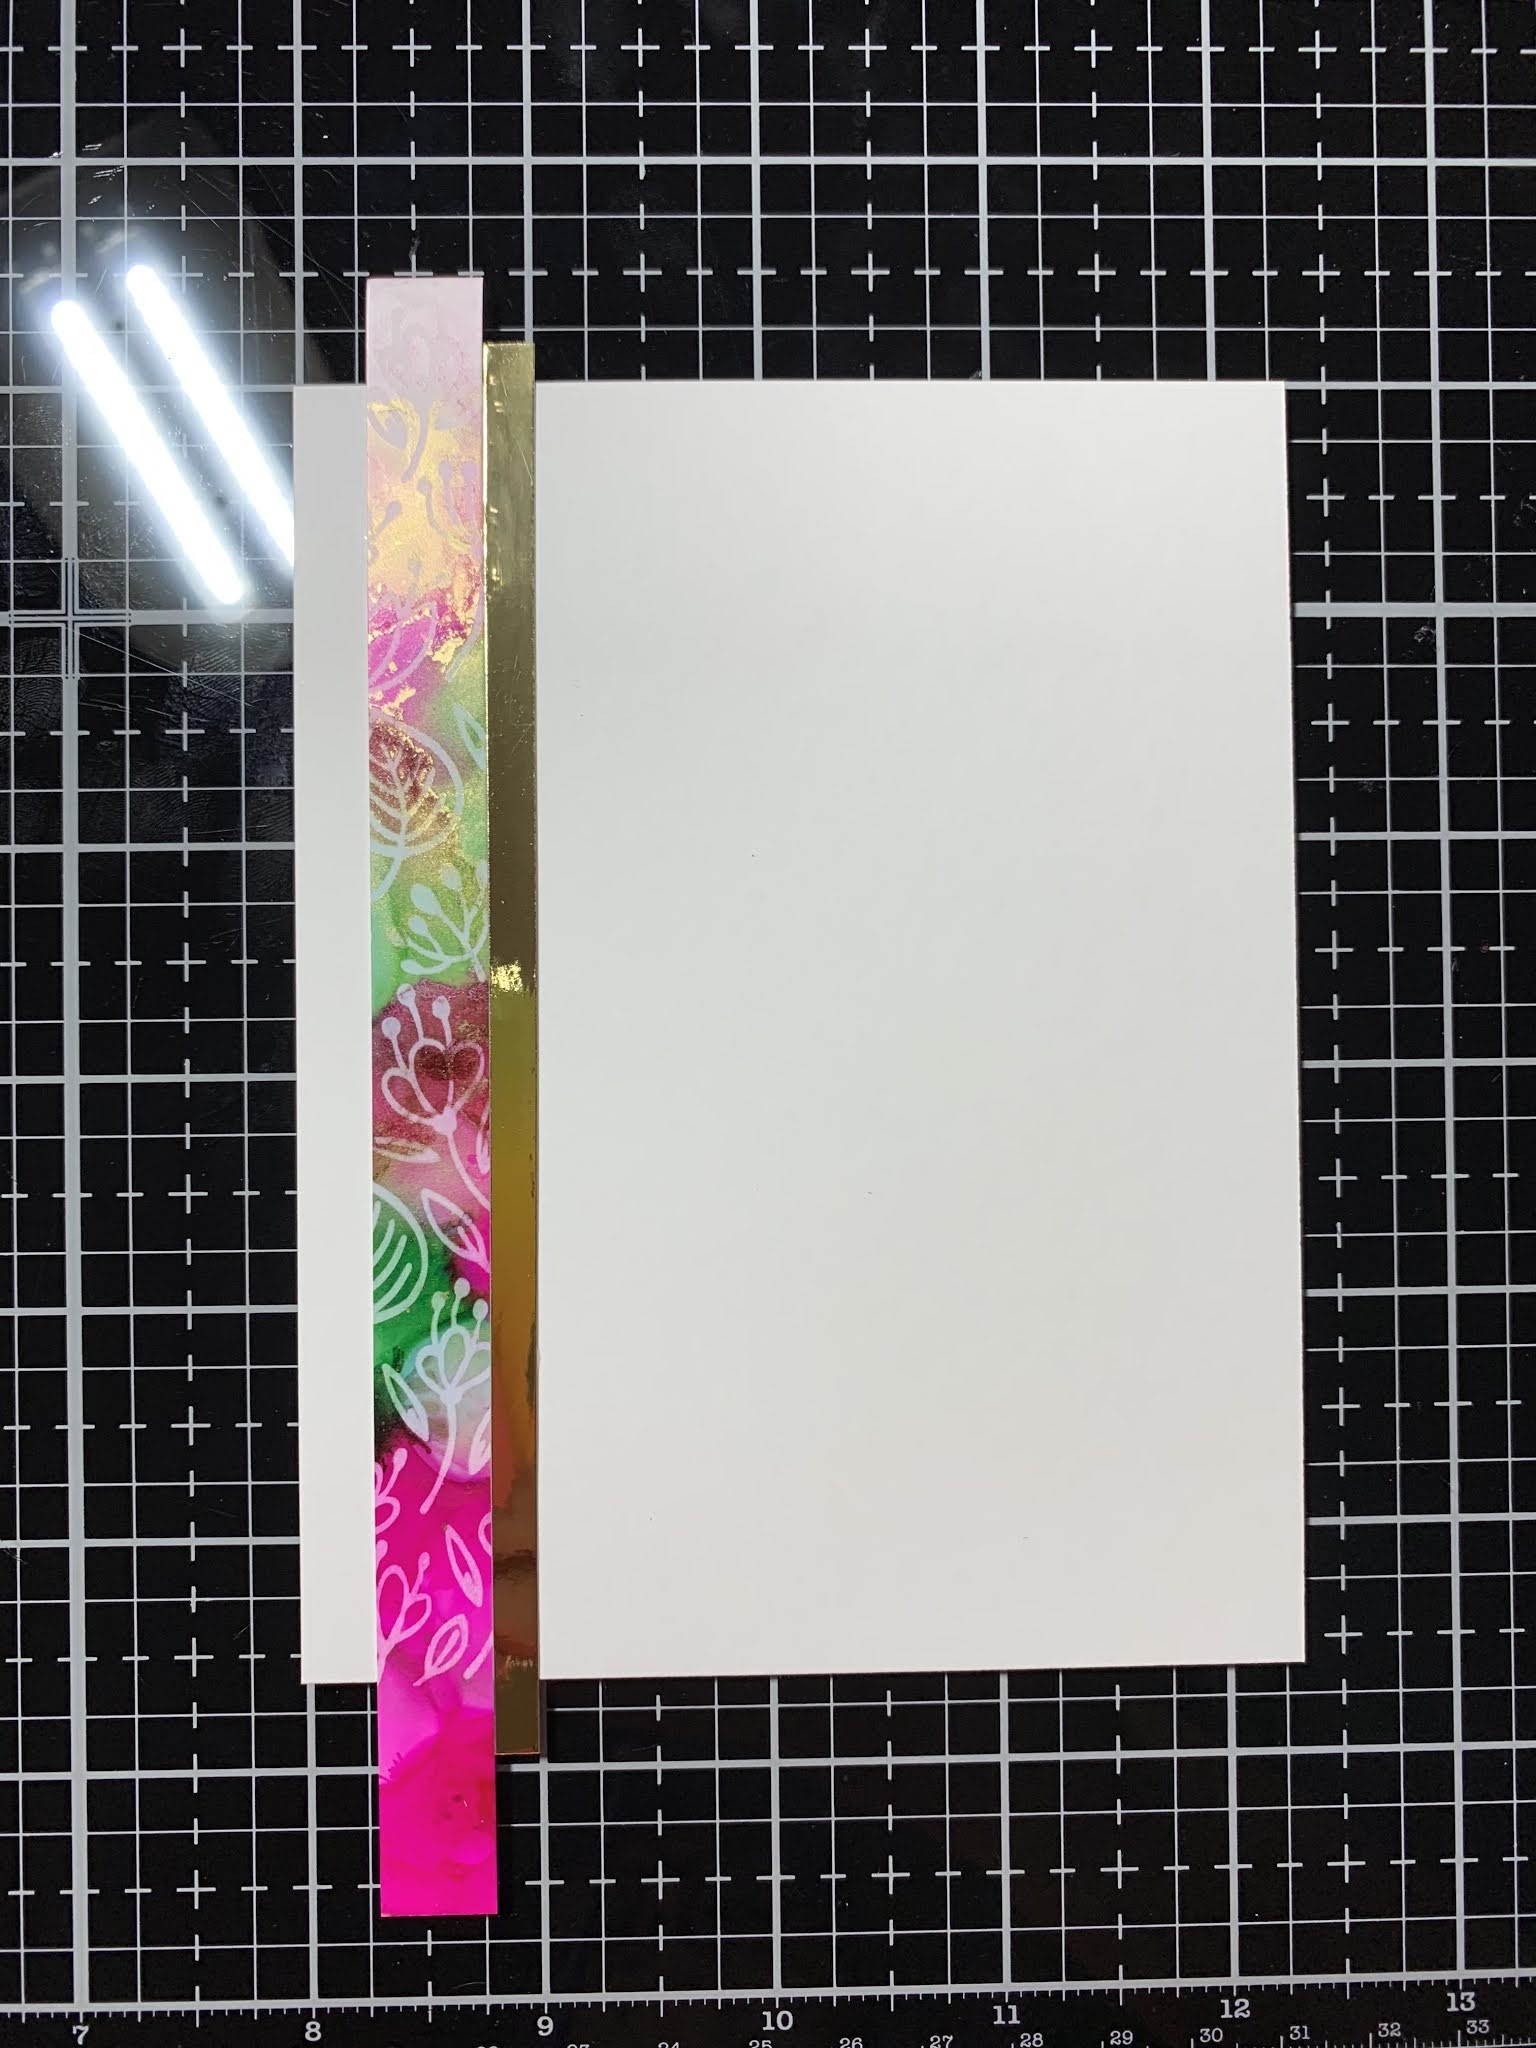
Using my Tim Holtz Guillotine Paper Trimmer, I cut my panel into various size strips. I also cut some thinner strips of Gold Mirrored Cardstock that I will place in between the panels. I take a 4 1/4" x 5 1/2" piece of Neenah White Cardstock that I will be adhering my panels to. To be sure I am adhering my panels straight, I use the grid lines on my Glass Mat to line things up. Using Liquid Glue I adhere my first strip. Next, I add a thin line of glue against the edge of my adhered strip then place a thin strip of Gold Mirrored Cardstock over the glue, pressing into place. I repeat this process using four strips of inked panels and five strips of gold cardstock. Using my Guillotine Paper Trimmer, I cut off all overhang. I then use Double Sided Tape to adhere my panel onto a white card base. *You could also skip the panel and adhere the strips directly to a card base, but I find it easier to use a panel first, in case of an error I do not waste a card base.


Next, for my greeting I take the Mega Hello Die and cut out of white cardstock three times, once out of Gold Mirrored Cardstock and once out of Black Cardstock. I also use the shadow die from the same set and cut out of Vellum, running them all through my Big Shot Die Cut Machine.


For my sentiment, I place a thin scrap of white cardstock into my MISTI and stamp a sentiment from the Statement Flowers Stamp Set using Versafine Clair Nocturn Ink. I angle cut both ends then use Liquid Glue and adhere over my greeting.


I use my Jewel Picker to add Water Droplets with Liquid Glue and this completes my card. The two close up pictures are to show the results of using the alloy. When blending solution is added and the ink is moved around the alloy breaks apart and gives a leafing or foiled look.


Creating alcohol inked backgrounds is a lot of fun, you never know what the results will be! It's also interesting to use colors you wouldn't think would go together. Alcohol inks alone give a beautiful look on their own, but when lift ink is used you can create a whole other look. Today I used finer lined images, however, bold prints give amazing results as well! Background stamps work great as well as any stamp set. You can use one big image or several small images to create your own look!
If this is the first time visiting my blog, welcome and I hope you return. If you are a returning visitor, thank you so much for your support!
Should you have any questions or comments please leave them in the comments section. I'd love to hear from you and what you thought about today's card.
If you would like to be notified by email each time I post something new to my blog, you can click on the subscribe button at the top of the page. *Be sure to verify your subscription through the email link to activate. There is also a follow button that you can click on located below my profile if you would like to follow my blog.
Thank you for visiting and I hope you come back soon!
Happy Stamping and God bless!!
Jeannie
Wonderful tutorial for a most creative and lovely card!
ReplyDeleteThank you Susan!!
DeleteFirst— Beautiful card. Amd I would have never thought to stack the detailed diecuts behind the vellum!
ReplyDeletePatti S.
Thank you so much!! I love stacking die cuts to help them stand out a bit more. Also when using vellum I like to stack them behind before adhering onto my panel rather than leaving the vellum to lie flat, just gives it a little more definition in my opinion. :)
Delete