Hello, welcome to my blog!!
I want to start out by thanking everyone for the support and nice comments you all leave for me. I truly appreciate the support of this blog!! I enjoy card making and bringing my creations to you, this wouldn't be possible without your support, so again, thank you!!!
Going on right now is the 7 Sizzling Days Of Summer at Scrapbookcom!! Each day there will be sales on seven different brands as well as a different free gift each day!! To check out the sales, click on the "coupons" tab located on their home page. They have great sales and free gifts... be sure to check back often. I have a banner located on the lower right side of my blog that takes you directly to their store. *Affiliate links used at no additional charge to you, thank you for your support!
Today's card project focuses on Alcohol Ink Pearls! These inks are so bright and vibrant and have a beautiful shimmer to them. There are a total of twelve colors available in the pearls family. They can be purchased separately, in a three pack or the full set. Today, I will be using six bright colors along with an Alloy Alcohol Ink. Also available are some earthy colors which are great for masculine cards! I will be using Yupo White Heavystock (which is a bit heavier that regular Yupo) with my inks. Yupo paper is a nonporous synthetic plastic that allows alcohol inks to move and blend using blending solution or isopropyl alcohol. I will be using a border die from Paper Rose that I will cut a panel twice with to create a card front to go over my inked background. I will be using a greeting die from Pinkfresh Studio as well as a sentiment from Altenew. Let's get started!!

I will be doing all of my work today on my Tim Holtz Glass Media Mat.
To start, I cut down a piece of Yupo White Heavystock to be 4 1/4" x 5 1/2" using my Tim Holtz Guillotine Paper Trimmer. Before adding any color, I add some Blending Solution to my panel. Working in rainbow order, I start by adding Intrigue Alcohol Ink Pearl to the left side of the panel. Working my way across the panel I add Splendor Alcohol Ink Pearl, followed by Alchemy Alcohol Ink Pearl, Sublime Alcohol Ink Pearl, Tranquil Alcohol Ink Pearl and finishing with Villainous Alcohol Ink Pearl. I then add several drops of Sterling Alcohol Ink Alloy. I then add a drop of Blending Solution over the alloy drops to help break them up. Now for the fun part! I use my Air Blower to gently move the ink around my panel. I want to blend each color but keep them in rainbow order as this helps keep the colors from getting muddy. Once I'm happy with the look, I set the panel aside to dry while I work on my die cutting. *I like to work over a piece of copy paper. This helps catch any ink runoff and makes it easy to pick up and move my wet panel away from my work surface to dry. To clean up my Glass Mat, I use some isopropyl alcohol and cotton balls. I then wipe my mat with a damp cloth and dry off.


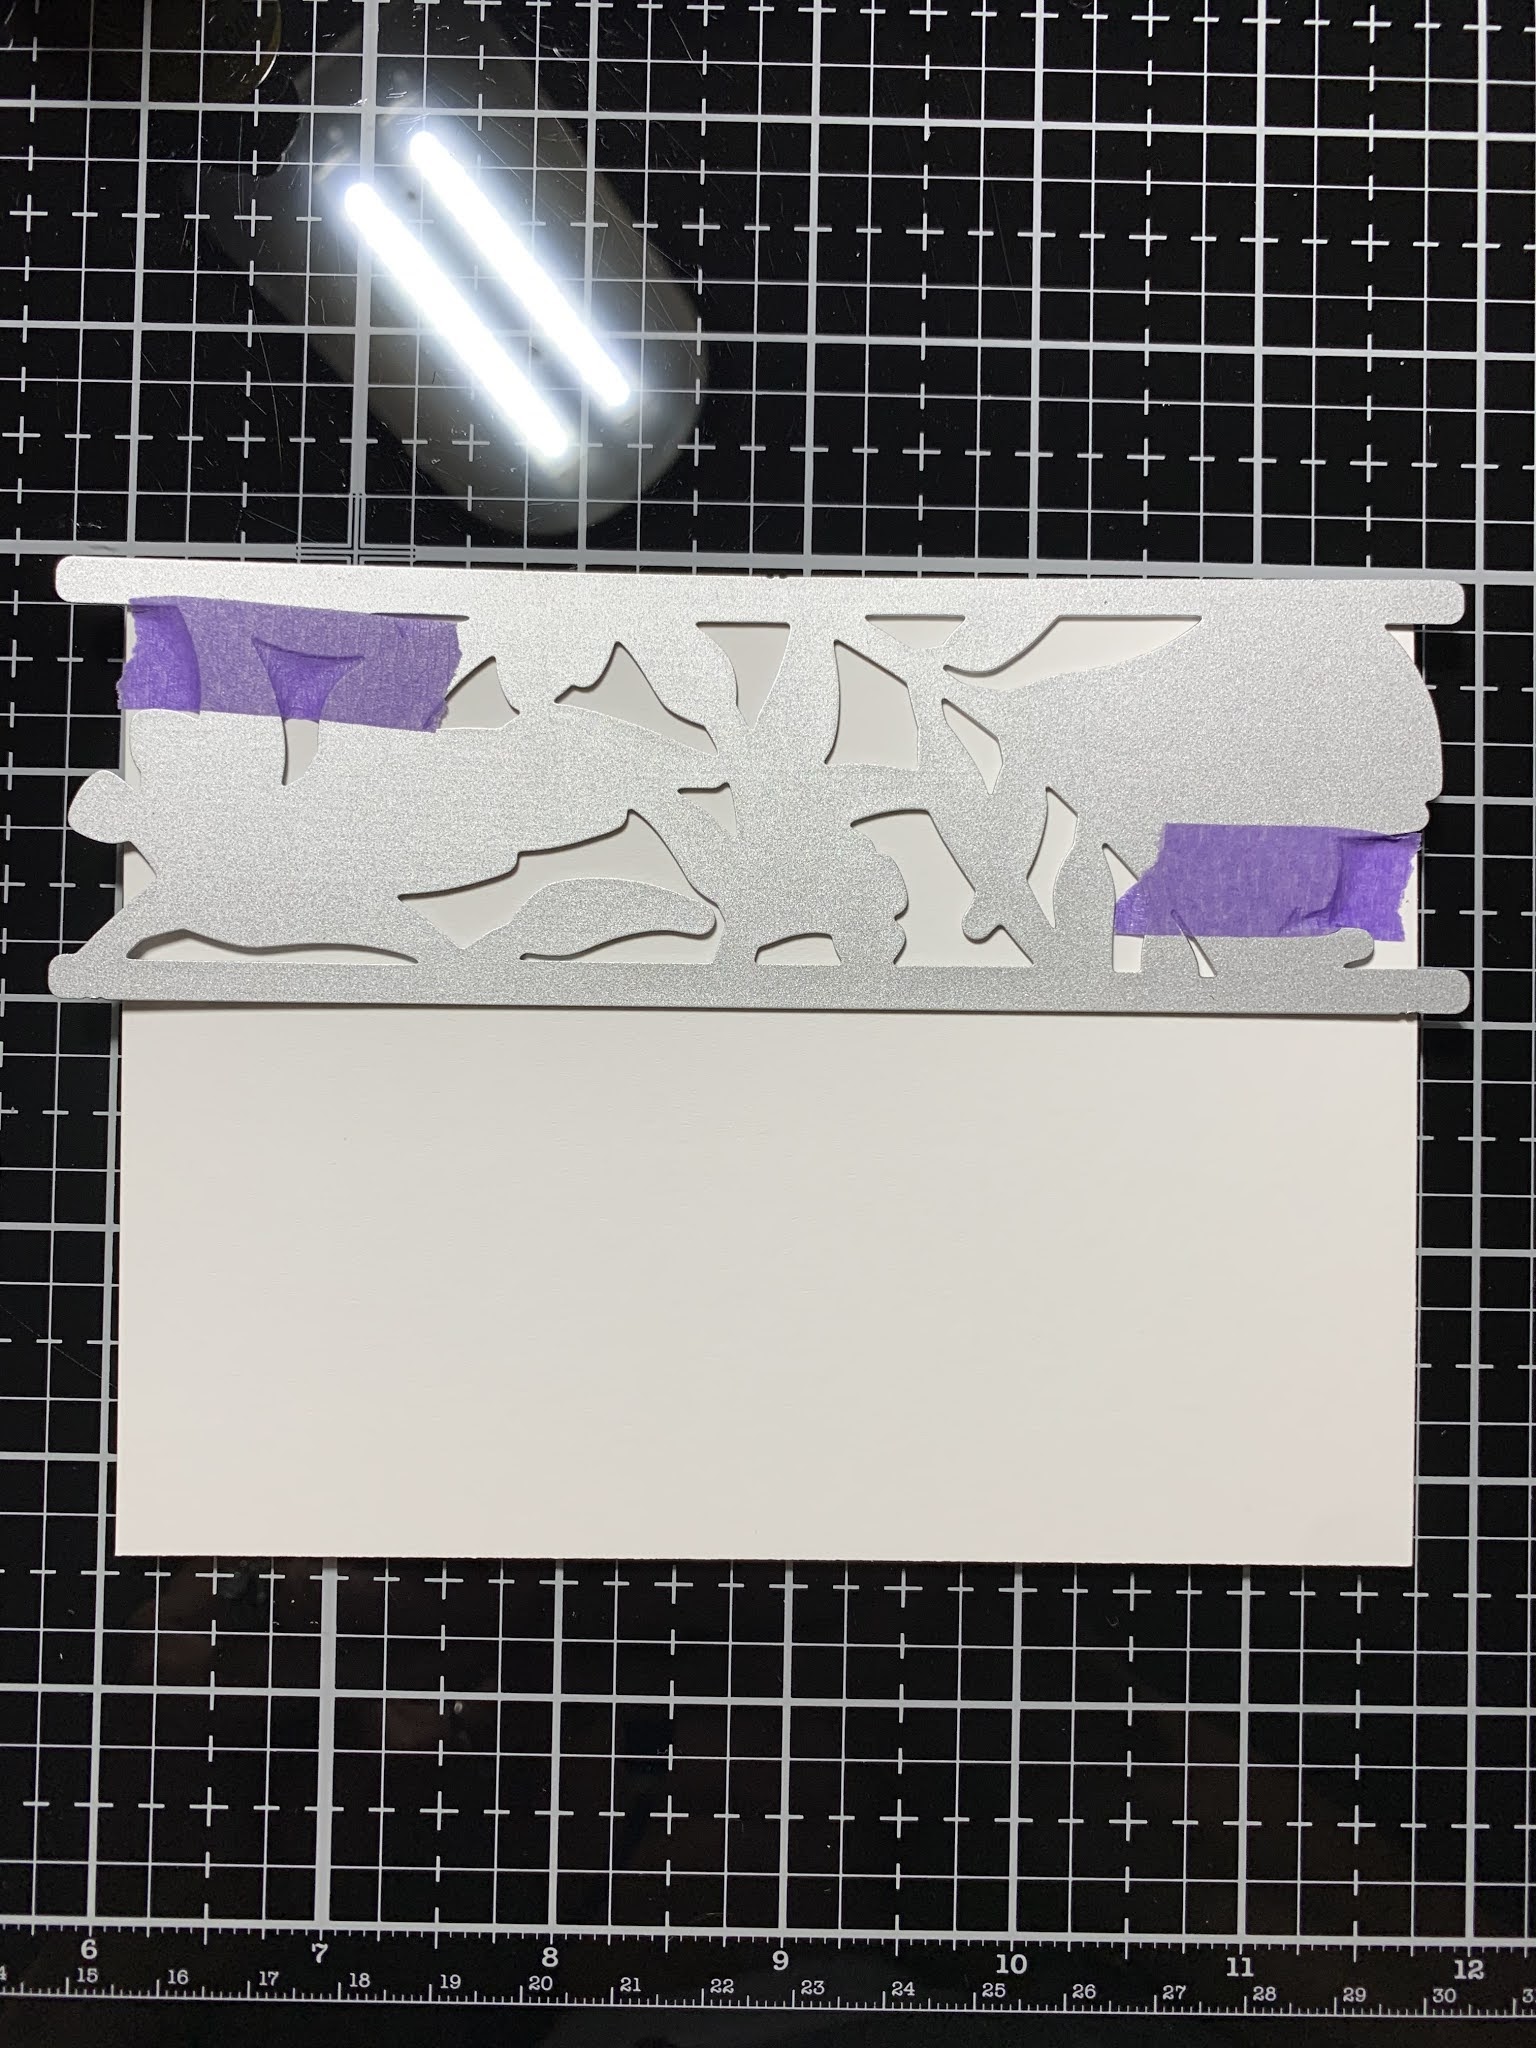


Alcohol inks are so fun to play with, I have to force myself to stop and put them away or I would use up all of my Yupo paper in one sitting! These border dies are brilliant! I love how they cut out a design yet leaves the panel intact. The stitching is a great finishing touch to such a beautiful design. I used a similar die on a previous post where I cut the panel just once if you would like to see another example of this type of die. I will be taking the rest of the week off as I have a very special project I will be working on for the next few days... I've been invited to be a guest designer for Gina K. Design's new release!! Come back on Monday for another fun card project, have a wonderful weekend!
If this is the first time visiting my blog, welcome and I hope you return. If you are a returning visitor, thank you so much for your support!
Should you have any questions or comments please leave them in the comments section. I'd love to hear from you and what you thought about today's card.
If you would like to be notified by email each time I post something new to my blog, you can click on the subscribe button at the top of the page. *Be sure to verify your subscription through the email link to activate. There is also a follow button that you can click on located below my profile if you would like to follow my blog.
Thank you for visiting and I hope you come back soon!
Happy Stamping and God bless!!
Jeannie
Comments
Post a Comment