Hello, welcome to my blog!!
I want to start out by thanking everyone for the support and nice comments you all leave for me. I truly appreciate the support of this blog!! I enjoy card making and bringing my creations to you, this wouldn't be possible without your support, so again, thank you!!!
The big day is here!!! Tonight at 7 pm CST Gina K. Designs will be having their new release, including a brand new kit!! You know what that means?... You can now purchase last month's kit contents separately, including the very popular Lovely Lotus stamp set! This set has been so popular, if you were waiting to be able to purchase it separately, I highly recommend getting as soon as possible before it sells out. I am excited for the new kit as the sneak peek looks to be a silhouette set!! For those of you who enjoy creating ink blended backgrounds or any backgrounds for that matter, silhouette stamps are a great way to create a quick card. Gina always puts on a great release and I am very excited to see what she has in this new release! Starting at 7 pm CST Gina will go live on Facebook revealing the new items, this will be a 2 hour live. You can watch the live and shop after or if you are anxious and cannot wait, all of her new items will be available for purchase starting at 7 pm CST! I have a Gina K. store logo located at the lower right side of my blog that takes you directly to her store. *Affiliate links used at no additional cost to you. These links help in supporting my business and allows me to bring new creations to you. If you shop through my links, I appreciate you support and thank you!!
Today I thought I would create another card using the Lovely Lotus stamp set since it is so popular and I have a feeling many more sets will be purchased tonight! I will be using the Fizzy stencil (which will also be available separately tonight after 7 pm CST) to create a backdrop for my focal image. I am using one color of cardstock with a couple of different shades of ink to create some depth on the edges of my backdrop as well as the focal image. I will do all of my stamping including some stenciling with gold embossing to give this card a rich, elegant look. Let's get started!!

I will be doing all of my work today on my Tim Holtz Glass Media Mat.
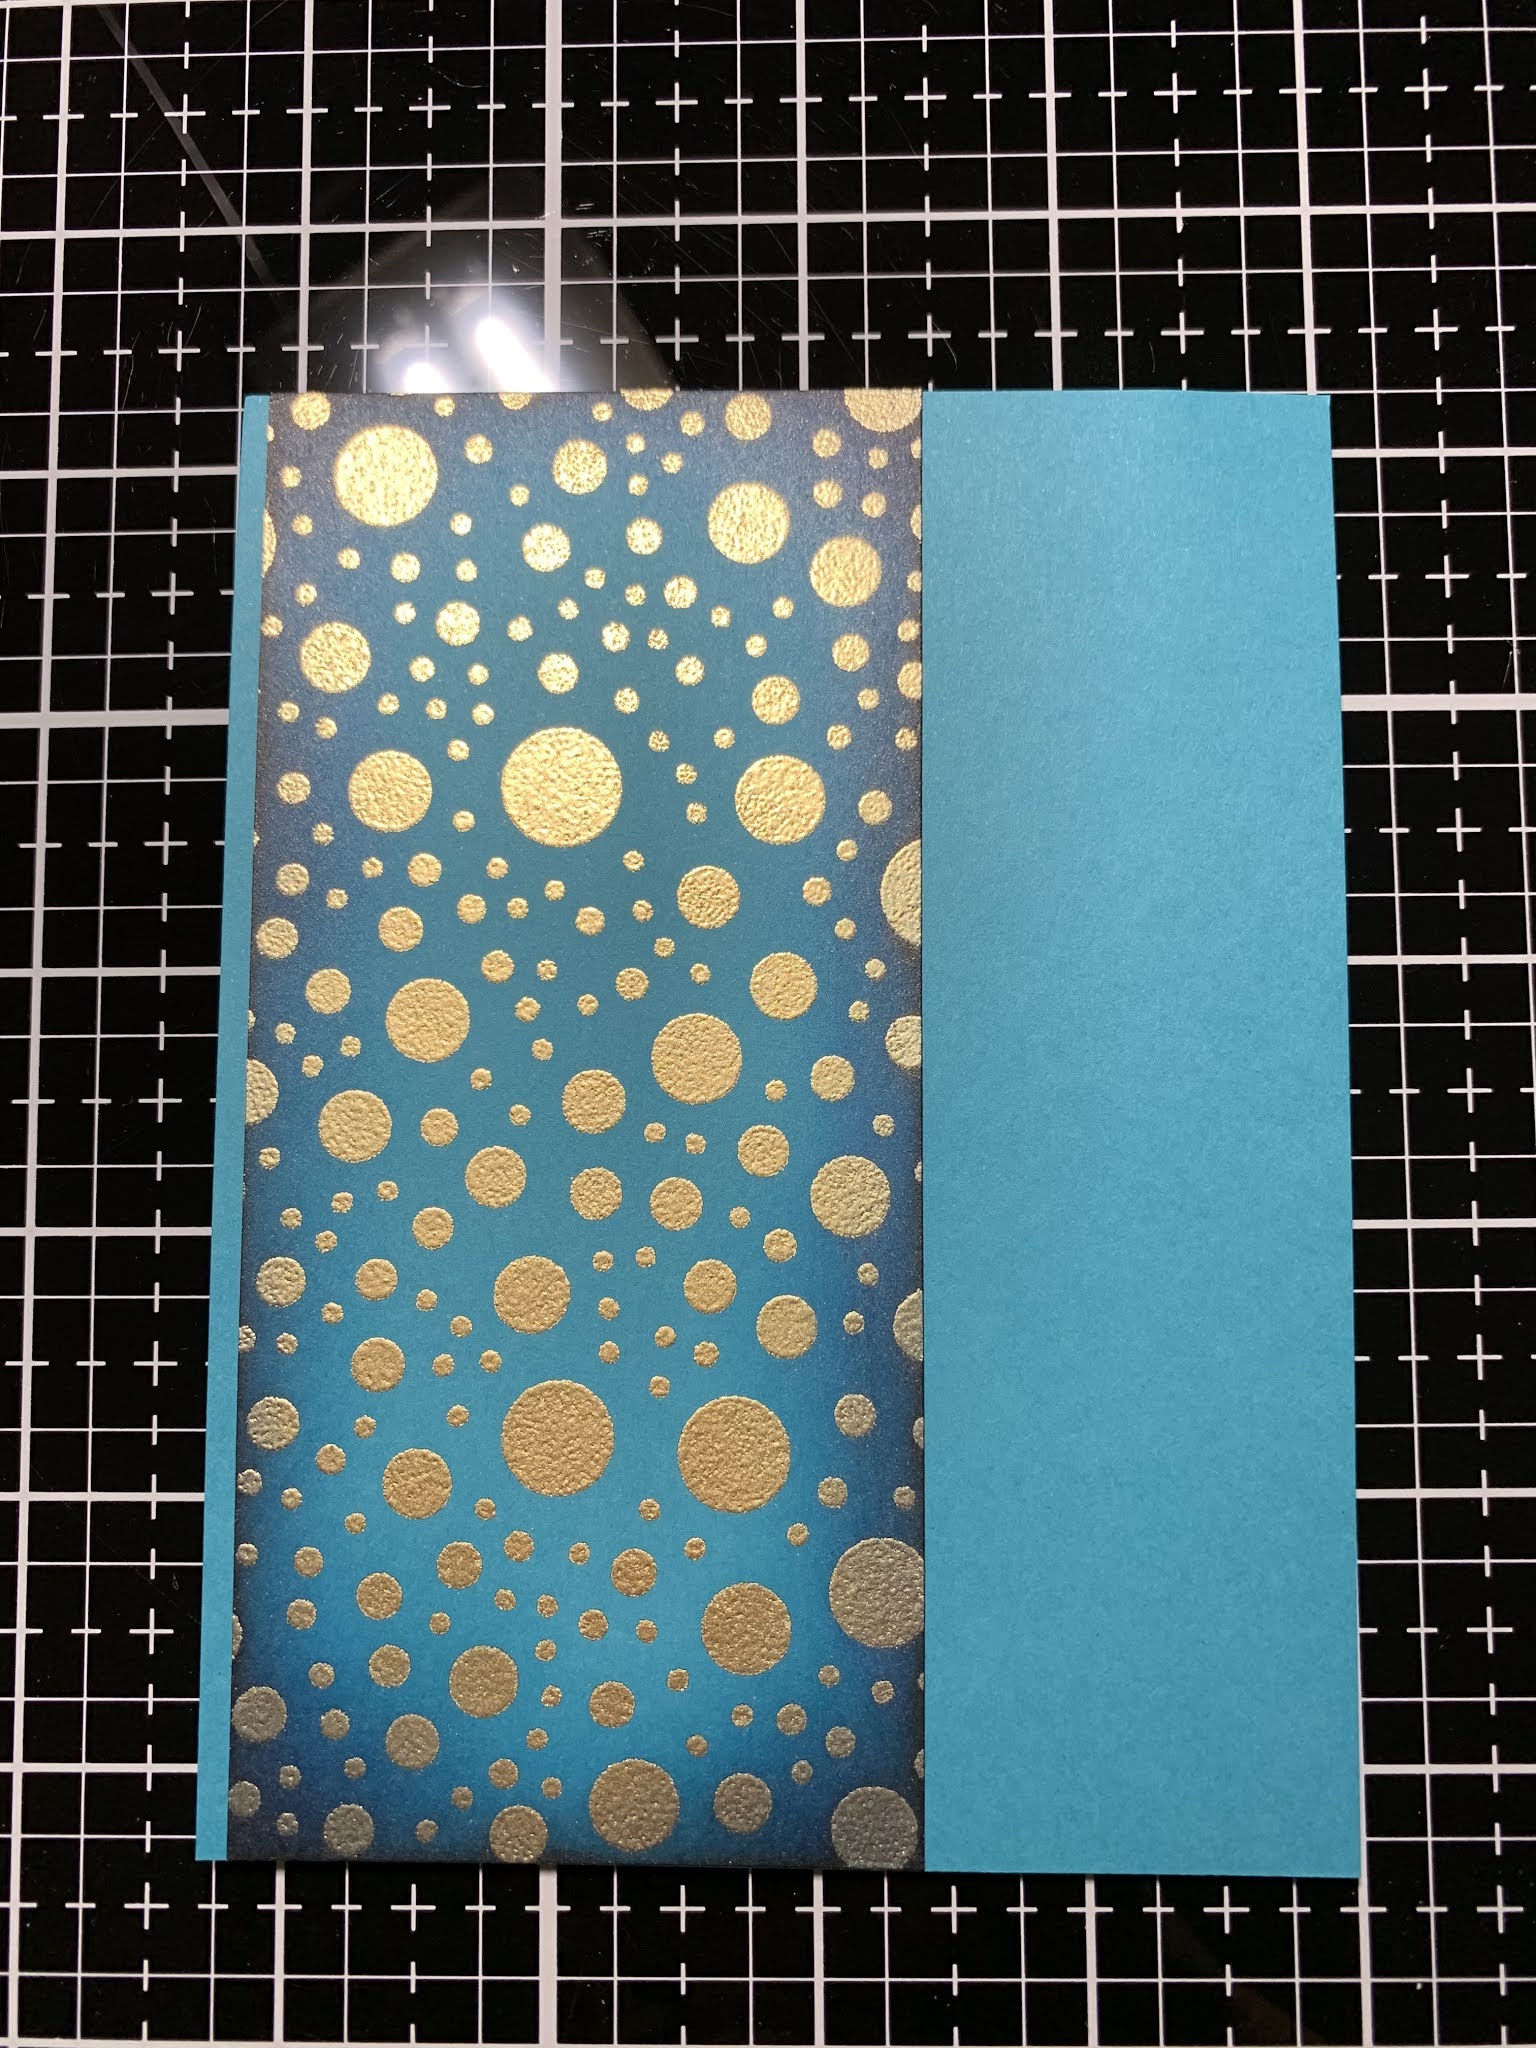
To start, I cut a 4 1/4" x 5 1/2" panel out of Tranquil Teal Cardstock using my Tim Holtz Guillotine Paper Trimmer. Next, I prep the panel with my Anti Static Powder Bag. I then adhere the Fizzy Stencil over my panel using Purple Tape then tape it down to my work surface. Using a Jumbo Sponge Dauber I apply Versamark Ink over the entire stencil with a dab and twist motion over each of the circle openings. I carefully remove the stencil and add Gold Embossing Powder over the entire panel then heat set with my Heat Tool.


Using my Guillotine Paper Trimmer, I cut my embossed panel down to 2 1/2" wide. I then take my Blender Brushes and blend Tranquil Teal Ink around all of the sides and corners, fading a bit towards the center... I want to leave the original cardstock color in the center of the panel. I then blend Blue Denim Ink around the edges and corners being careful not to cover up all of my previous color. For my final color, I blend Black Onyx Ink to the very edges and corners of the panel. Bringing in black really helps to deepen the navy ink creating a dramatic ink blend. *I use a dry cloth to remove any ink left sitting on top of the embossing each time I change colors and after my final blend.


Next, I place a piece of Tranquil Teal Cardstock into my MISTI Stamp Positioner and prep it using my Anti Static Powder Bag. I then stamp the large lotus and lily pad from the Lovely Lotus Stamp Set using Versamark Ink. I add Gold Embossing Powder then heat set with my Heat Tool.


I place the panel back into my MISTI and prep with my Anti Static Powder Bag. I then line up the detail image from the same stamp set and stamp with Versamark Ink, add Gold Embossing Powder and heat set with my Heat Tool.


I now take the coordinating dies from the Lovely Lotus Die Set and hold into place using Purple Tape then run through my Big Shot Die Cut Machine.


I want to add some shading to my two images. Using my Blender Brushes I blend Tranquil Teal Ink and Blue Denim Ink around the edges the same way I blended my panel. I then blend Black Onyx Ink around just the very edges.

For my sentiment, I place a 1 3/4" x 5 1/2" piece of Vellum into my MISTI and prep with my Anti Static Powder Bag. I then stamp a sentiment from the Lovely Lotus Stamp Set using Versamark Ink. I add Gold Embossing Powder and heat set with my Heat Tool.


Next, I cut a 4 1/4" x 5 1/2" panel out of Tranquil Teal Cardstock using my Guillotine Paper Trimmer. I then add Terrific Tape to the back of my embossed panel and adhere to the left side of my cardstock panel leaving about 1/8" of the panel showing. I then add Terrific Tape to the lower back side of my panel, l line up my sentiment strip and fold the ends around the panel and adhere to the back.

Using my Scor Buddy, I place a 5 1/2" x 8 1/2" piece of Tranquil Teal Cardstock into it and score at 4 1/4" creating a side folding card base. Next, I add Terrific Tape to the back of my panel, then place my folded card base into the left corner of my Scor Buddy. Keeping the card base snug up against the corner, I place my panel into the same corner then press down to adhere it onto the card base. *Using the corner evenly lines up the panel to the card base.


To finish, I add Terrific Tape to the back of the lily pad and adhere it just above my sentiment strip. I then add Foam Tape to the back of the lotus and mount it over the lily pad and this completes my card.

I hope you enjoyed today's monochromatic card. I love taking colored cardstock like this and add darker ink colors to create depth, something so simple really adds to the look.
If this is the first time visiting my blog, welcome and I hope you return. If you are a returning visitor, thank you so much for your support!
Should you have any questions or comments please leave them in the comments section. I'd love to hear from you and what you thought about today's card.
If you would like to be notified by email each time I post something new to my blog, you can click on the subscribe button at the top of the page. *Be sure to verify your subscription through the email link to activate. There is also a follow button that you can click on located below my profile if you would like to follow my blog.
Thank you for visiting and I hope you come back soon!
Happy Stamping and God bless!!
Jeannie
Beautiful card
ReplyDeleteThank you Nancy!!
DeleteSoooo pretty! Thank you for sharing!
ReplyDeleteThank you Camille!!
Delete