Hello, welcome to my blog!!
I want to start out by thanking everyone for the support and nice comments you all leave for me. I truly appreciate the support of this blog!! I enjoy card making and bringing my creations to you, this wouldn't be possible without your support, so again, thank you!!!
Today I have a no line watercolor card for you. Though this is a no line watercolor card, the lines didn't fade out as much as I would have liked them to. I used Antique Linen Distress Oxide Ink to stamp the image where I normally use regular Distress Ink, so maybe the Oxide had something to do with it? Anyhow, I love to play around with watercoloring and no line coloring is a fun technique, it gives soft edges to the images when colored. I will be using an image from Altenew for my technique. This image would be great for a slim line card, but today I will be creating my normal A2 size card. Let's get started!!

I will be doing all of my work today on my Tim Holtz Glass Media Mat.
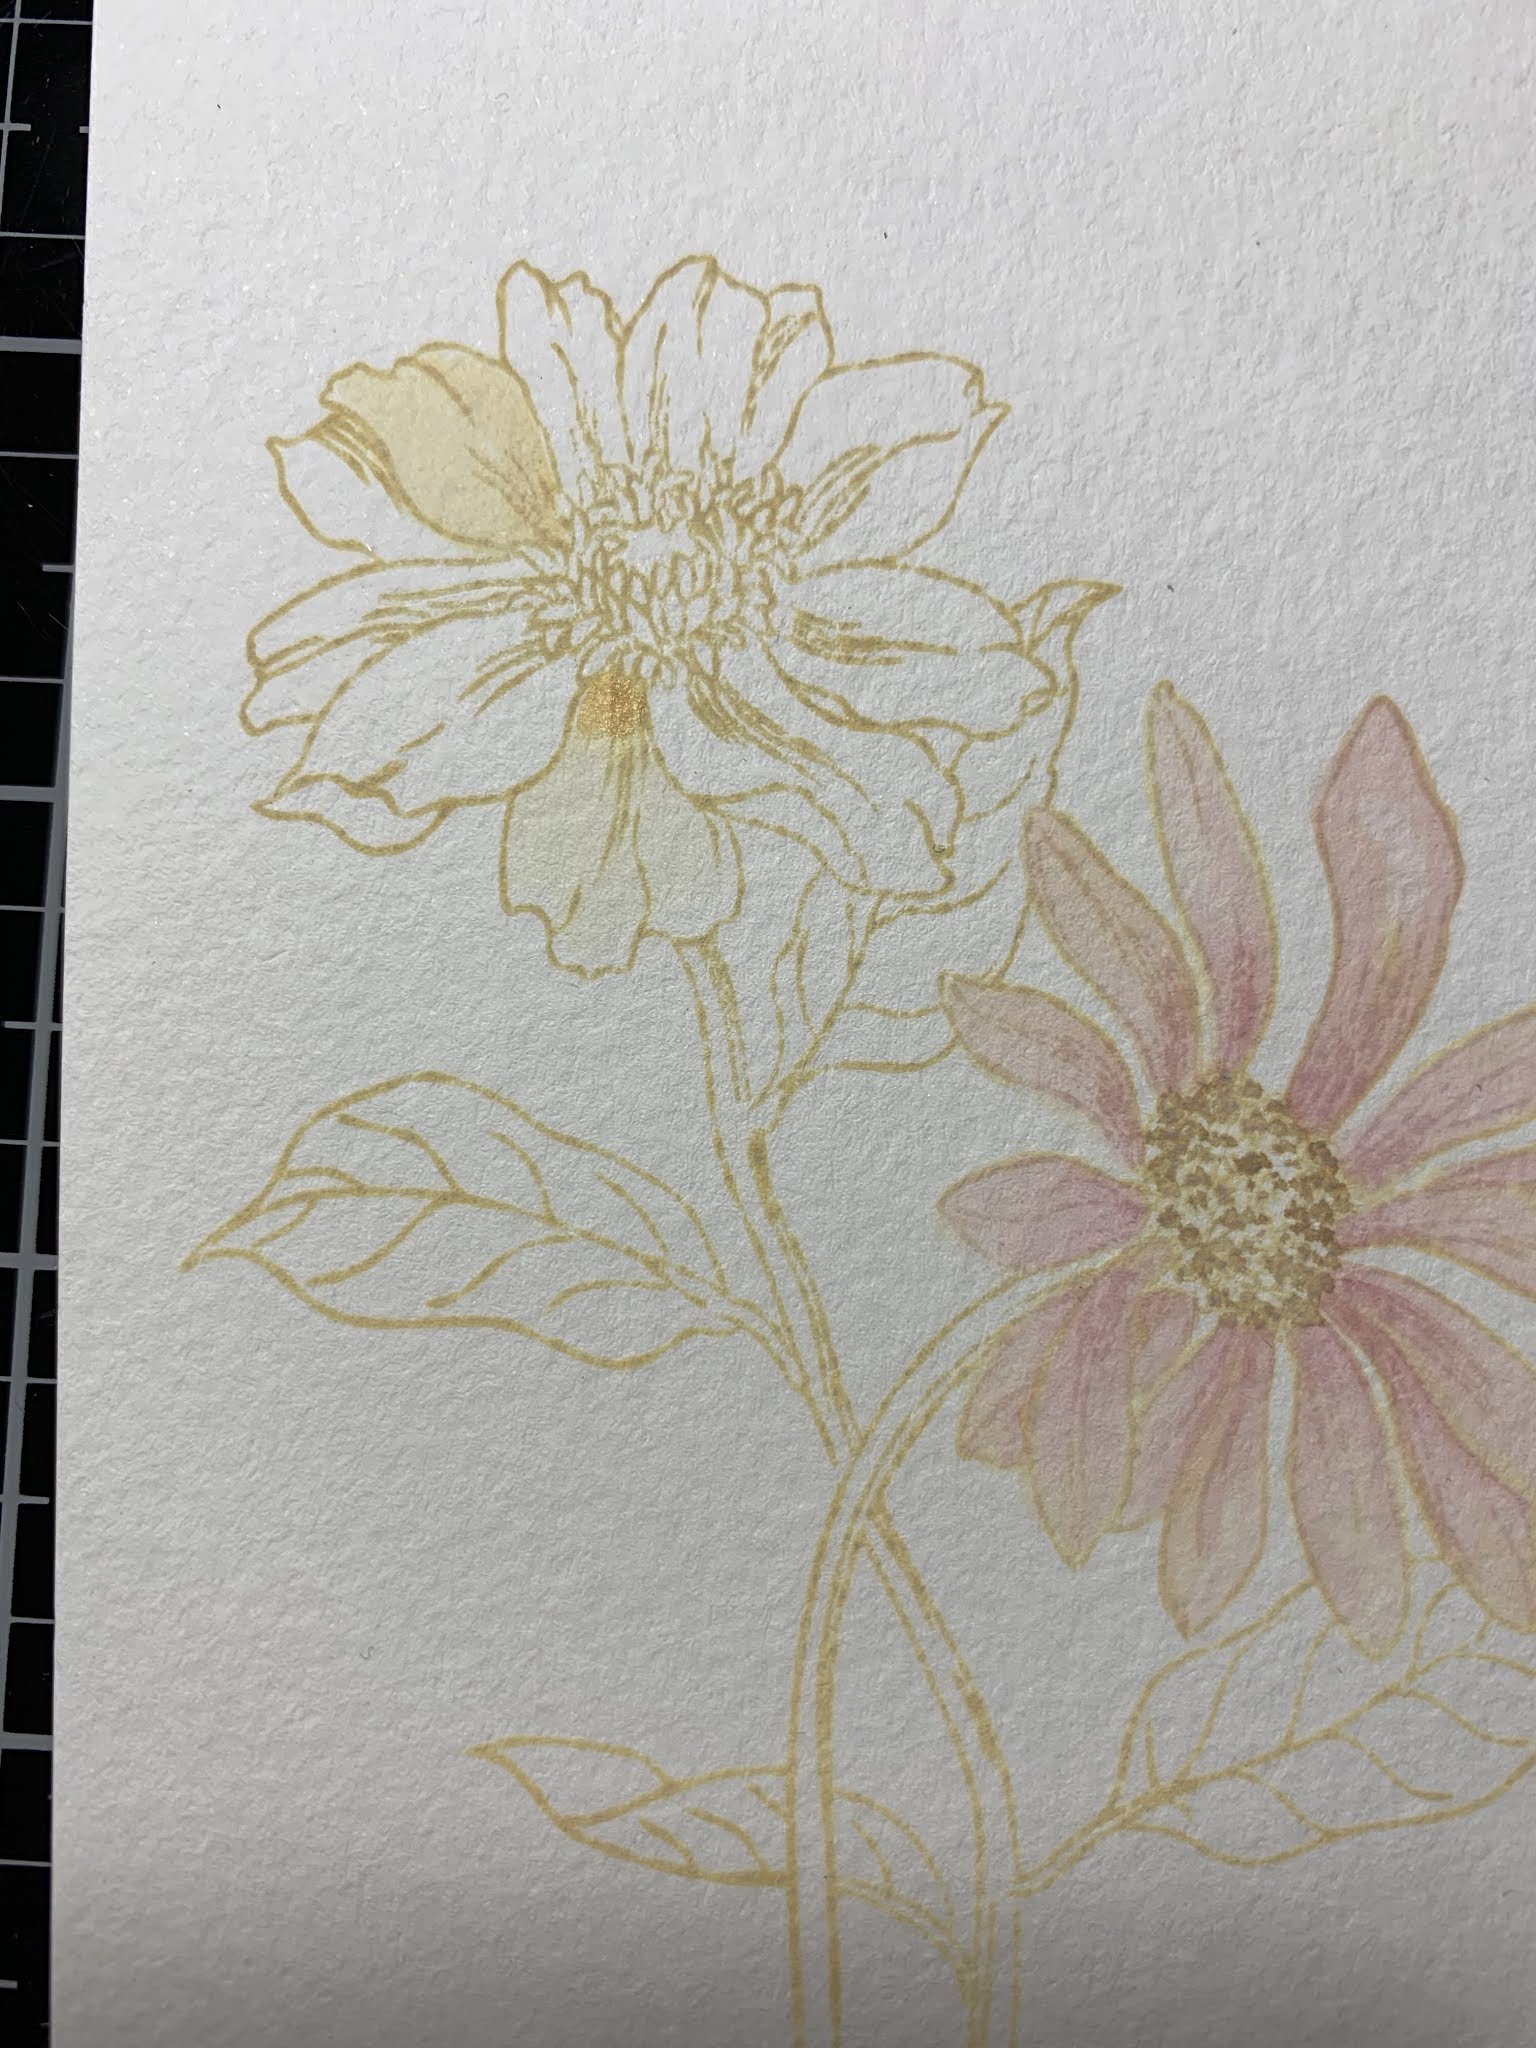
To start, I place a piece of watercolor cardstock into my MISTI Stamp Positioner and stamp an image from the Wild Flora Stamp Set using Antique Linen Distress Oxide Ink.


Next, I press a couple of ink pads onto the white area of my Glass Mat, this will be used as my palette. For the first flower, using my Water Brush filled with clean water I water down a small area of Aged Mahogany Distress Ink then pick it up and add it to the base of my first petal. I then use my Water Brush to blend and fade out the ink towards the end of the petal, keeping it a little darker at the base of the petal. I repeat this process for each of the petals.


Using Vintage Photo Distress Ink, I add it to the center of the flower by dabbing just the tip to give it a stippled look.

For the other flower, I add Rusty Hinge Distress Ink to the base of the first petal, again blending and fading out towards the end of the petal. I repeat this process for each of the petals.


I now go back to my first flower and add another layer of Aged Mahogany Distress Ink, again keeping the base of each petal darker.

Going back to the second flower, I add another layer of Rusty Hinge Distress Ink, keeping the ink darker at the base of each petal. I then add Vintage Photo Distress Ink to the center of the flower by using the tip of my Water Brush to outline the small areas.


For the stems and leaves of my image I add Shabby Shutters Distress Ink, blending out for each of them. I then go back and add a second layer of ink.


I add some water to the Vintage Photo Distress Ink on my palette and with a small paintbrush I spatter lightly over my panel.

Taking the biggest stitched die from the Master Layouts 2 Die Set (Both sets are back in stock!!) I center over my panel. Using Purple Tape to hold the die in place, I run them through my Big Shot Die Cut Machine.


Using my Tim Holtz Guillotine Paper Trimmer, I cut a 3/4" x 4 1/4" piece of Vellum then place it into my MISTI and prep with my Anti Static Powder Bag. Using Versafine Clair Nocturn Ink I stamp a sentiment from the Heartfelt Sentiments Stamp Set onto my vellum strip. I add Black Embossing Powder and heat set with my Heat Tool.


I center the strip over the lower part of my panel then wrap the ends around the back adhering with Double Sided Tape.

Using the layering die from the Master Layouts 2 Die Set I cut out of Black Cardstock, running them through my Big Shot. I then layer the two panels together using Double Sided Tape.


I hope you enjoyed this no line water colored card. I kept this card clean and simple. I thought about deepening the colors with more shading but didn't want to risk messing it up so I left it as is. If you've never tried no line coloring, I encourage you to do so!
If this is the first time visiting my blog, welcome and I hope you return. If you are a returning visitor, thank you so much for your support!
Should you have any questions or comments please leave them in the comments section. I'd love to hear from you and what you thought about today's card.
If you would like to be notified by email each time I post something new to my blog, you can click on the subscribe button at the top of the page. *Be sure to verify your subscription through the email link to activate. There is also a follow button that you can click on located below my profile if you would like to follow my blog.
Thank you for visiting and I hope you come back soon!
Happy Stamping and God bless!!
Jeannie
Comments
Post a Comment