Hello, welcome to my blog!!
I want to start out by thanking everyone for the support and nice comments you all leave for me. I truly appreciate the support of this blog!! I enjoy card making and bringing my creations to you, this wouldn't be possible without your support, so again, thank you!!!
Today I will be doing some water coloring using the Massive Peony stamp set from Gina K. Designs. This set has been sold out for quite some time but is now back in stock!! For my water coloring, I will be using Gina's ink cubes along with her cardstock. The watercolor cardstock I use is Canson XL and will post a picture of it down below. This is a great quality cardstock and very inexpensive, I purchase mine from Walmart. Let's get started!!

I will be doing all of my work today on my Tim Holtz Glass Media Mat.
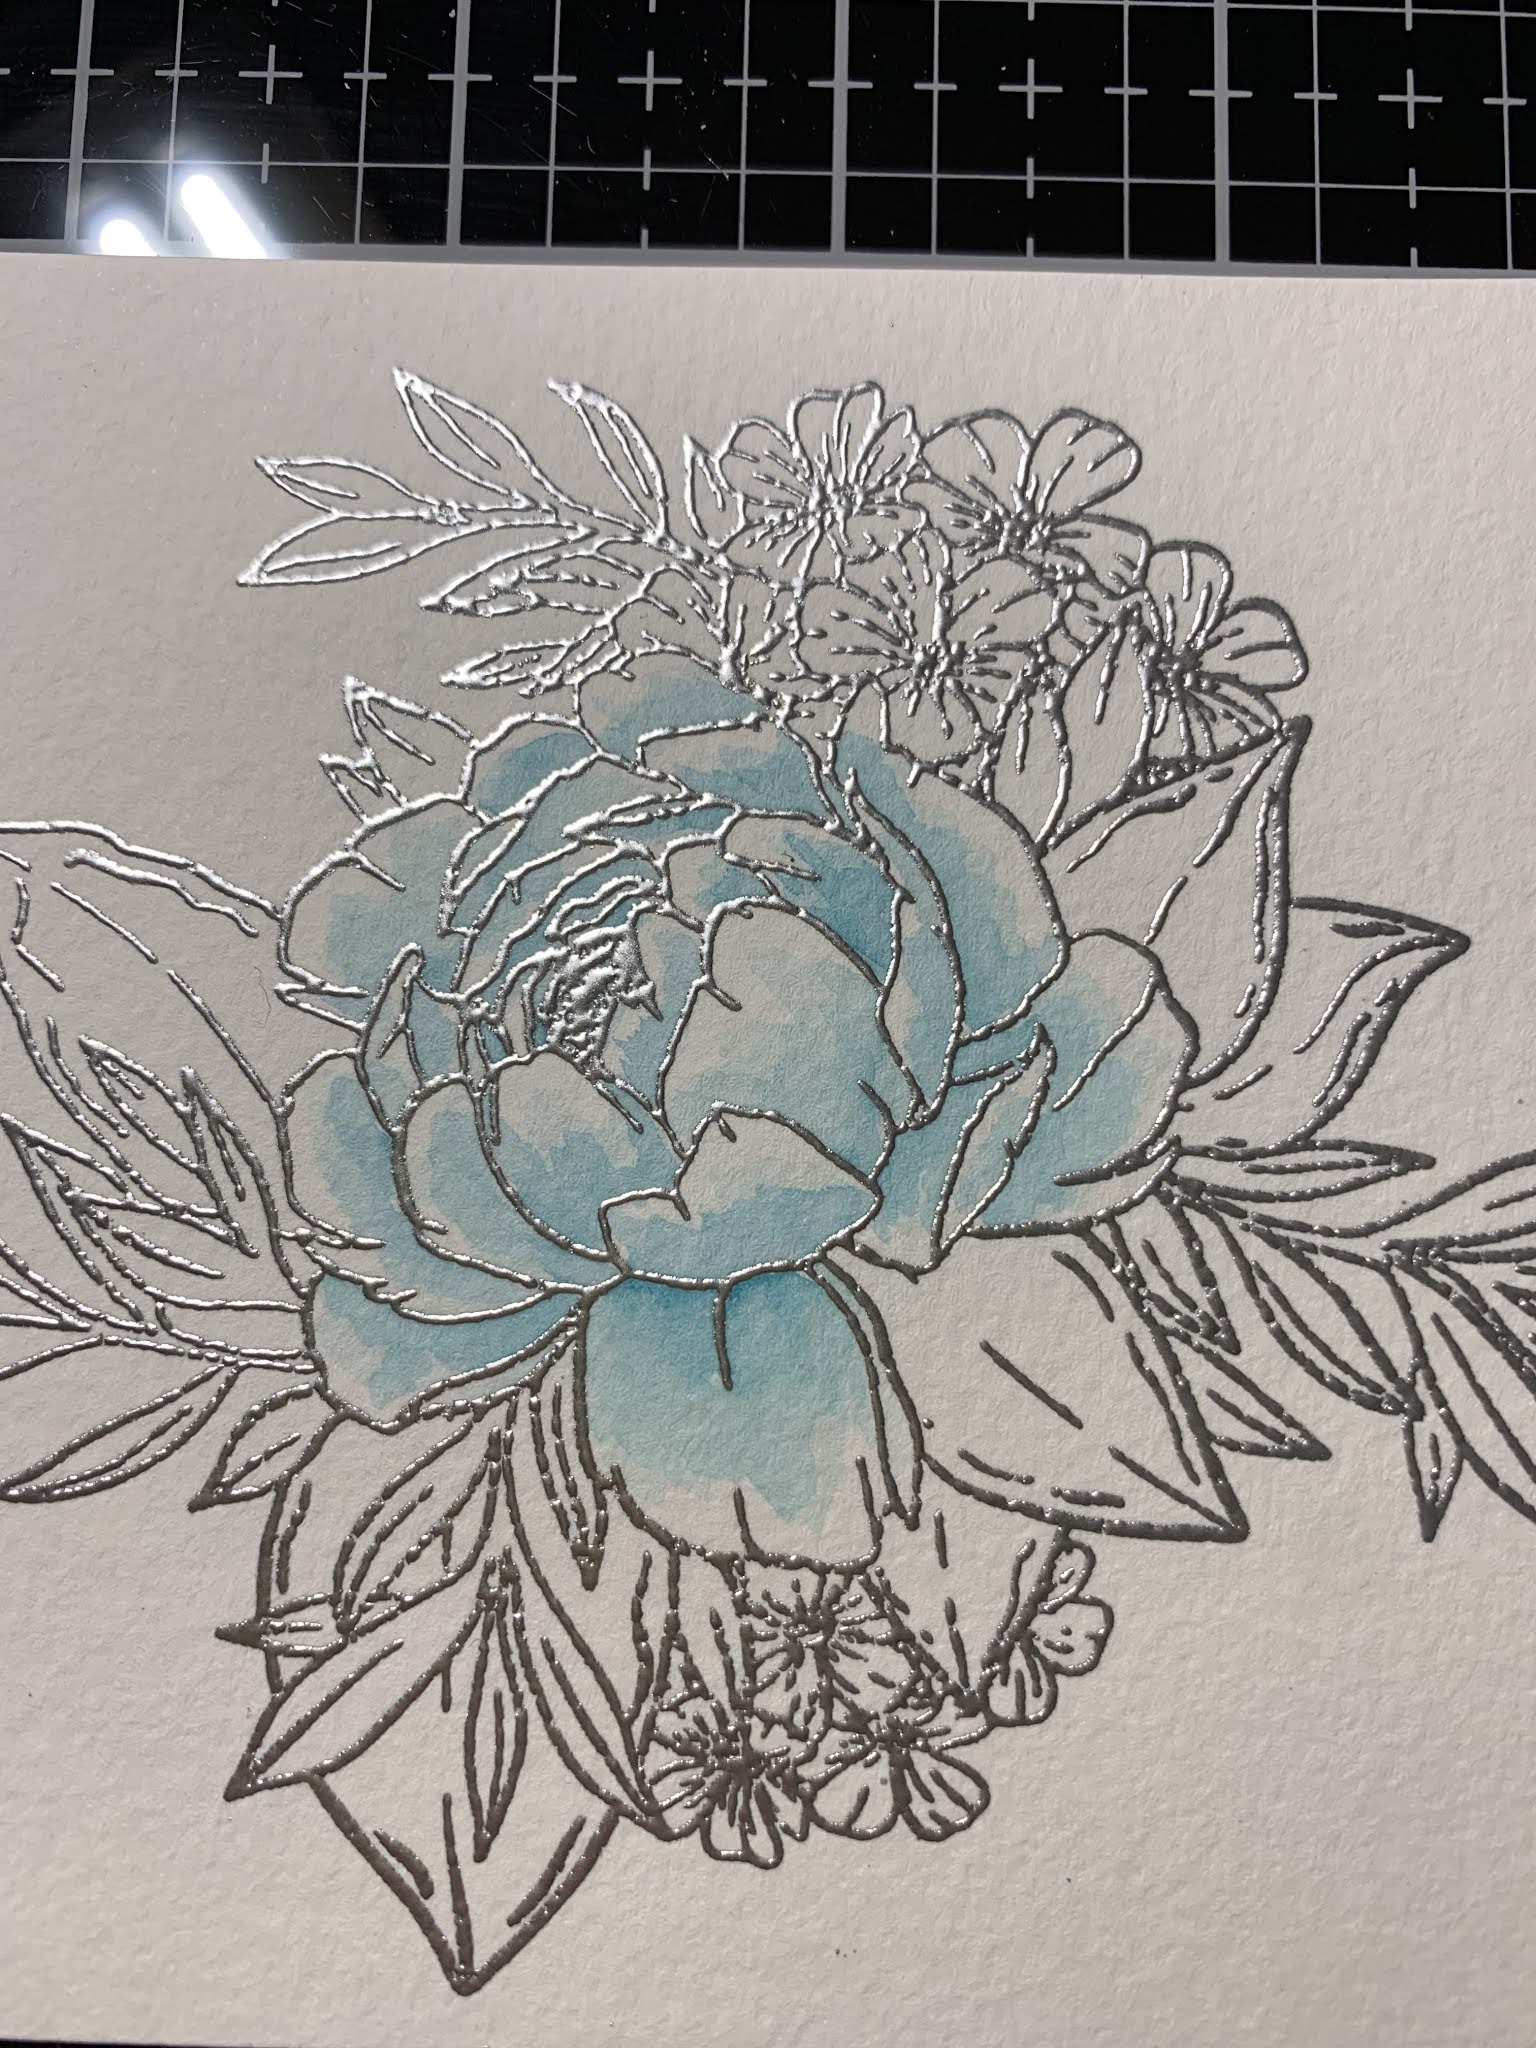
To start, I cut a 4 1/4" x 5 1/2" panel out of watercolor cardstock using my Tim Holtz Guillotine Paper Trimmer. I then place the panel into my MISTI Stamp Positioner and prep it with my Anti Static Powder Bag. I stamp the image from the Massive Peony Stamp Set using Versamark Ink and add Silver Embossing Powder then heat set with my Heat Tool.


Next, I press some ink cubes onto the white area of my Glass Mat, this will be my palette. Using a Water Brush filled with clean water, I pick up some Sea Glass Ink and add it to the base of my first petal. I then blend it out about 3/4 of the way towards the end of the petal. I repeat this for all of the petals. For my first layer I am just creating a light base.


For my second color I add Tranquil Teal Ink, adding again at the base then blending out about half way towards the end of the petal. I am careful not to completely cover up the first color. I repeat this with each of the petals. To darken up the color, I go back and add another layer of Tranquil Teal Ink (the results of the second layer can be seen in the picture where I start my leaves).


Next, I work on my leaves. I add Jelly Bean Green Ink to the base of the bigger leaves and blend out towards the ends using my Water Brush. I do this for all of the bigger leaves. I then add Fresh Asparagus Ink to the base of the same leaves and blend out. I use sort of a tapping motion with my brush as I am blending to create a bit of texture. I repeat this for all of the bigger leaves.


To color the smaller leaves, I add Lucky Clover Ink to the base of each leaf then blend out. I then go back and add in a little Jelly Bean Green Ink to the base and blend out a bit.


Now that all of my coloring is finished, I use my Razor Shears to fussy cut my image. *There is also a Massive Peony Die available for this stamp.

Next, I take the biggest stitched die from the Master Layouts 2 Die Set and cut out of my watercolor cardstock, running them through my Big Shot Die Cut Machine. I then place the panel into my MISTI and stamp a sentiment from the Massive Peony Stamp Set using Amalgam Obsidian Ink.


I now take the biggest layering die from the Master Layouts 2 Die Set and cut out of Black Onyx Cardstock, running them through my Big Shot. I then use Terrific Tape and adhere the two panels together.


Using my Scor Buddy, I place a 4 1/4" x 11" piece of Turquoise Sea Cardstock into it and score at 5 1/2" creating a top folding card base. I then add Foam Tape to the back of my panel and mount onto my card base.


I add Foam Tape to the back of my image and mount it onto my card front. Using my Jewel Picker, I add Water Droplets with Liquid Glue and this completes my card.


I am happy to see this stamp set back in stock, it has been very popular and I can see why. It is such a gorgeous set, from the big beautiful image to so many uplifting and encouraging sentiments. This is the perfect set to create cards to lift someone's spirit. I am in no way a watercolor artist, I really just add color and blend out until I get the results I am looking for. The biggest thing to remember is to add a little at a time in layers to build up the color. Also, leaving white areas at the ends of the petals makes a huge difference, it gives flowers a natural look. I will be taking tomorrow off as we have company coming for the weekend. I will be back on Monday with another fun card project! Have a wonderful and safe weekend!!
If this is the first time visiting my blog, welcome and I hope you return. If you are a returning visitor, thank you so much for your support!
Should you have any questions or comments please leave them in the comments section. I'd love to hear from you and what you thought about today's card.
If you would like to be notified by email each time I post something new to my blog, you can click on the subscribe button at the top of the page. *Be sure to verify your subscription through the email link to activate. There is also a follow button that you can click on located below my profile if you would like to follow my blog.
Thank you for visiting and I hope you come back soon!
Happy Stamping and God bless!!
Jeannie
Comments
Post a Comment