Hello, welcome to my blog!!
I want to start out by thanking everyone for the support and nice comments you all leave for me. I truly appreciate the support of this blog!! I enjoy card making and bringing my creations to you, this wouldn't be possible without your support, so again, thank you!!!
***UPDATE*** THESE SETS ARE BACK IN STOCK!!!
Today I have another Christmas card, this time made with the Ornamental Snowflakes stamp set from Gina K. Designs. These beautiful snowflakes are so delicate and detailed, they remind me of some of the snowflake ornaments my grandma had. I have been having so much fun creating with this past kit lately! Snowflakes and solid images are some of my favorite stamps to create with which makes these sets some of my all time favorites. I know a lot of people who missed out on the kit are anxiously waiting for the individual sets to be restocked... my guess is, they should be here any day now! All of the stamps, inks and cardstock I used on today's cards are from Gina K. Let's get started!!

I will be doing all of my work today on my Tim Holtz Glass Media Mat.
To start, I take the biggest stitched die from the Master Layouts 2 Die Set and cut out of Kraft Cardstock, running them through my Big Shot Die Cut Machine.

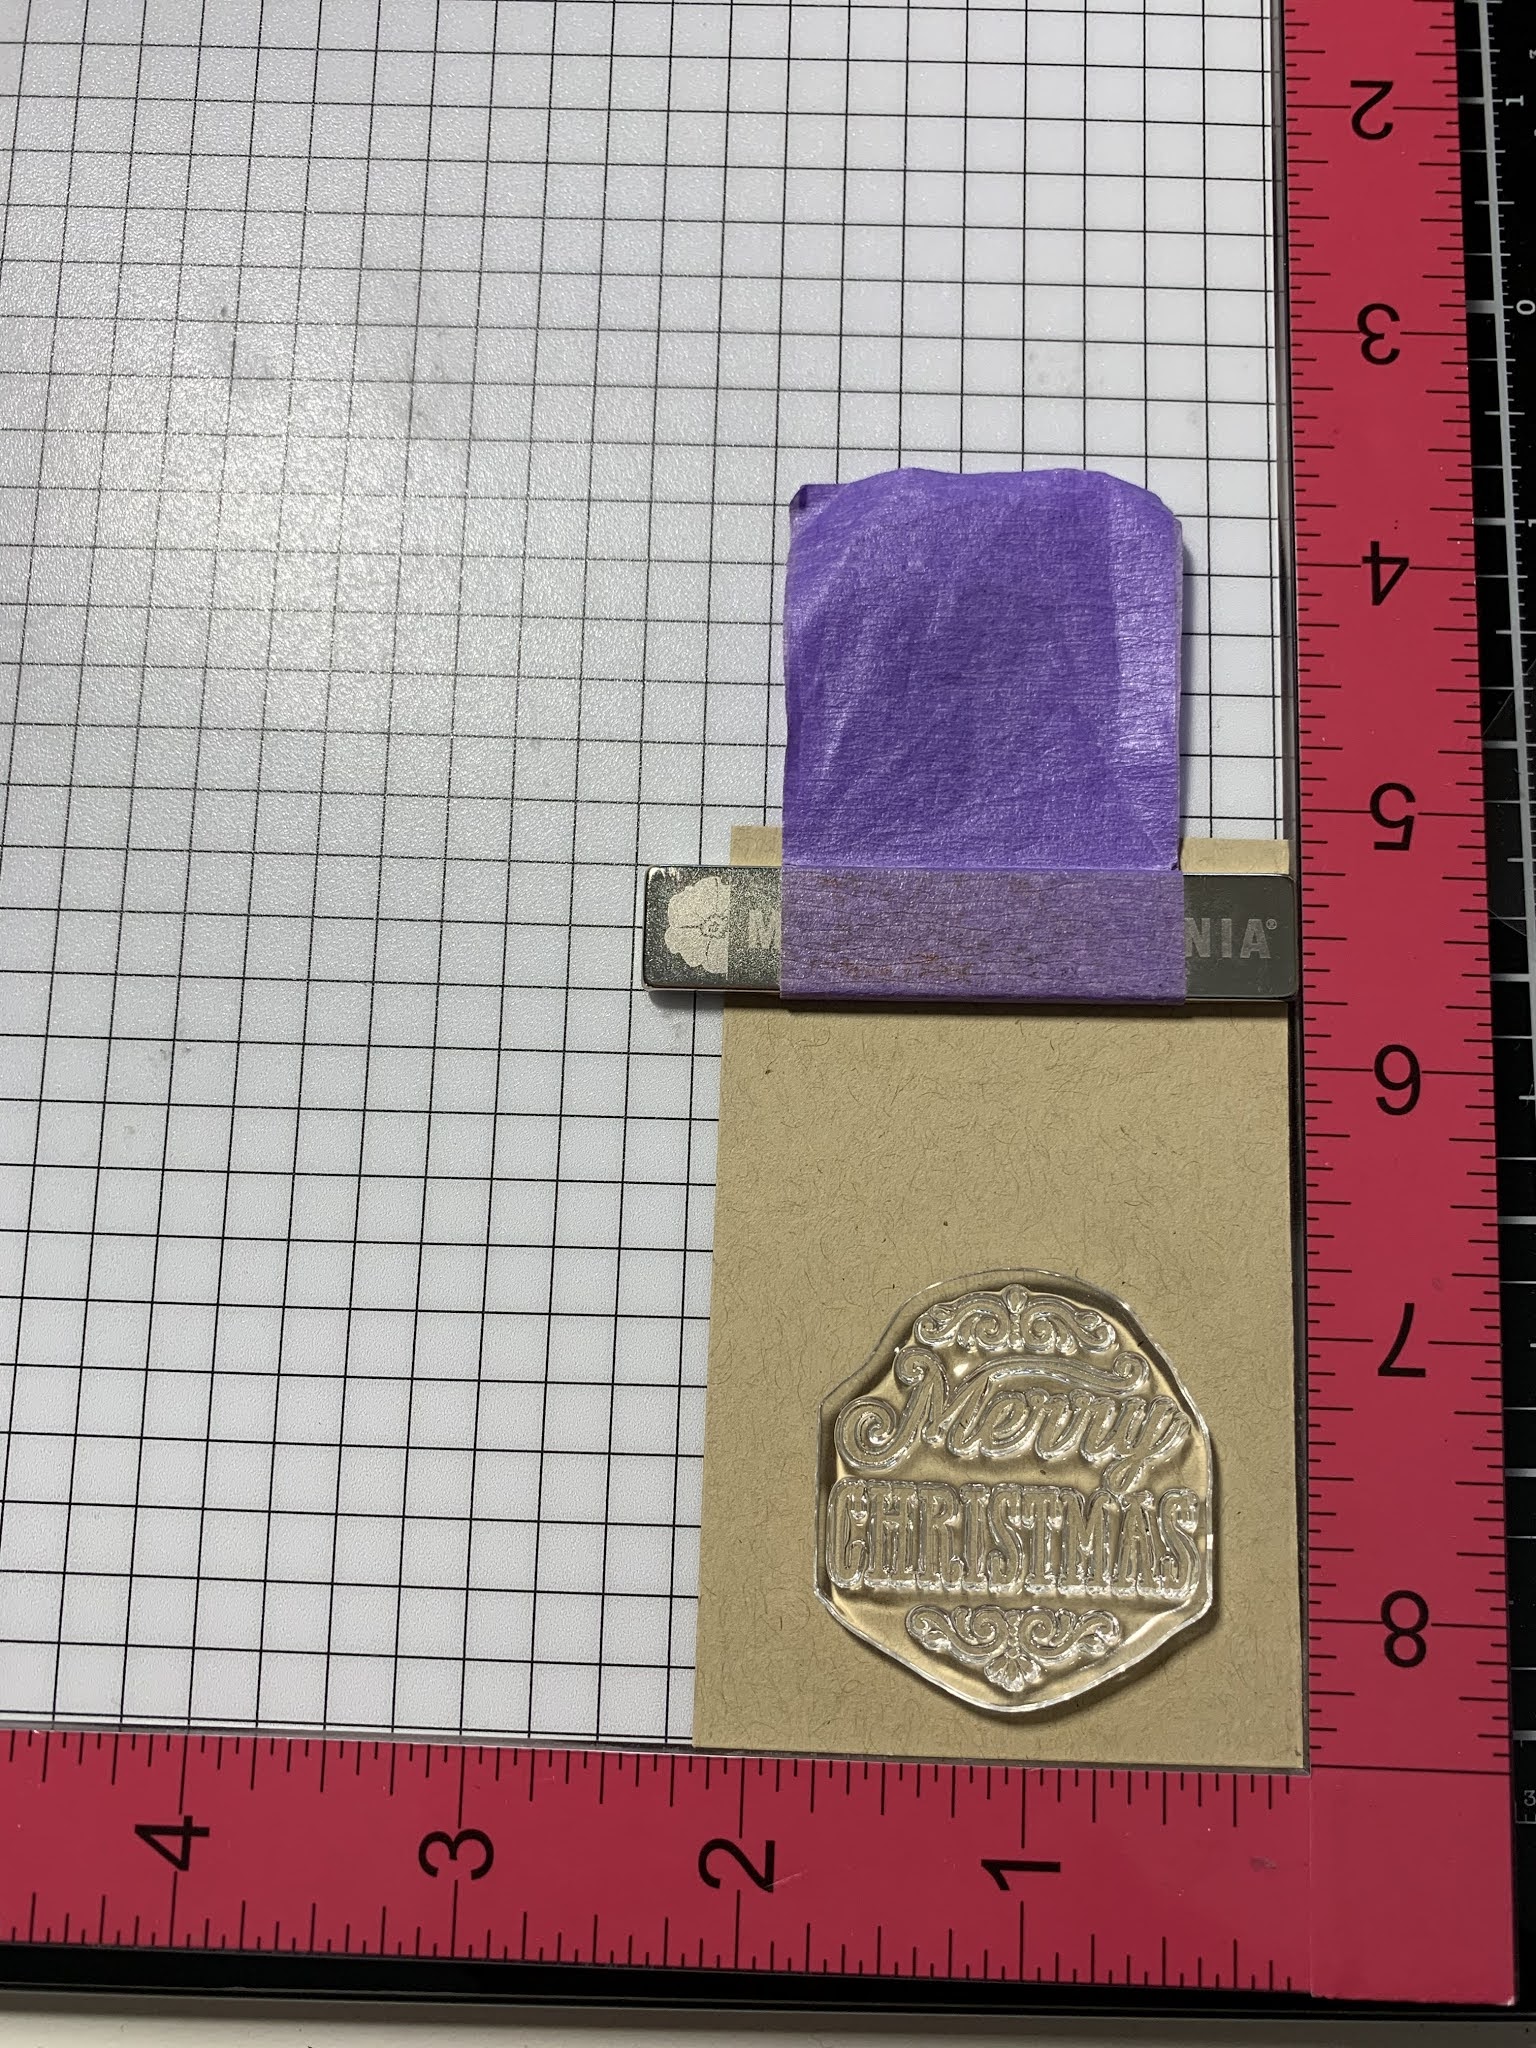
Next, I place the panel into my MISTI Stamp Positioner and choose an image from the Ornamental Snowflakes Stamp Set and place it over my panel and stamp it using Red Velvet Ink.


I choose another image from the Ornamental Snowflakes Stamp Set, this time stamping it with Dark Chocolate Ink. I then take another image from the same stamp set and stamp it with Cherry Red Ink. I will be using these three snowflake stamps to finish the remainder of my stamping. Using Warm Cocoa Ink, I stamp my snowflake image.


For the rest of my stamping on this panel I will be using light colored inks to achieve the look of snowflakes further out in the distance. I stamp these three snowflakes using Kraft Ink and Peach Bellini Ink to fill in the rest of the open space.

Next, I take the biggest layering die from the Master Layouts 2 Die Set I cut out of Charcoal Brown Cardstock, running them through my Big Shot. Using Terrific Tape I adhere my stamped panel onto the brown panel. Taking a piece of ribbon/twine from my stash I tape it to the back of my panel and wrap it around my panel, knotting it at the front.


To create a card base I place a 4 1/4" x 8 1/2" piece of Red Velvet Cardstock into my Scor Buddy and score it at 5 1/2" creating a top folding card base. I then add Foam Tape to the back of my panel and mount onto the card base. *I place the foam tape around the sides of the twine (creating a well) and the rest of the panel so that the panel lies flat on the card base.


Next, I place a piece of Kraft Cardstock into my MISTI and stamp a greeting from the Ornamental Snowflakes Stamp Set using Cherry Red Ink.

I then take the smallest stitched circle die from the Master Layouts 3 Die Set to cut out my greeting. I also use the layering die from the same set and cut out of Charcoal Brown Cardstock, running them both through my Big Shot. Using Terrific Tape I adhere the two together.


I add Foam Tape to the back of my greeting leaving an open area across the center for the twine to fit through and mount it onto my card front.

To finish, I use my Jewel Picker to add some Dazzling Diamond Rhinestones with Liquid Glue and this completes my card.

I hope you enjoyed today's card and the simplicity of it. I love stamping on kraft cardstock with warm colors creating somewhat of a soft look. These snowflakes paired with the fonts of the greeting reminds me of Christmas from long ago! Using the Master Layout sets gives such a nice finished look with even borders to complete the card.
If this is your first time visiting my blog, welcome and I hope you return. If you are a returning visitor, thank you so much for your support!
Should you have any questions or comments please leave them in the comments section. I'd love to hear from you and what you thought about today's card.
If you would like to be notified by email each time I post something new to my blog, you can click on the subscribe button at the top of the page. *Be sure to verify your subscription through the email link to activate. There is also a follow button that you can click on located below my profile if you would like to follow my blog.
Thank you for visiting and I hope you come back soon!
Happy Stamping and God bless!!
Jeannie
Beautiful cards. Thank you for sharing the details.
ReplyDeleteThank you Daria!!
Delete