Hello, welcome to my blog!!
I want to start out by thanking everyone for the support and nice comments you all leave for me. I truly appreciate the support of this blog!! I enjoy card making and bringing my creations to you, this wouldn't be possible without your support, so again, thank you!!!
***UPDATE*** THESE SETS ARE BACK IN STOCK!!!
I hope everyone had a nice weekend and the new week is off to a great start! Today, I have a no line watercolored card for you using the Sparkle & Shine stamp set from Gina K. Designs. This stamp set is so stunning when gold or silver embossed but today, I wanted to see how it would look using the no line watercoloring technique and I must say I love the results! I used Barely There ink to stamp my image as this ink works great for no line watercoloring. It is a light, neutral color that blends well into the watercolored ink. This stamp set is currently out of stock but should be back in stock any day now! ***These new stamp sets from Gina's latest release have been very popular... I will be letting everyone know when they are back in stock via my blog, Instagram and Facebook pages. Let's get started!!

I will be doing all of my work today on my Tim Holtz Glass Media Mat.
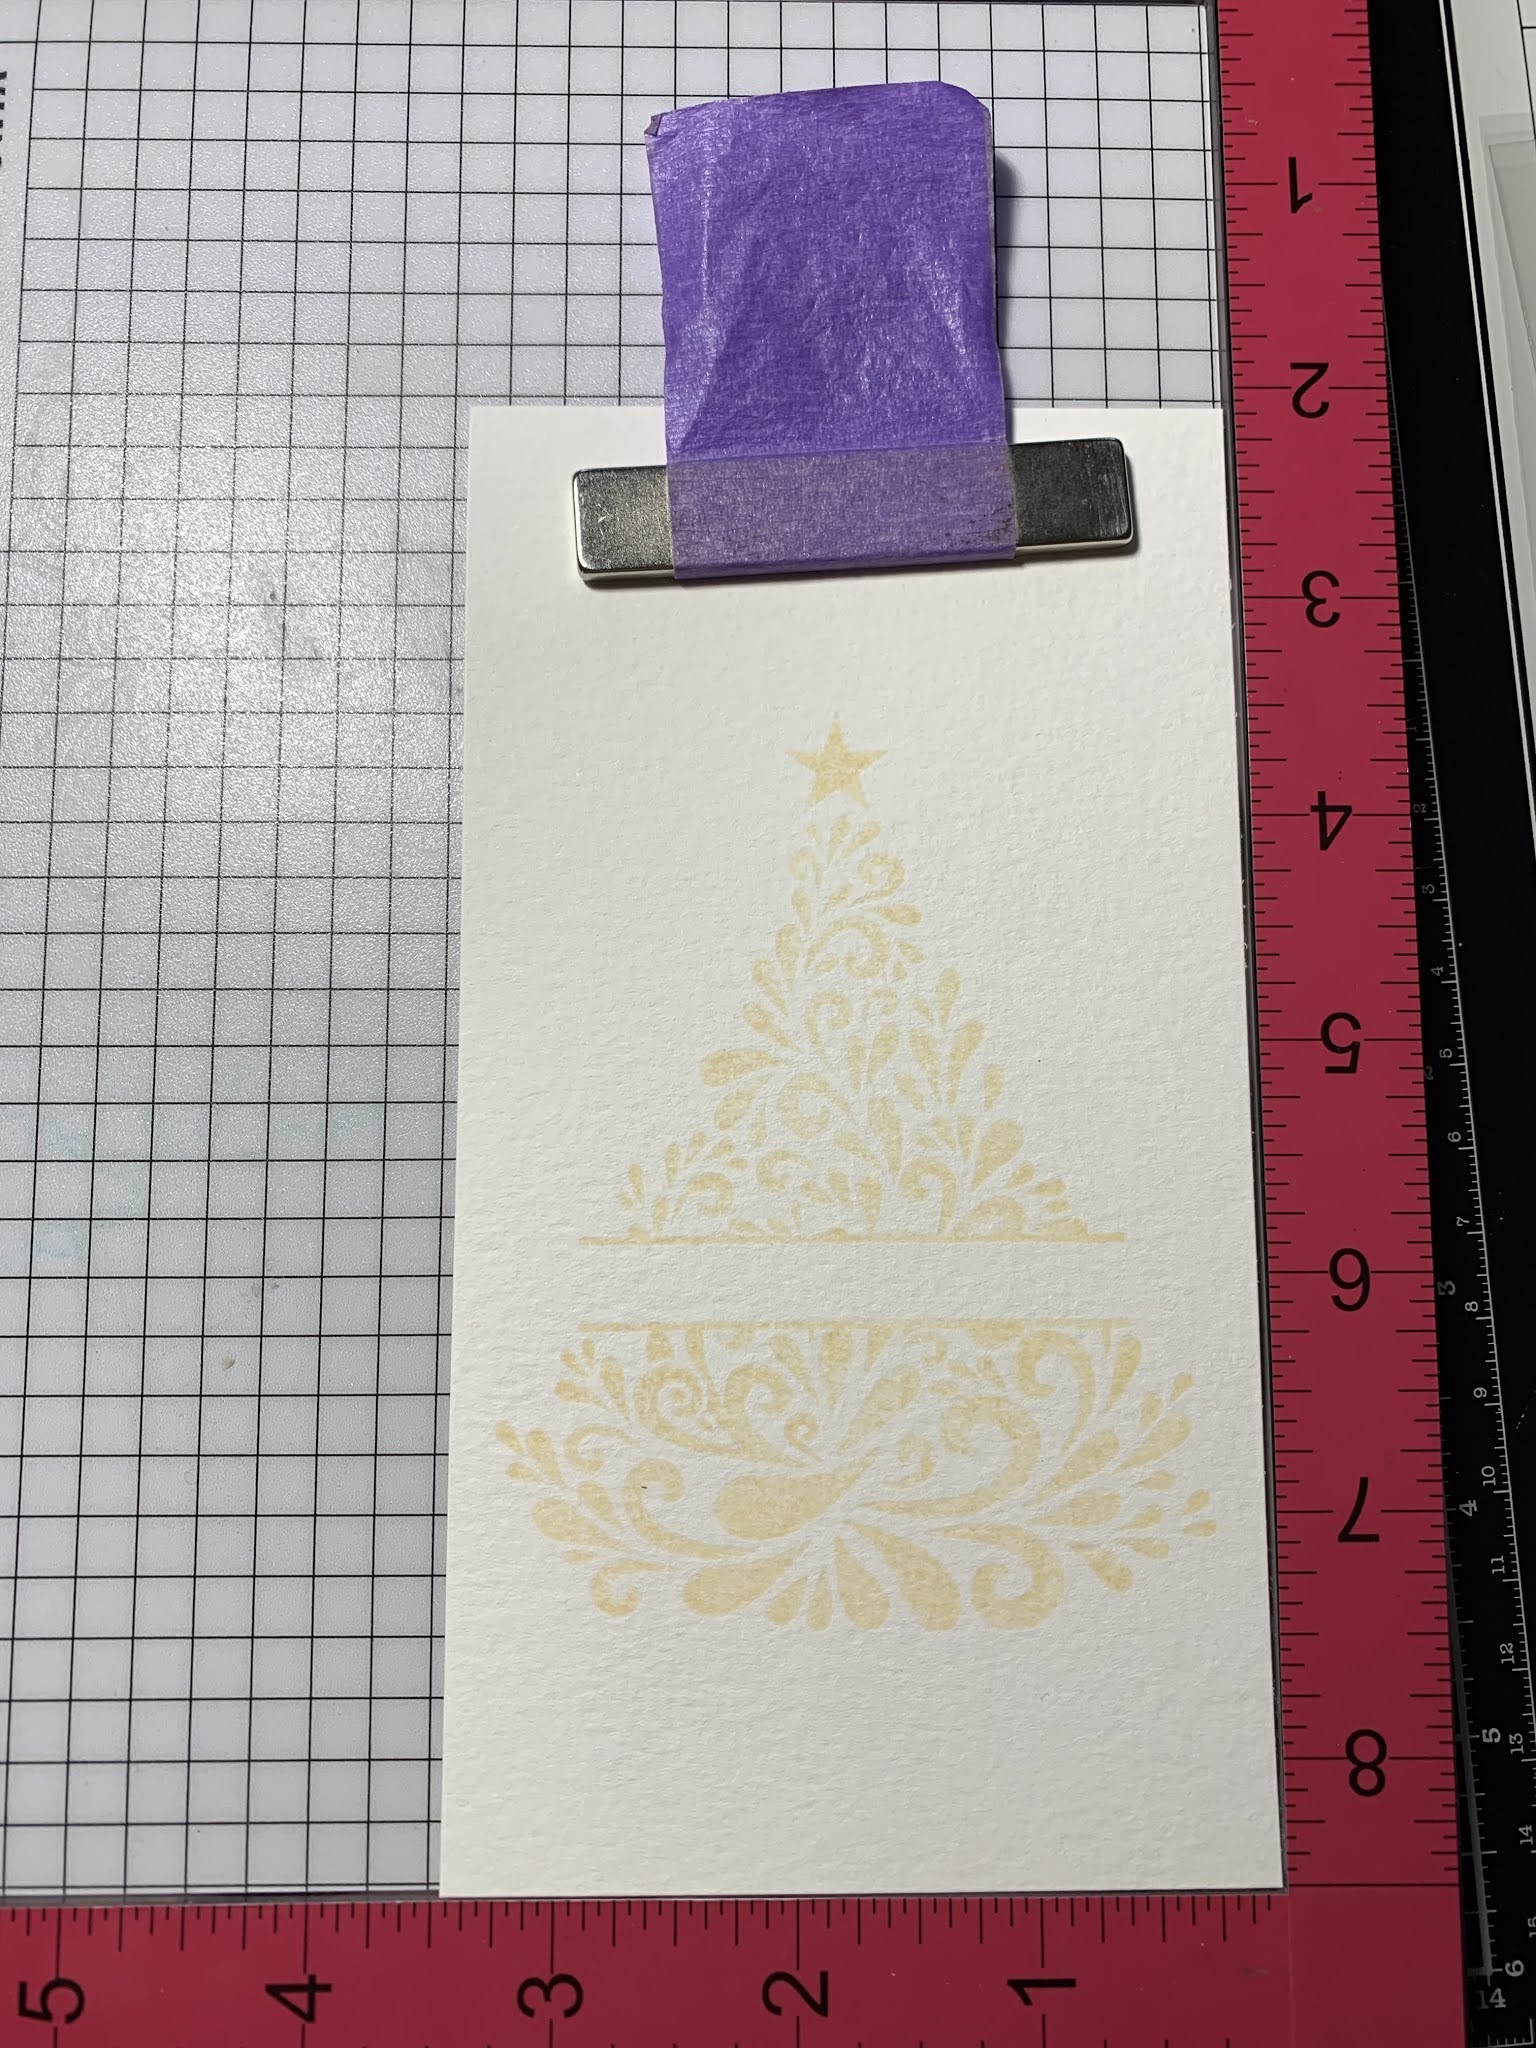
To start, I place a piece of watercolor cardstock into my MISTI Stamp Positioner and stamp an image from the Sparkle & Shine Stamp Set using Barely There Ink.

Using the white area of my Glass Mat, I press Innocent Pink Ink and Passionate Pink Ink onto it. I will be using this as my palette for my watercoloring. Taking my Water Brush filled with clean water, I pick up some of the Innocent Pink Ink and start painting in the droplet looking images at the rounded ends. I then pick up Passionate Pink Ink and paint in the pointed areas of the droplets and blend into the previous color.


I repeat the process of first adding Innocent Pink Ink to the rounded areas of the droplets then add Passionate Pink Ink to the pointed areas of the droplets, blending into the previous color until all droplets are colored.


Next, I press Kraft Ink onto my Glass Mat. I then use my Water Brush to pick up the ink and add it to the swirl images keeping the ink a little darker at the beginning of the swirls and fading out to the ends. For the star at the top of the tree, I add Prickly Pear Ink to fill it in.


Taking the biggest stitched die from the Master Layouts 2 Die Set (now back in stock!) I cut out my image, running them through my Big Shot Die Cut Machine.


I then take the biggest layering die from the Master Layouts 2 Die Set and cut out of Kraft Cardstock, running them through my Big Shot. Using Terrific Tape I adhere my watercolored panel onto the kraft panel. I add Foam Tape to the back of the panels and mount onto an Innocent Pink Cardstock card base.


For my sentiment, I place a piece of Kraft Cardstock into my MISTI. I choose a greeting from the Sparkle & Shine Stamp Set and stamp it using Charcoal Brown Ink. Using a die from the Master Layouts 3 Die Set I cut out the greeting, running them through my Big Shot.


I add Foam Tape to the back of my greeting and mount over the open area of my image and this completes my card.

I hope you enjoyed today's card. I love how the pink and kraft colored inks paired with the design of this image gives off an old fashioned look! Whether using lined image stamps or solid images, using a good light colored ink is key for no line water coloring. I like to use a color that is dark enough to see but light enough so it doesn't show through the colors you are painting with. This Barely There ink from Gina K is perfect!!
If this is your first time visiting my blog, welcome and I hope you return. If you are a returning visitor, thank you so much for your support!
Should you have any questions or comments please leave them in the comments section. I'd love to hear from you and what you thought about today's card.
If you would like to be notified by email each time I post something new to my blog, you can click on the subscribe button at the top of the page. *Be sure to verify your subscription through the email link to activate. There is also a follow button that you can click on located below my profile if you would like to follow my blog.
Thank you for visiting and I hope you come back soon!
Happy Stamping and God bless!!
Jeannie
Thank you Helen!!
ReplyDeleteI love this different take on this set! So far I've seen a lot of embossing with it but your painting of it is so pretty!
ReplyDeleteThank you Kathy!!
Delete