Hello, welcome to my blog!!
I want to start out by thanking everyone for the support and nice comments you all leave for me. I truly appreciate the support of this blog!! I enjoy card making and bringing my creations to you, this wouldn't be possible without your support, so again, thank you!!
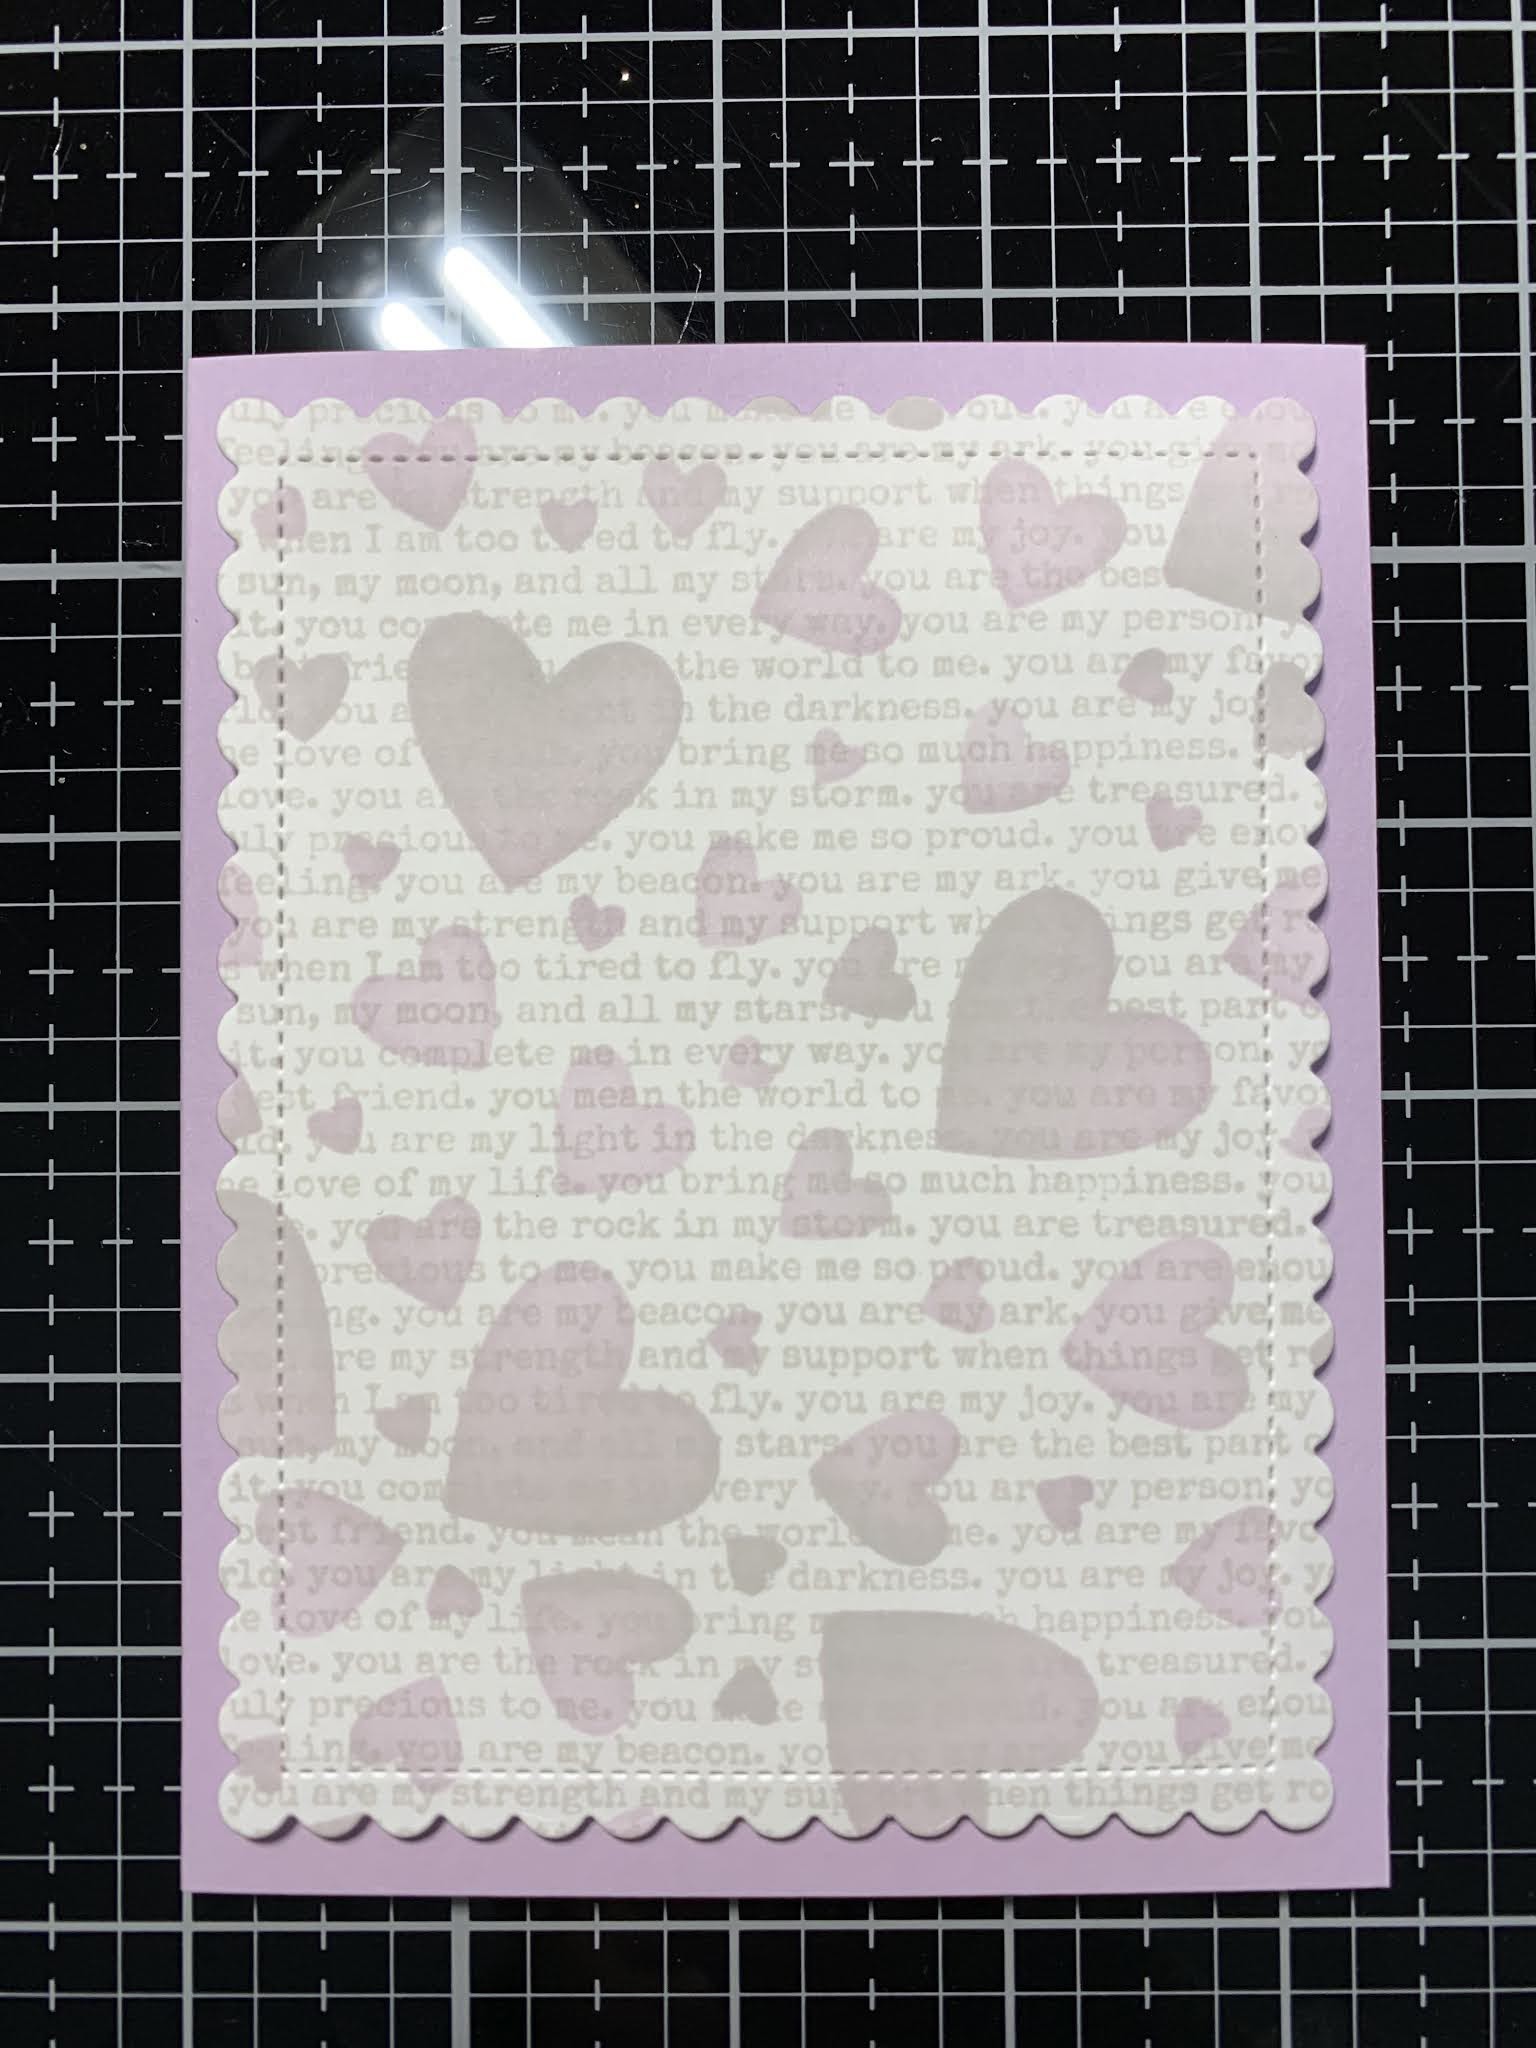
Today, I have a simple yet interest filled card that uses a stencil and script background stamp from Simon Says Stamp to create a patterned paper look for my background. The purple ink I use to create the hearts coordinates with the purple cardstock and the gray ink of the hearts coordinates with the script background print. I will be using a die cut greeting also from Simon Says Stamp that I will heat emboss using an embossing glitter from WOW. This is a unique embossing glitter that has many shards of iridescent colors mixed with the glitter/powder. This is more of a chunky embossing glitter that gives a thicker embossed look which creates a bold sparkly look that is difficult to pick up in pictures but super sparkly in person. I will have a close up photo included below in the embossing process that shows the beautiful colors. Let's get started!!

I will be doing all of my work today on my Tim Holtz Glass Media Mat.
To start I cut a 4 1/4" x 5 1/2" panel out of White Cardstock using my Tim Holtz Guillotine Paper Trimmer. I then add a small amount of Adhesive Dot Runner to the back of the panel and place it into my MISTI Stamp Positioner. Taking the You Are Background Stamp, I stamp the panel with Fog Gray Ink. *Because my background stamp is red rubber I need to remove the pad in my MISTI before stamping.


Next, I take my Tumbling Hearts Stencil and adhere it over my panel by holding it into place with Mint Tape. I then take my Blending Brush and blend Lovely Lavender Ink over all hearts of the stencil. Next, I blend Fog Gray Ink over a portion of all large hearts of the stencil as well as the medium sized hearts. I am careful not to cover up all of the previous color of ink. Once my blending is complete I remove the stencil.


Taking the scalloped rectangle die from the Master Layouts 4 Die Set I adhere with Mint Tape and cut out of my panel, running them through my Big Shot Die Cut Machine.


Next, I take my Big Friend Die and cut out of Black Cardstock three times, running them through my Big Shot. I then stack and glue the die cuts together using Liquid Glue. I also take the coordinating shadow die and cut out of Vellum that I will later mount my die cut to. *The vellum shadow die cut could have been skipped for this card as it isn't very visible. *When die cutting with an intricate die I place a Metal Adapter Plate under the bottom cutting plate of my die cut machine.


Taking a piece of Purple Tape I place my stacked die cut onto it so I have something to hold onto while embossing. Next, I press my Versamark Ink Pad onto the die cut. Once the die cut is inked well I add Midas Touch Embossing Glitter and heat set with my Heat Tool. I then carefully remove the die cut from the Purple Tape. If you look closely you can see some of the colored shards on the die cut. *Here is a close up of the embossing glitter showing all of the beautiful colors... there are also reds, oranges and yellows!


Next, I place a 5 1/2" x 8 1/2" piece of Lovey Lavender Cardstock into my Scor Buddy and score it at 4 1/4" creating a side folding card base. I then cut a 3 3/8" x 4 1/2" piece out of Fun Foam using my Guillotine Paper Trimmer and glue it onto the back of my panel using Liquid Glue then I glue it onto my card base. I also add Liquid Glue to the back of my die cut greeting and mount it onto my card front.


For a sentiment, I place a scrap piece of Lovely Lavender Cardstock into my MISTI and stamp a sentiment from the Tiny Words Stamp Set using Versafine Clair Nocturn Ink. I then use my Guillotine Paper Trimmer and cut a thin strip. Using Liquid Glue I add thin scraps of cardstock to the back of my sentiment strip then mount onto my card front just below my greeting.


Using my Jewel Picker I add Clear Hearts to my card with Liquid Glue and this completes my card. *I took a close up of the embossed die cut to show some of the beautiful colors!!


I love the results of today's card! I wish you could see the color and sparkle this embossing glitter gives, just a fun unique look it gives!! The "You Are" background stamp I used is an awesome background stamp to not only use to create great backgrounds but the words of it are so beautiful and uplifting, a great stamp to use for any spouse, friend or encouragement card and would also be great for a thank you card. I've always seen Jennifer McGuire use Fog ink in many of her videos and now I know why! I finally purchased it and I am so glad I did! I love the softness it gives especially when creating subtle backgrounds, next I need to purchase the cardstock!!
If this is your first time visiting my blog, welcome and I hope you return. If you are a returning visitor, thank you so much for your support!
Should you have any questions or comments please leave them in the comments section. I'd love to hear from you and what you thought about today's card.
If you would like to be notified by email each time I post something new to my blog, you can click on the subscribe button at the top of the page. *Be sure to verify your subscription through the email link to activate. There is also a follow button that you can click on located below my profile if you would like to follow my blog.
Thank you for visiting and I hope you come back soon!
Happy Stamping and God bless!!
Jeannie
Comments
Post a Comment