Hello, welcome to my blog!!
I want to start out by thanking everyone for the support and nice comments you all leave for me. I truly appreciate the support of this blog!! I enjoy card making and bringing my creations to you, this wouldn't be possible without your support, so again, thank you!!
Today I have a card made with the Beautiful Wings stamp set from Gina K. that is now back in stock (as well as the other new stamp sets)!! This set features so many images of moths, dragonflies, lady bugs as well as other elements and sentiments. There is also a coordinating die set available for purchase which is currently out of stock but should be back soon. I will be creating a monochromatic look for today's card using eggplant colored ink and cardstock. All of the inks, cardstock and stamps I will be using are from Gina K. Designs. Let's get started!!

I will be doing all of my work today on my Tim Holtz Glass Media Mat.
To start, I cut a 2 1/2" x 5 1/2" piece out of White Cardstock using my Tim Holtz Guillotine Paper Trimmer. I add a small amount of Adhesive Dot Runner to the back of the panel and place it into my MISTI Stamp Positioner. Going for a blotchy look, I ink up my Elegant Script Background Stamp with Edible Eggplant Ink, inking it heavier in some areas, very lightly in other areas and stamp it onto my panel. After the ink dries, I place the panel back into my MISTI and stamp a sentiment from the Beautiful Wings Stamp Set using Amalgam Obsidian Ink.


Next, I place a 5 1/2" x 8 1/2" piece of Edible Eggplant Cardstock into my Scor Buddy and score it at 4 1/4" creating a side folding card base. I then adhere my card base onto the Harvest Flourish Stencil using Purple Tape. Taking my Blending Brush (that I dedicate to my white pigment ink only) I begin blending White Pigment Ink over the stencil. Once my blending is complete I remove the stencil. *I don't worry about blending onto the center of my card base as I will later cover it up.


Using Terrific Tape I adhere the stamped panel onto the center of my card base. I then cut two thin strips out of Black Cardstock using my Guillotine Paper Trimmer. I then run a thin line of Liquid Glue along the edge where my panel meets the card base and lay down my thin strip and repeat for the other side.


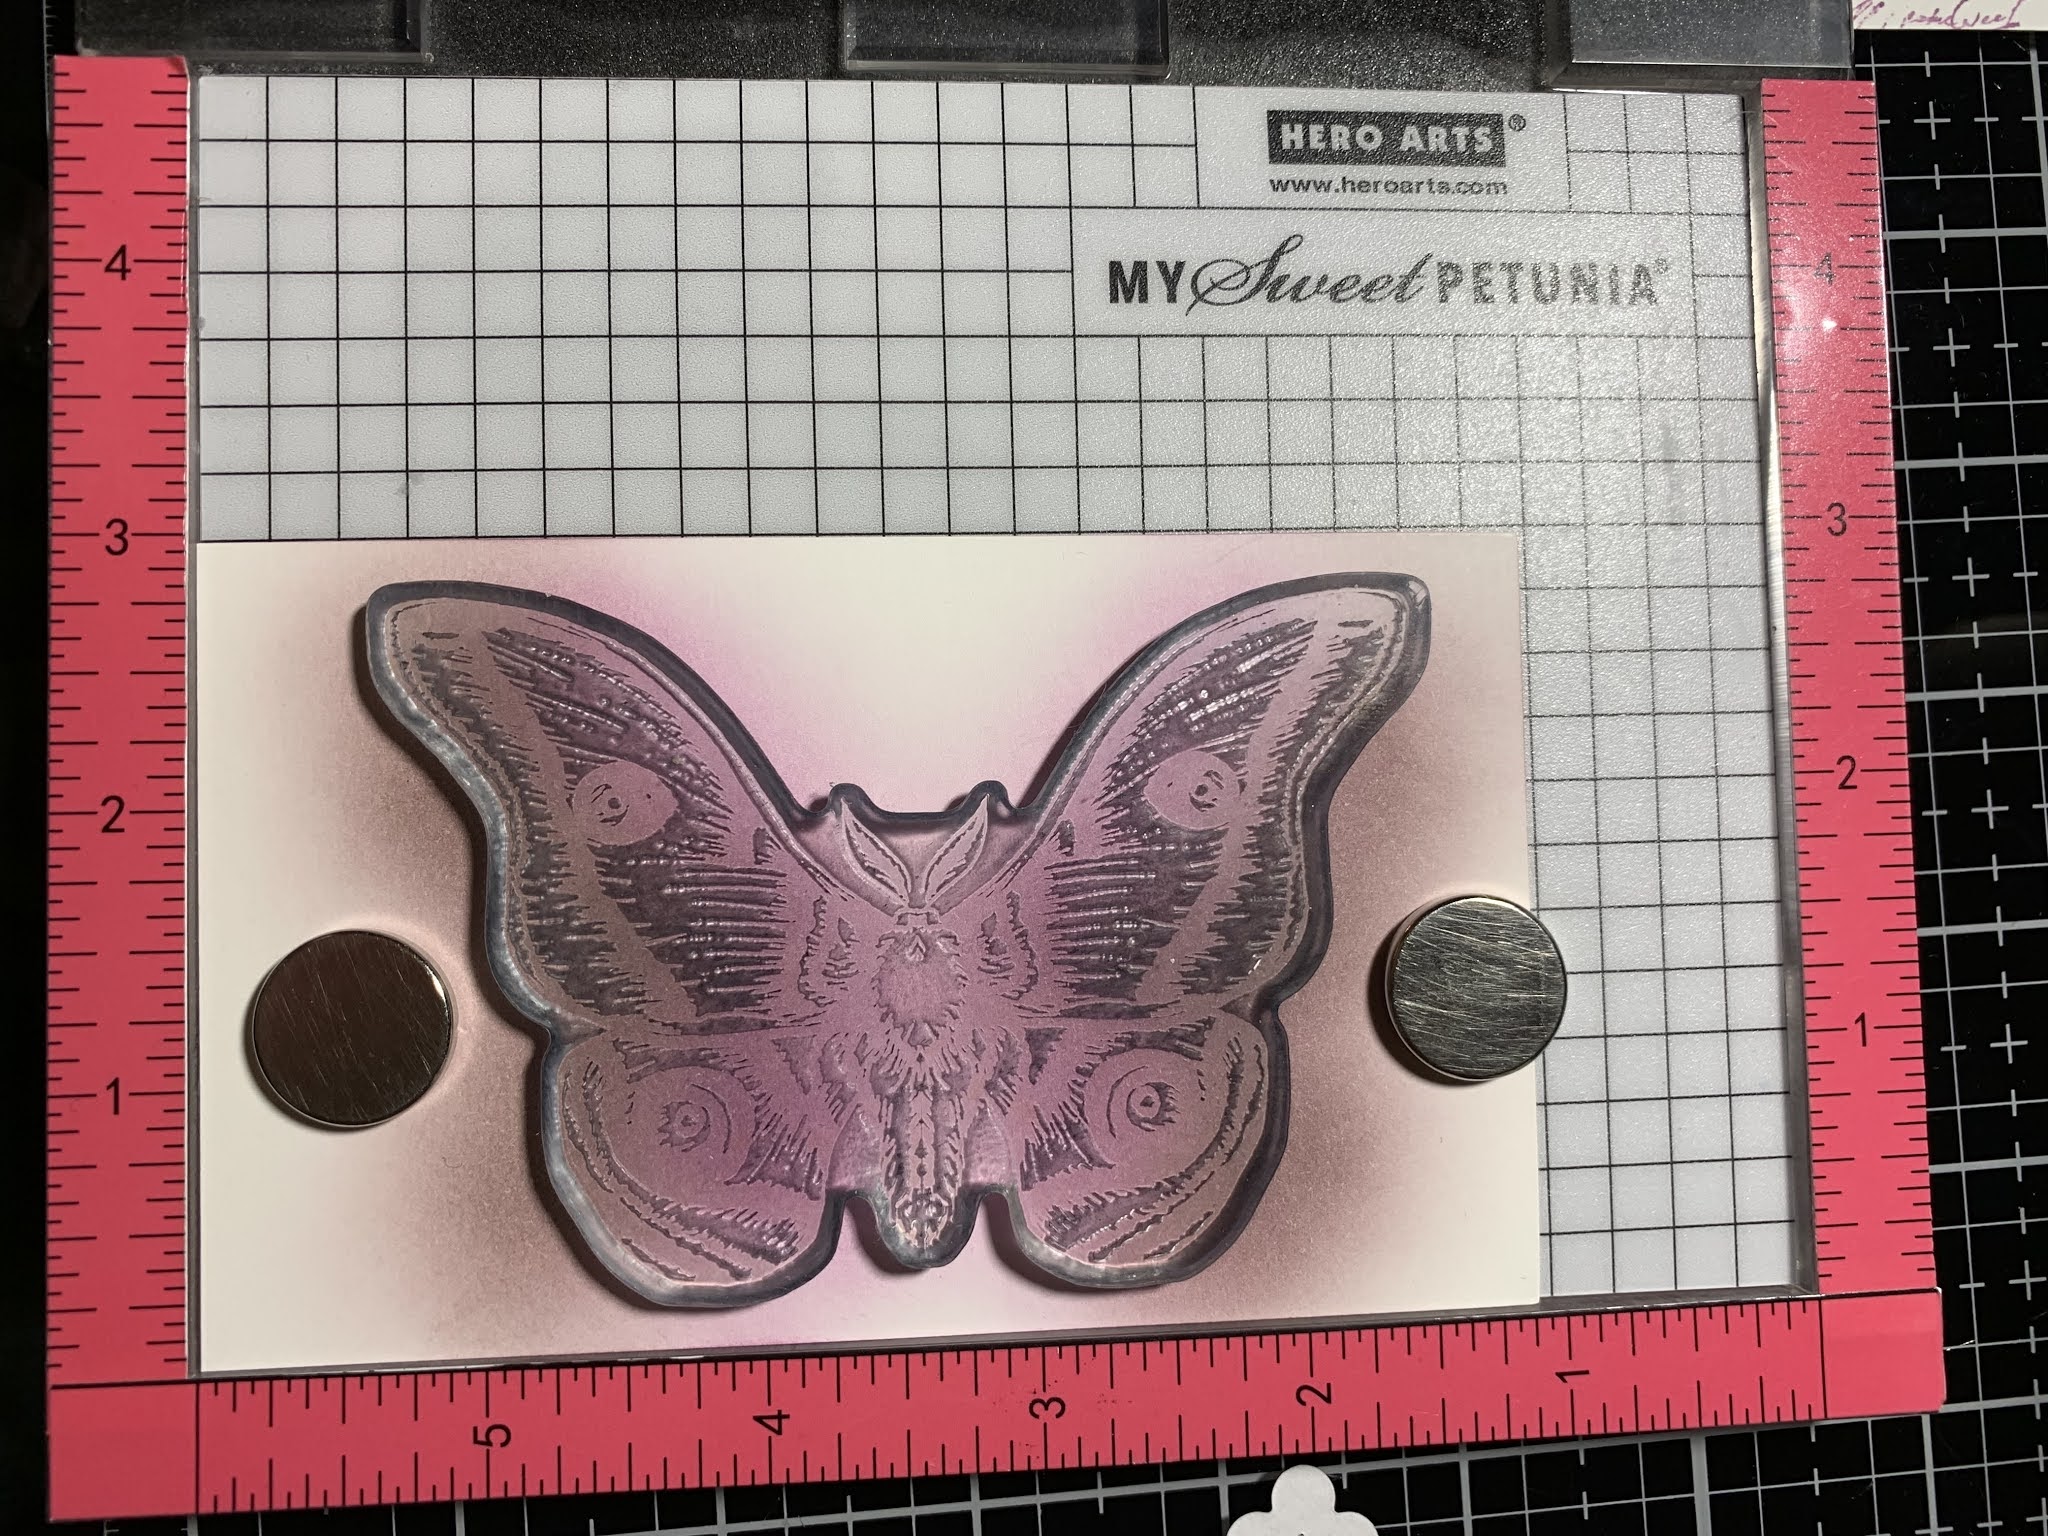
To create a focal image I use my Blending Brush and blend Plum Punch Ink onto a piece of White Cardstock about the size of my image. Using the image on the acetate of the Beautiful Wings Stamp Set as a guide, I set it over my blend to make sure the ink covers the wings of the image. I then blend Edible Eggplant Ink around the outer edges of my previous color.


Next, I place my blended panel into my MISTI and stamp the image from the Beautiful Wings Stamp Set onto it using Amalgam Obsidian Ink. I end up stamping the image twice making sure all of the details are crisp.

After I allow the black ink to dry completely I take the coordinating die from the Beautiful Wings Die Set and center it over my image and hold in place with Purple Tape. I then run them through my Big Shot Die Cut Machine.


To add more contrast to my die cut image I use my Blending Brush to blend a little more Edible Eggplant Ink around the outside of the wings making sure I don't cover up all of the lighter color. I then blend Black Onyx Ink to the the very edges of the wings. Adding the black ink intensifies the eggplant ink creating a gradual blend from darkest to lightest ink color.


To attach my focal image to the card front, I add two layers of Foam Tape the body only. I remove the release paper and mount it at an angle centering it between the sentiment and top of the card. I gently lift up on both wings by the body just a bit to give a little lift for added dimension.

To finish I use my Jewel Picker and add a few Dazzling Diamond Rhinestones with Liquid Glue and this completes my card.

I hope you enjoyed today's card. I love the look of a monochromatic card as it gives such a nice complete look. I really like the size of the image as it lays nicely over the panel while hanging over to the rest of the card. Though this is a very detailed stamp and would look beautiful colored, I like that it works well with ink blending. An emboss resist technique would be gorgeous also!!
If this is your first time visiting my blog, welcome and I hope you return. If you are a returning visitor, thank you so much for your support!
Should you have any questions or comments please leave them in the comments section. I'd love to hear from you and what you thought about today's card.
If you would like to be notified by email each time I post something new to my blog, you can click on the subscribe button at the top of the page. *Be sure to verify your subscription through the email link to activate. There is also a follow button that you can click on located below my profile if you would like to follow my blog.
Thank you for visiting and I hope you come back soon!
Happy Stamping and God bless!!
Jeannie
I love this.
ReplyDelete