Hello, welcome to my blog!!
I want to start out by thanking everyone for the support and nice comments you all leave for me. I truly appreciate the support of this blog!! I enjoy card making and bringing my creations to you, this wouldn't be possible without your support, so again, thank you!!
Today I have a very simple card using the emboss resist technique. I love the look of a clean card with a lot of white space. I decided to keep this card soft by using a light hand with my ink blending then adding a stacked white die cut for my focal image. For my ink blending I will be using inks from Gina K. Designs and blending on watercolor cardstock. I know this seems a bit strange to blend on watercolor cardstock but I find it gives a soft muted result and the texture is a bit forgiving with the blending. You could of course go darker with the ink blending but I wanted to keep my colors pale and love the results! I complete my card with a preprinted sentiment that goes perfectly with this card. Let's get started!!

I will be doing all of my work today on my Tim Holtz Glass Media Mat.
To start I cut a 4 1/4" x 5 1/2" panel out of Watercolor Cardstock using my Tim Holtz Guillotine Paper Trimmer. I then place the Script Bold Prints Background Stamp onto the door of my MISTI Stamp Positioner. Next, I add a little Adhesive Dot Runner onto the back of the panel and place it face down onto my background stamp making sure the script is lined up. I then close the base of my MISTI onto the door then flip the MISTI over and press down onto the stamp to adhere the panel to the base. Now when I open the door my panel is attached to the base and perfectly lined up with the stamp.


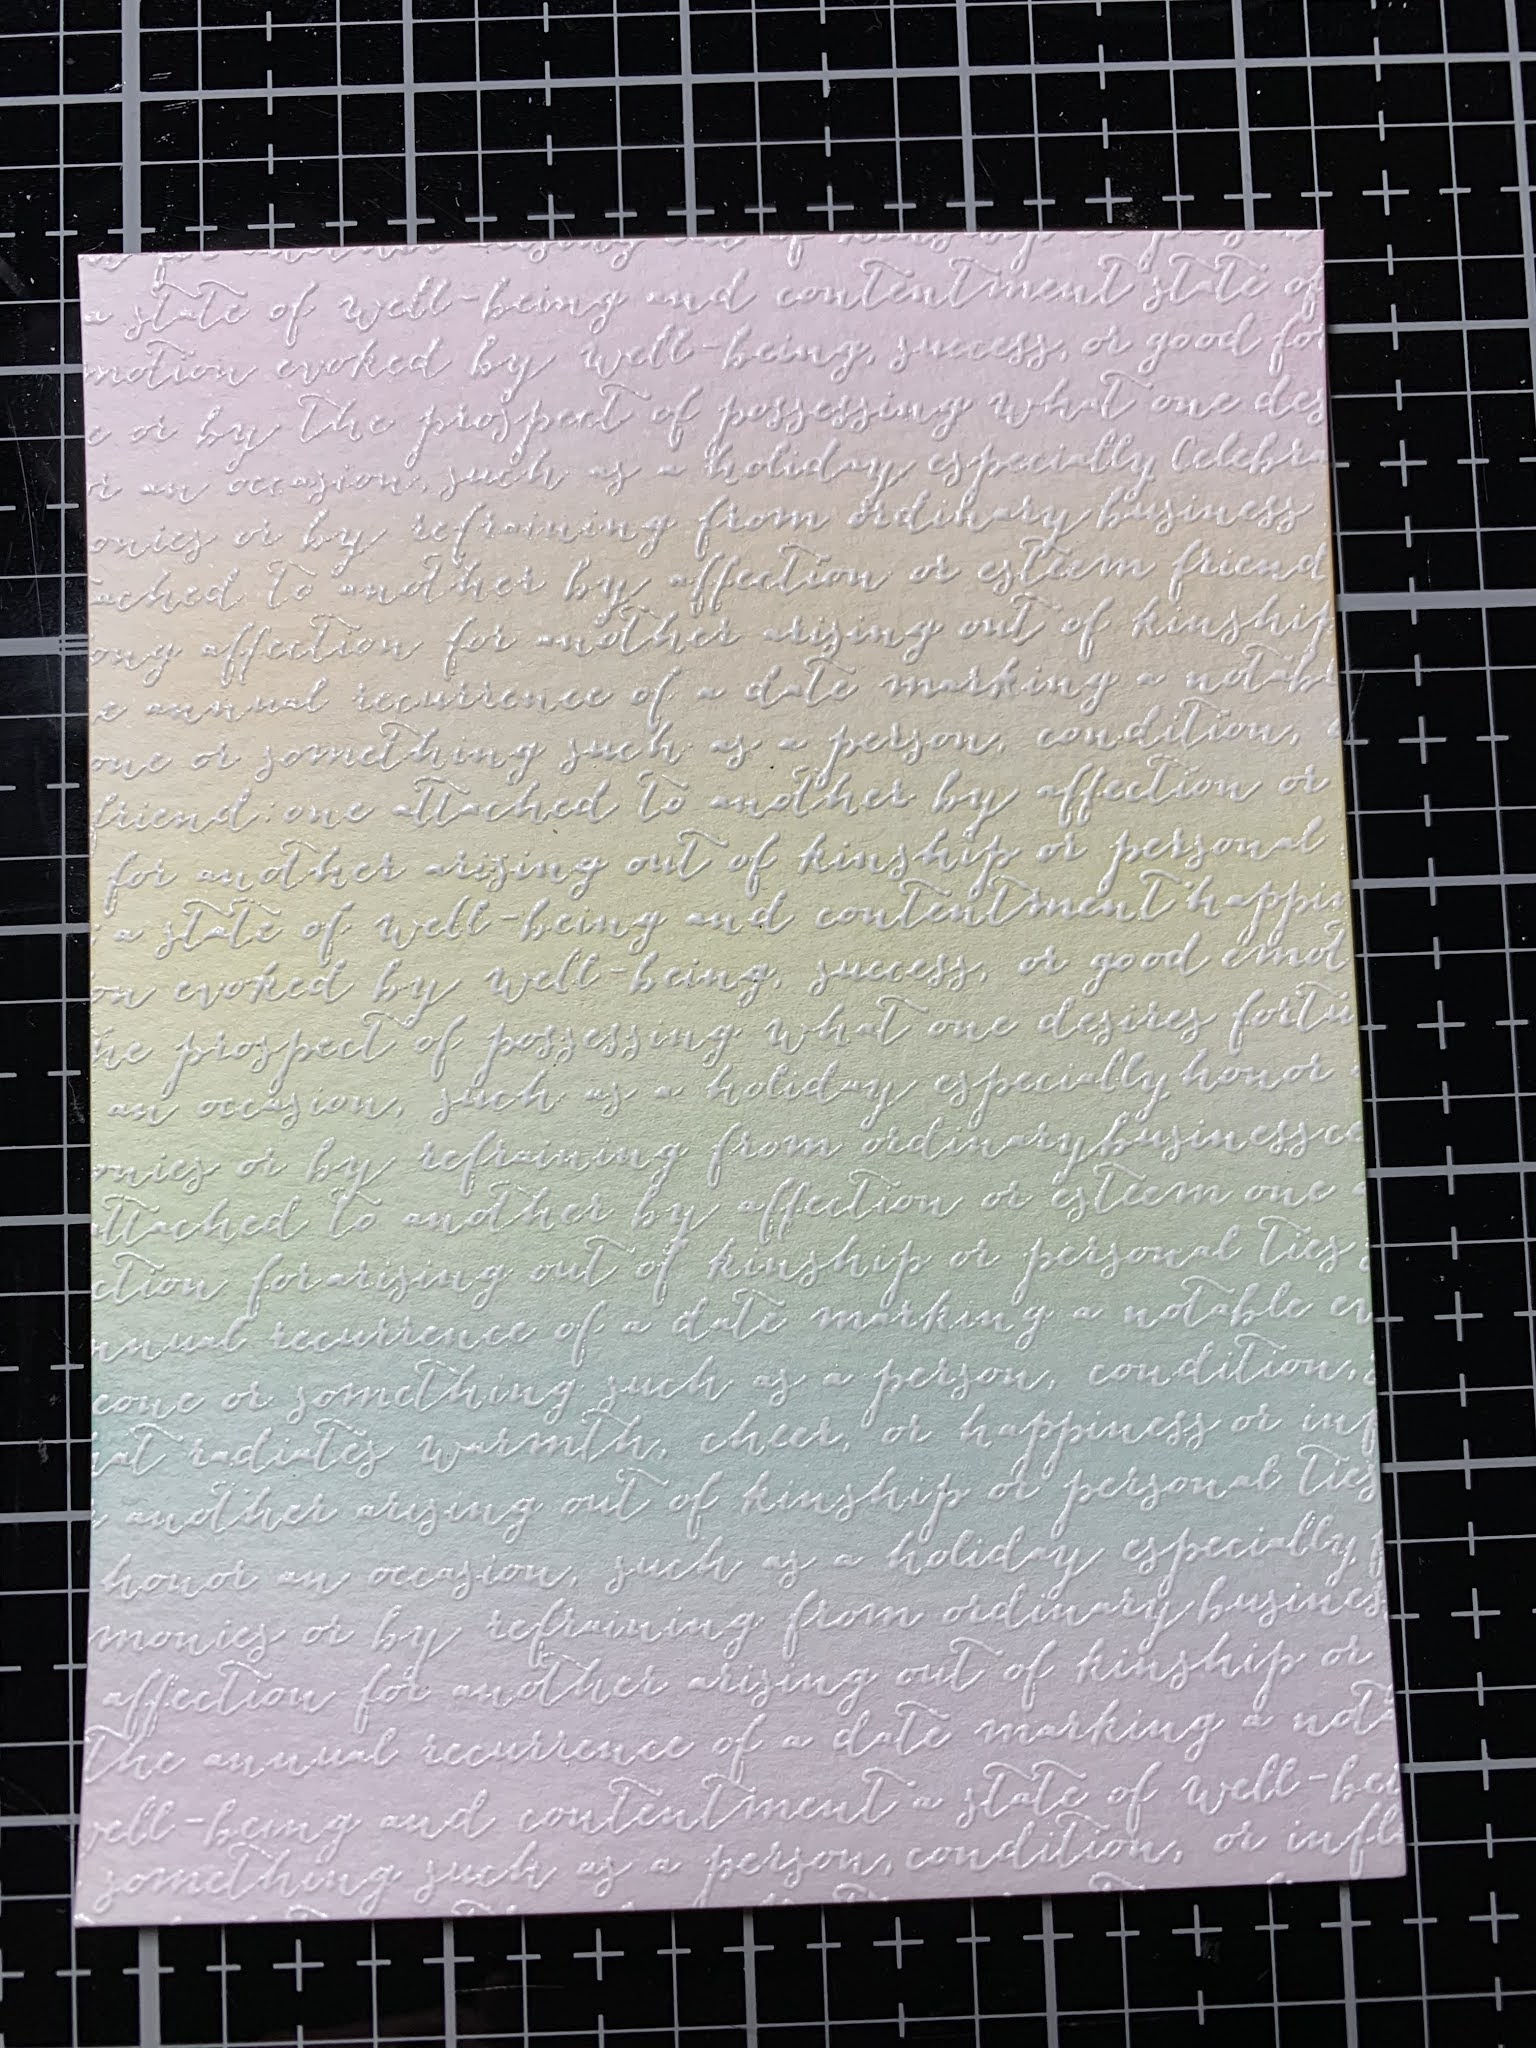
Next, I prep my panel with my Anti Static Powder Tool then ink up the stamp with Versamark Ink and stamp it onto my panel. Because this cardstock is textured I ink my stamp and stamp my panel two additional times. I add White Embossing Powder and heat set with my Heat Tool.

Using my Blending Brushes I start my blending with Bubble Gum Pink Ink across the top portion of my panel. Next, I blend Sweet Mango Ink just below the previous color and blend back into it a bit to create a soft blend. I then blend Lemon Drop Ink just below the previous color and blend back into it a bit.


Continuing my ink blending I blend Applemint Ink just below the previous color, blending back into a bit. I then blend Ocean Mist Ink just below the previous color and blend back into it a bit. For my final color I blend Lovely Lavender Ink across the bottom of my panel blending back into the previous color a bit. To finish, I go back through each color and blend what's left on the brushes softening the blend of each connecting color. I then take a soft cloth and buff off any ink sitting on the embossing.


Next, I take the large stitched rectangle die from my Master Layouts 2 Die Set and cut out of my panel, running them through my Big Shot Die Cut Machine.


For my focal image I take the Sunflower Stem Die and cut out of White Cardstock three times, running them through my Big Shot. I use my Craft Pick to remove all of the pieces then stack and glue the die cuts together using Liquid Glue. *When using intricate dies I place a Metal Adaptor Plate under the bottom cutting plate of my die cut machine.


I now add Liquid Glue to the back of my stacked die cut then adhere it onto my blended panel. I place a large acrylic block over the die cut for a couple of minutes while the glue sets then trim off the bottom of the stem making it flush with the panel.


For my card base I place a 5 1/2" x 8 1/2" piece of White Cardstock into my Scor Buddy and score it at 4 1/4" creating a side folding card base. I then trim a 3 1/4" x 4 1/2" piece of Fun Foam using my Guillotine Paper Trimmer and attach it to the back of my panel then onto the card base using Liquid Glue.


Now I choose a sentiment from the preprinted Sentiment Strips Fresh Bloom Set and trim it out to a thin strip using my Guillotine Paper Trimmer. Because I am going to mount this strip partially over my die cut I need to compensate for the area that will mount onto the panel. To do this I glue four thin strips of scrap cardstock to the back of my sentiment strip on the right side. I then add Liquid Glue to the back of the strip and mount it onto my card front. With the small added pieces of scrap cardstock to the right end, my strip now lays even across the die cut and panel.


To finish I use my Jewel Picker to add some Raindrops Mix with Liquid Glue and this completes my card.

I hope you enjoyed today's card. I love creating backgrounds with a simple die cut for the focal image. Stacking the die cuts really helps to make it stand out from the background. This is a great card to send to someone going through a difficult time with the rainbow colors representing brighter days are ahead. I am really loving these preprinted sentiment strips! The strips are of nice thick cardstock, there are so many different wordings for any occasion you could think of and they are available in black or white print. If you've never tried these, I highly recommend you do! I will be out the rest of the week as I will be heading out on my annual girls crafty weekend!! I will be back on Monday for a brand new release from Gina K. Designs!! Have a wonderful week!
If this is your first time visiting my blog, welcome and I hope you return. If you are a returning visitor, thank you so much for your support!
Should you have any questions or comments please leave them in the comments section. I'd love to hear from you and what you thought about today's card.
If you would like to be notified by email each time I post something new to my blog, you can click on the subscribe button at the top of the page. *Be sure to verify your subscription through the email link to activate. There is also a follow button that you can click on located below my profile if you would like to follow my blog.
Thank you for visiting and I hope you come back soon!
Happy Stamping and God bless!!
Jeannie
Beautiful card! I love the softness of the colours, they are so pretty.
ReplyDeleteThank you so much Vikki!!
DeleteI have just discovered your blog and I am so impressed. The Lord has obviously given you a talent. I particularly like the way you use such soft colors. I have signed up for your emails and can't wait to try some of your cards. This one is so lovely.
ReplyDeleteThank you so much Cathy for your kind words!! I feel truly blessed!
DeleteSaw one of your creations at Scrapmania in Cedar Rapids Iowa today. Love your work. Found your blog and Facebook page.
ReplyDeleteThank you so much for visiting my blog and your kind words! I have a more current blog that I now post my cards to. www.kampakreations.com - I love that you found me from my samples at Scrapmania <3
ReplyDelete