Hello, welcome to my blog!!
I want to start out by thanking everyone for the support and nice comments you all leave for me. I truly appreciate the support of this blog!! I enjoy card making and bringing my creations to you, this wouldn't be possible without your support, so again, thank you!!!
Today I have a simple ombre ink blended background with some beautiful Paper Glaze from Picket Fence Studios. This is a beautiful pearlescent glaze that is so creamy and easy to use! The pearlescent look is so hard to capture pictures, it is stunning in real life! I will be using Distress Oxide inks for my ink blending and adding an elegant greeting die from Altenew. Let's get started!!

I will be doing all of my work today on my Tim Holtz Glass Media Mat.
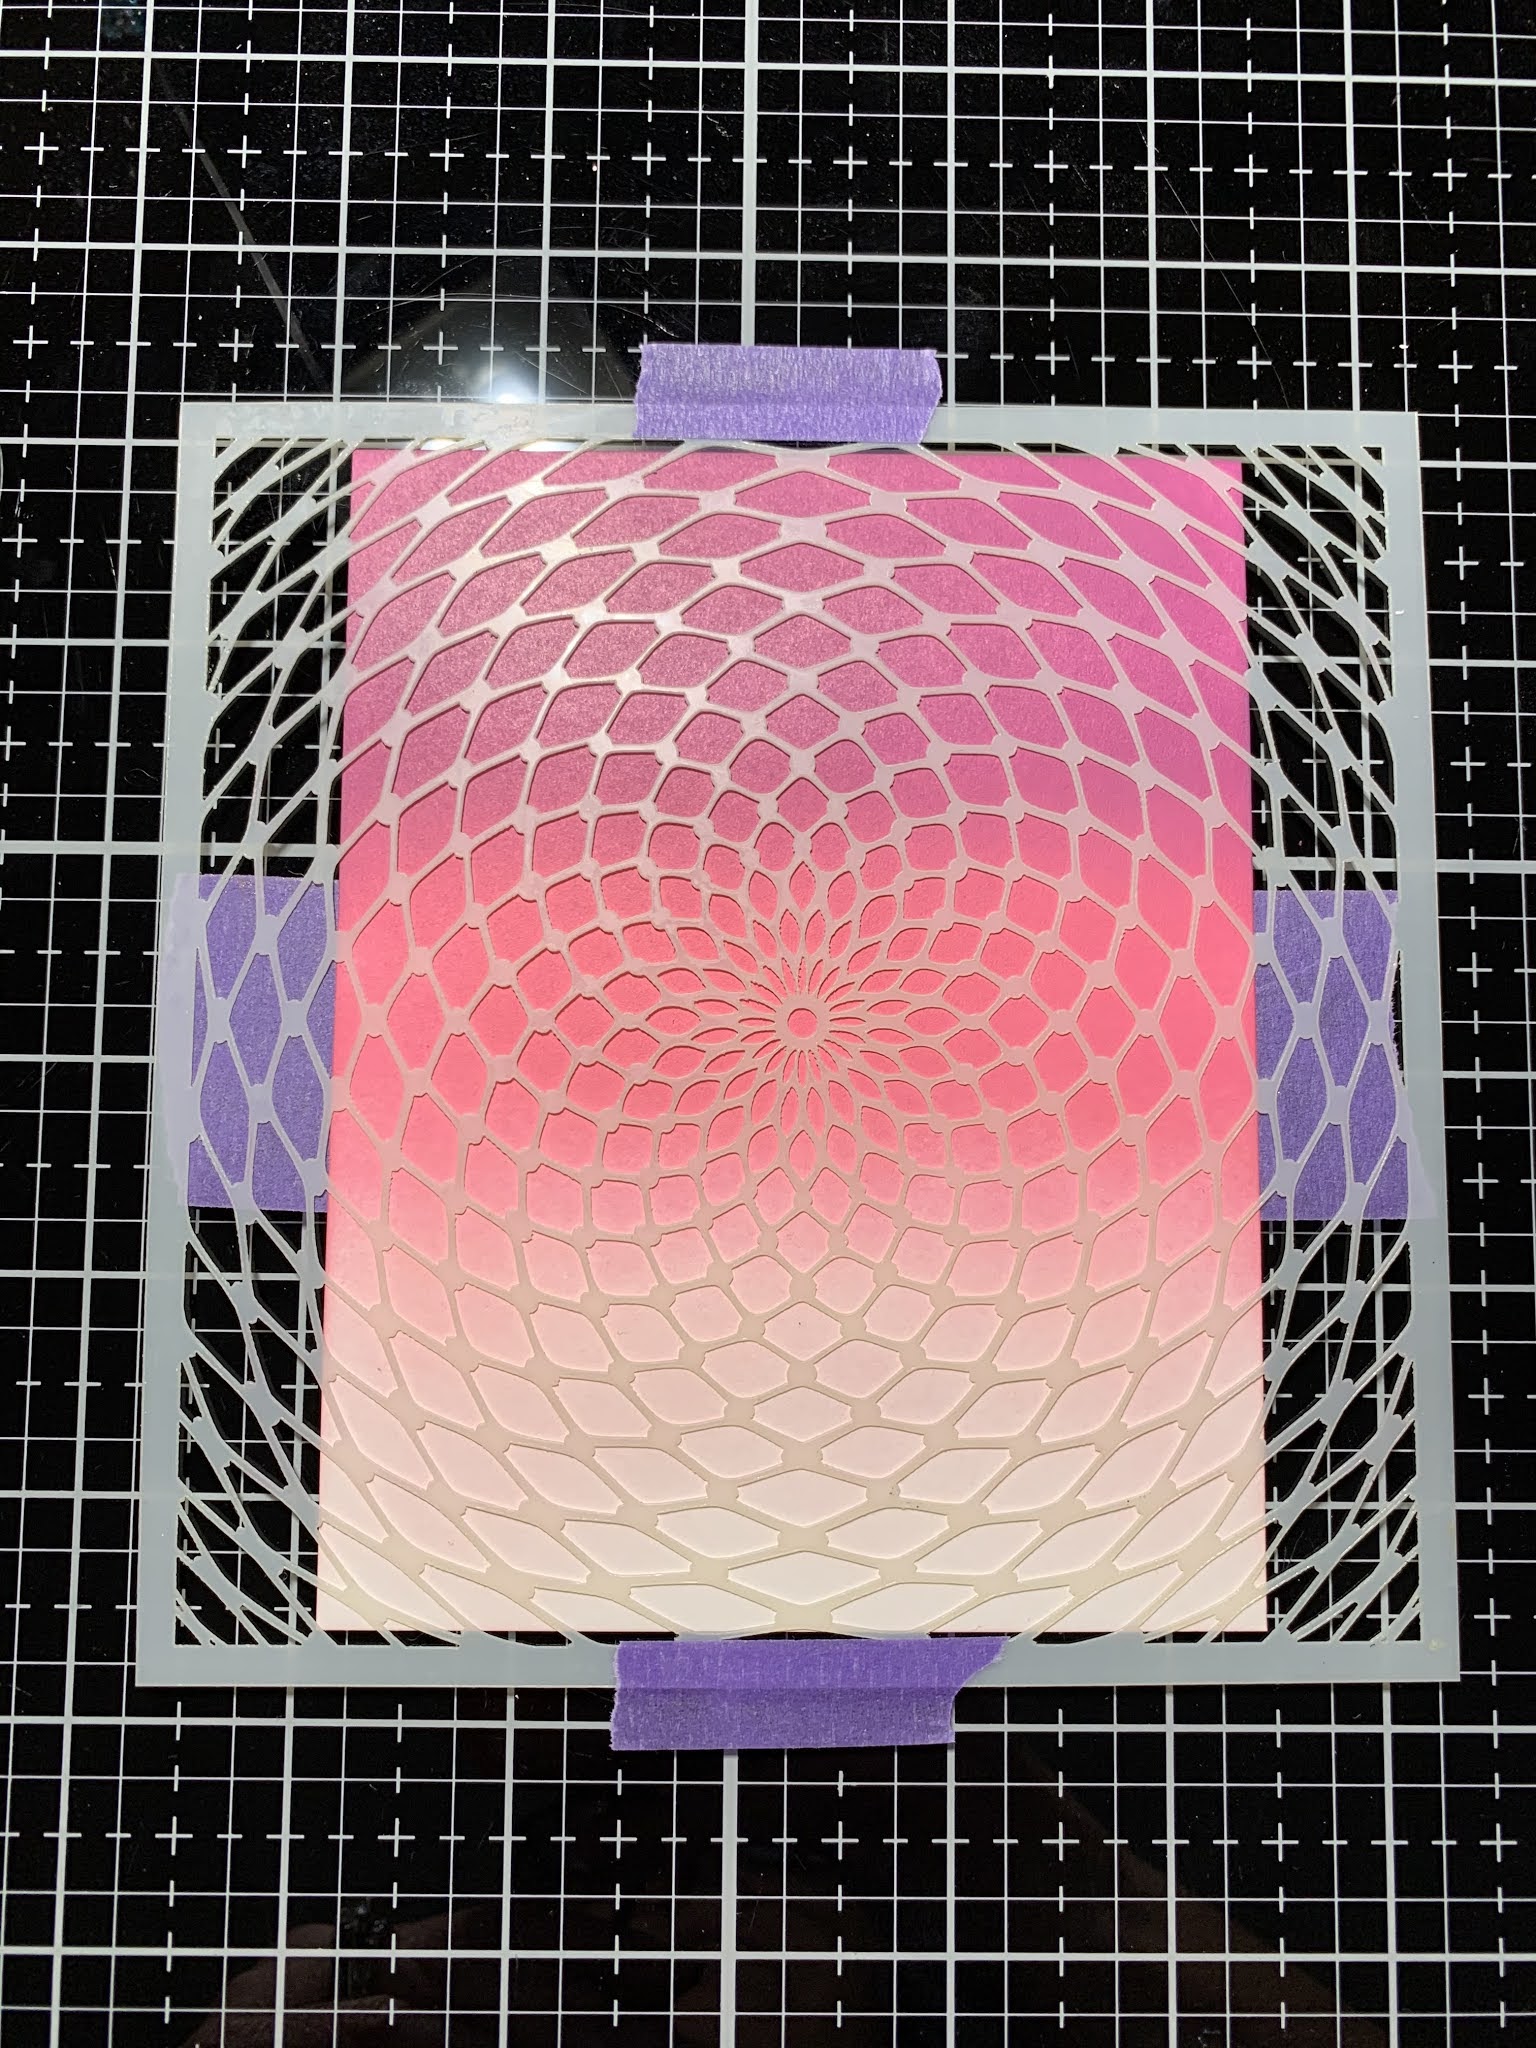
To start, I take a 4 1/4" x 5 1/2" White Cardstock panel and do some ink blending. I use my Blender Brushes and first blend Spun Sugar Distress Oxide Ink onto the top third of my panel. Next, I blend Picked Raspberry Distress Oxide Ink to the center of the panel blending back into the previous color and fade out a bit towards the bottom. For my third and final color I blend Seedless Preserves Distress Oxide Ink and blend back into the previous color. I then go back through each color and blend into each other a bit for a soft blend.


Next, I add Purple Tape on the backsides of the panel then place my Spiral Stencil over the panel and press down onto the tape. I add a couple more pieces of Purple Tape to hold down on my work surface.

Using a Palette Knife I add some Snowdrop Paper Glaze to the top of my panel. I then use my Stencil Pal to pull the glaze down the entire panel, adding more glaze as needed until my panel is evenly covered.


After the entire panel is covered with glaze I carefully remove the stencil from my panel and remove the tape. I then set the panel aside to dry for a couple of hours.


Taking my Fancy Thanks Die I cut out of Plum Punch Cardstock once and three times out of Black Cardstock, running them through my Big Shot Die Cut Machine. Using Liquid Glue I stack and glue the three black die cuts then glue the punch colored cardstock on top.


After my panel is completely dry I use my Tim Holtz Guillotine Paper Trimmer to trim off 1/4" on all four sides making my panel 3 3/4" x 5". To create a backdrop for my greeting I cut a 1 1/2" x 4 1/4" piece of Vellum with my Guillotine Paper Trimmer. Next, I add small amounts of Liquid Glue to the back of my stacked die cut then adhere to the center of my Vellum strip.


To adhere the Vellum onto my panel, I add Double Sided Tape to the ends of the vellum strip then add small dots of Liquid Glue to the back of the thicker areas of each letter of my greeting. Next, I center the greeting over my panel and hold down with an acrylic block until the glue sets. I then remove the release paper from the Double Sided Tape and wrap the ends of the vellum around the back of the panel.


Using Double Sided Tape I adhere my panel onto a 3 7/8" x 5 1/8" Black Cardstock Panel. To bring out the ink blending behind the glaze, I decided to create another ink blended panel using the same colors. This panel measures 4 1/4" x 5 1/2". I then use Double Sided Tape to adhere my glazed panel onto the new blended panel creating a blended look that runs throughout the design and all four edges.


Next, I place a thin strip of Black Cardstock into my MISTI Stamp Positioner and prep it with my Anti Static Powder Bag. I then stamp a sentiment from the Million Thanks Stamp Set using Versamark Ink, add White Embossing Powder and heat set with my Heat Tool.


I trim off the ends of my sentiment strip, then using Liquid Glue I add thin black cardstock strips to the back except for the very right end. I then add Liquid Glue to the stacked pieces as well as the right end and mount under my greeting. *The reason I didn't add the stacked strips to the entire sentiment strip is that the right end is going to lay across part of the greeting die cut. Adding the stacked strips to the rest of the sentiment allows it to lay flat.


To finish, I use Double Sided Tape to adhere my panel onto a white side folding card base. Using my Jewel Picker I add some Water Droplets with Liquid Glue and this completes my card.

I hope you enjoyed today's card. The Paper Glazed I used has such a beautiful pearlized look to it that is so hard to capture in a picture, you will just have to trust me! This glaze would look great using any stencil for any type of occasion. The clean up is easy also, just remember to wash your stencil off with warm soapy water right away so it doesn't dry. If you are unable to wash it right away just have a container filled with soapy water for it to soak in until you can properly wash it. I hope everyone has a nice relaxing weekend, I will be getting all of my Christmas baking done. Come back on Monday for another fun card project!
If this is your first time visiting my blog, welcome and I hope you return. If you are a returning visitor, thank you so much for your support!
Should you have any questions or comments please leave them in the comments section. I'd love to hear from you and what you thought about today's card.
If you would like to be notified by email each time I post something new to my blog, you can click on the subscribe button at the top of the page. *Be sure to verify your subscription through the email link to activate. There is also a follow button that you can click on located below my profile if you would like to follow my blog.
Thank you for visiting and I hope you come back soon!
Happy Stamping and God bless!!
Jeannie
Comments
Post a Comment