Hello, welcome to my blog!!
I want to start out by thanking everyone for the support and nice comments you all leave for me. I truly appreciate the support of this blog!! I enjoy card making and bringing my creations to you, this wouldn't be possible without your support, so again, thank you!! *Affiliate links are used at no additional cost to you. When you purchase products through my links I receive a small commission from these sales, which helps me to purchase new products for the cards I share on my blog. Thank you so much for your support, it is greatly appreciated!!
Today I have created a card with some products that I haven't used before. First is the scallop circle die that comes with two sizes of scallop circle that both cut double circle frames. These frames can be used singly together to form a double scallop. Second is the very popular perfect sentiments stamps and die. The stamp set is one large stamp that is used to created 11 sentiments at once! The die (sold separately) lines up and cuts all of the sentiments out at once. This is a great way to create many sentiments in one inking to have on hand for future cards! I will be using Oxide Inks to do some watercoloring for my focal image. I chose an image that has sort of a circular formation to it that pairs beautifully with the scallop circle die. I use a lot of die stacking to create beautiful dimension that makes things really stand out on the card. Let's get started!!

I will be doing all of my work today on my Tim Holtz Glass Media Mat.
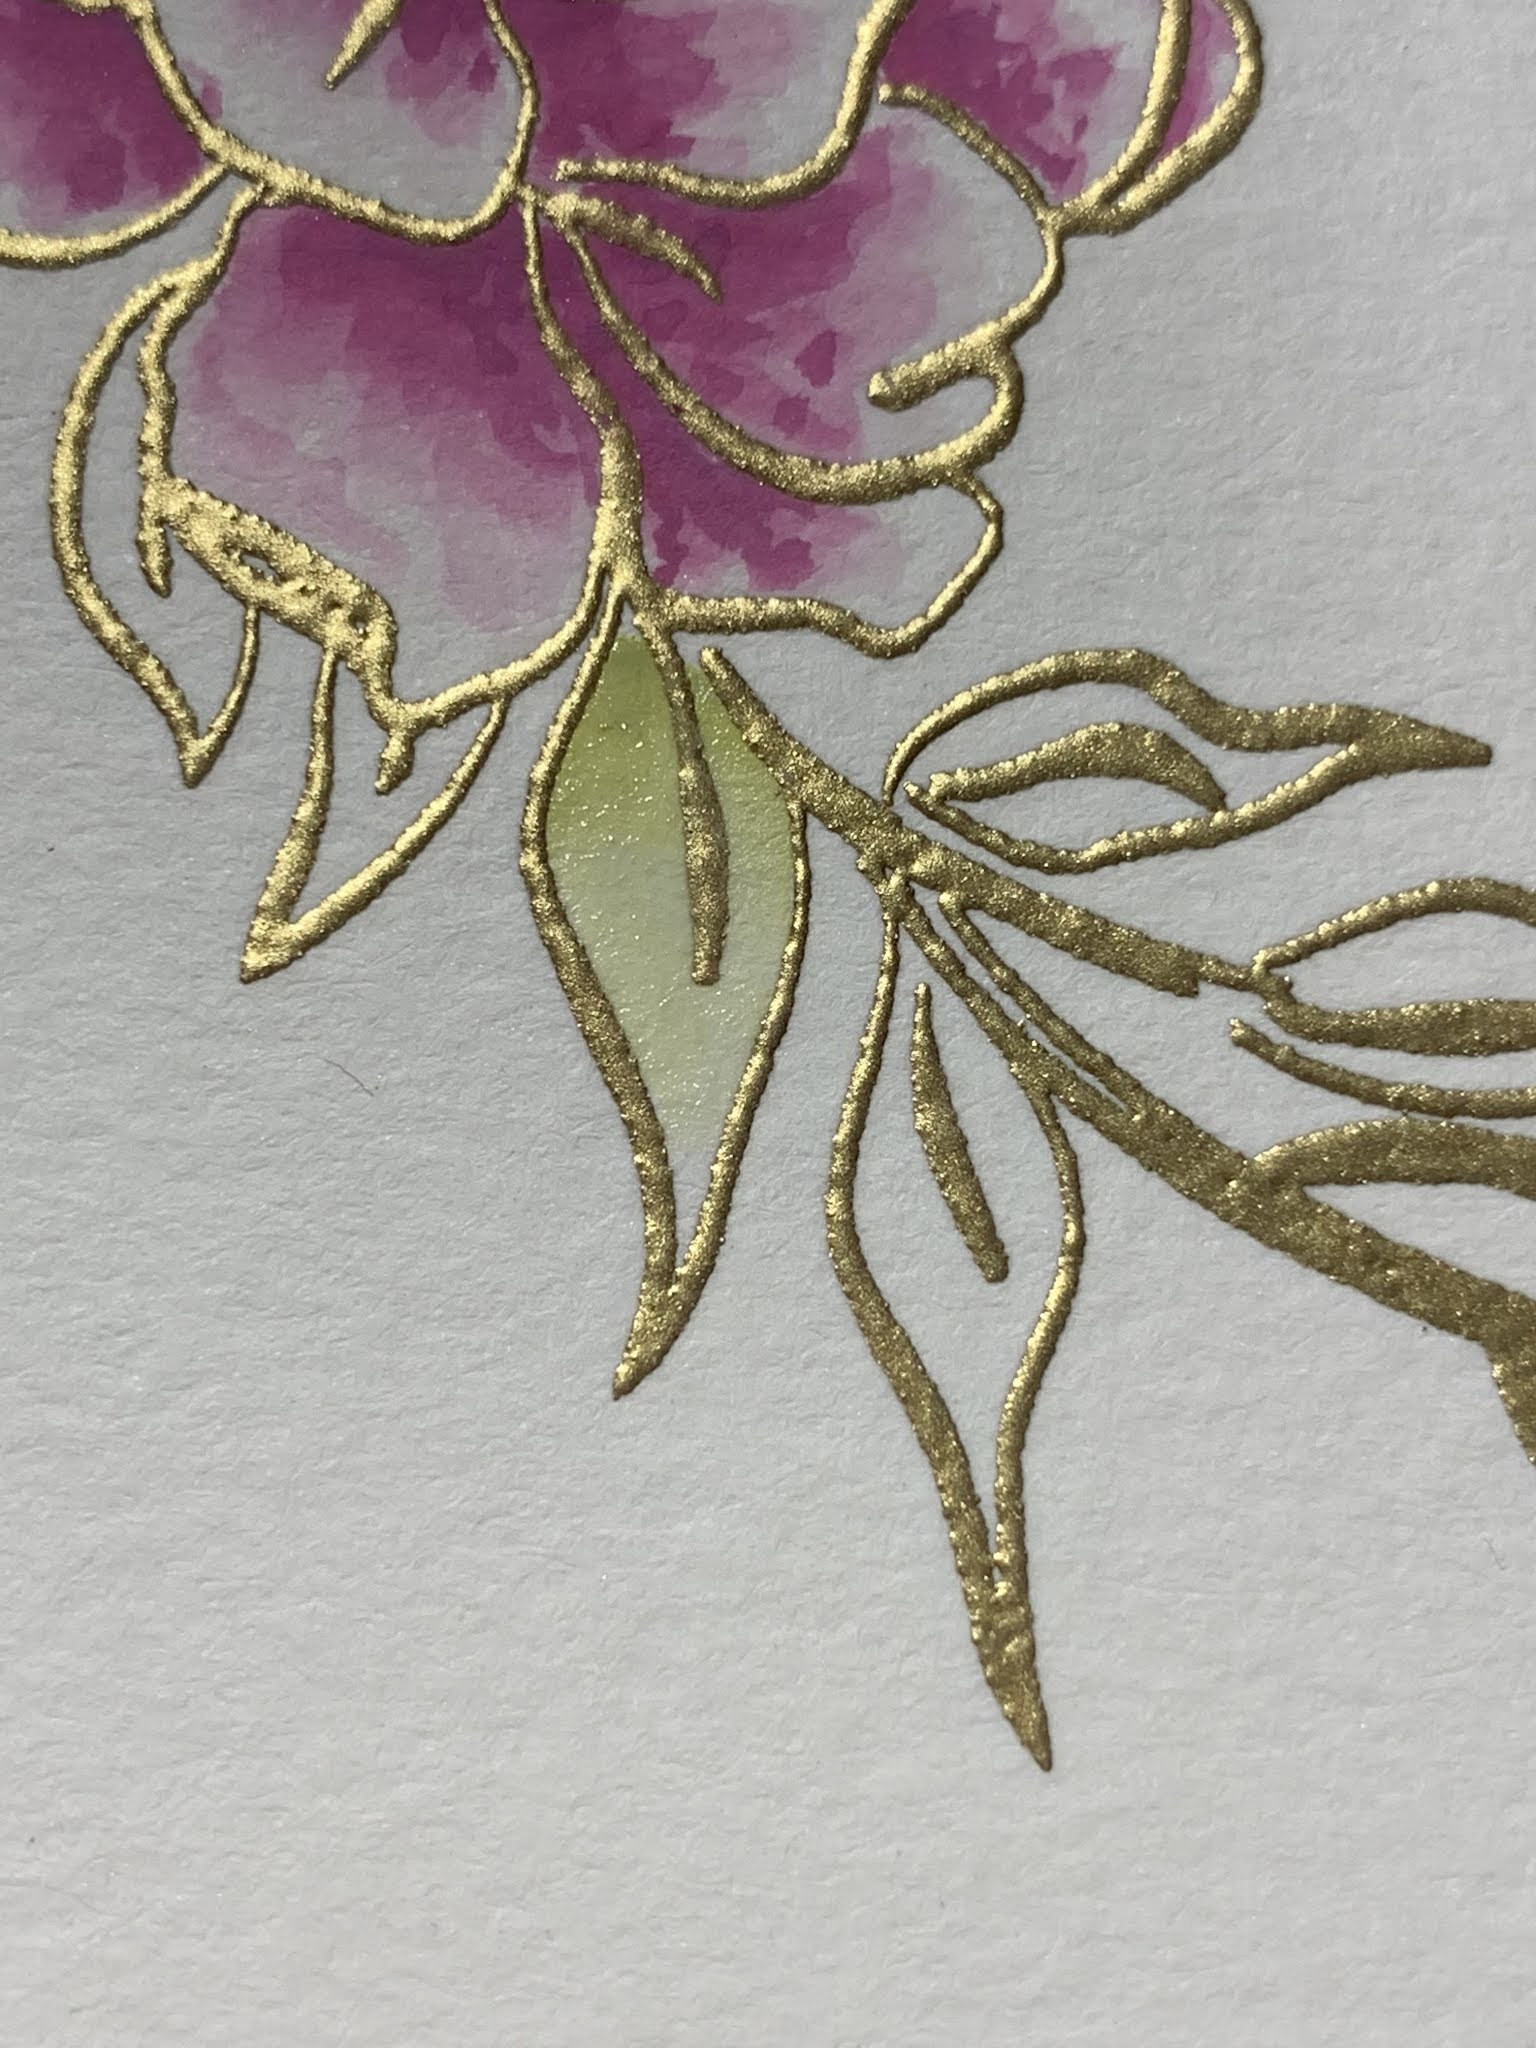
To start I place a piece of Watercolor Cardstock into my MISTI Stamp Positioner and prep it with my Anti Static Powder Tool. I then choose an image from the Precious Peony Stamp Set and stamp it onto the panel using Versamark Ink. I then add Gold Embossing Powder and heat set it with my Heat Tool.


Next, I press some ink onto my Glass Mat that I will use to watercolor my stamped image, I will use this as my palette. Using my Water Brush filled with clean water I first wet the area I will be coloring. I then use the Water Brush to pick up some Milled Lavender Distress Oxide Ink from the Glass Mat and add it to the base of the petal. I use the Water Brush to pull the color out towards the end of the petal, leaving the tip of each petal white. I then move on to the other petals using the same process until all petals are colored.


To darken the color a little and add more layers I again use my Water Brush to wet the petal a bit then pick up the same Milled Lavender Distress Oxide Ink and add it to the base of the petal. I then blend the ink out towards the end but not out as far as the first layer. I repeat this process with the remaining petals.


Next, I add a small amount of Seedless Preserves Distress Oxide Ink to the base of the petal using my Water Brush and blend it out, keeping the color closer to the base of the petal. I repeat this process with the remaining petals.


Using the same Seedless Preserves Distress Oxide Ink, I add another layer with my Water Brush this time concentrating the color at the very base of each petal. I like to tap the color with my Water Brush a little to some of the areas adding a little texture and variation to the petals. I repeat the process to color in the other flower and buds.


I follow the same process to color in the leaves, first adding Shabby Shutters Distress Oxide Ink followed by Peeled Paint Distress Oxide Ink with my Water Brush until all leaves are painted.


Taking the coordinating die from the Precious Peony Die Set I cut out my watercolored image, running them through my Big Shot Die Cut Machine. I also use this die to cut out of White Cardstock and adhere my watercolored die cut to it using Liquid Glue to add some dimension to it.


Next, I work on my background. I cut a 4 1/4" x 5 1/2" panel out of White Cardstock using my Guillotine Paper Trimmer and place it onto my Make Art Stay-tion. I then place the Harvest Flourish Stencil over the top of the panel and secure it in place with the magnets over each corner. Using my Blending Brush I blend Shabby Shutters Distress Ink over the stencil, fading the ink out towards the edges of the panel. I then adhere the panel onto a white side folding card base using Liquid Glue and set it aside.


Using my Blending Brush I blend Milled Lavender Distress Ink over a piece of White Cardstock in a circular pattern. I then take the largest die from the Stitched Scallop Circle Die Set and cut out of my blended panel and twice out of White Cardstock, running them through my Big Shot.


Next, I stack and glue the white die cuts together using Liquid Glue making sure the scallop edges line up. I then adhere the outside lavender scallop die cut onto the stacked white die cut, then glue the inner scallop die cut into the center using Liquid Glue making sure all scallop edges line up.


Using Liquid Glue I center and mount the scallop die cut onto the front of my card. I then add Liquid Glue to the back of my watercolored die cut and adhere it onto the left side of the scallop die cut.


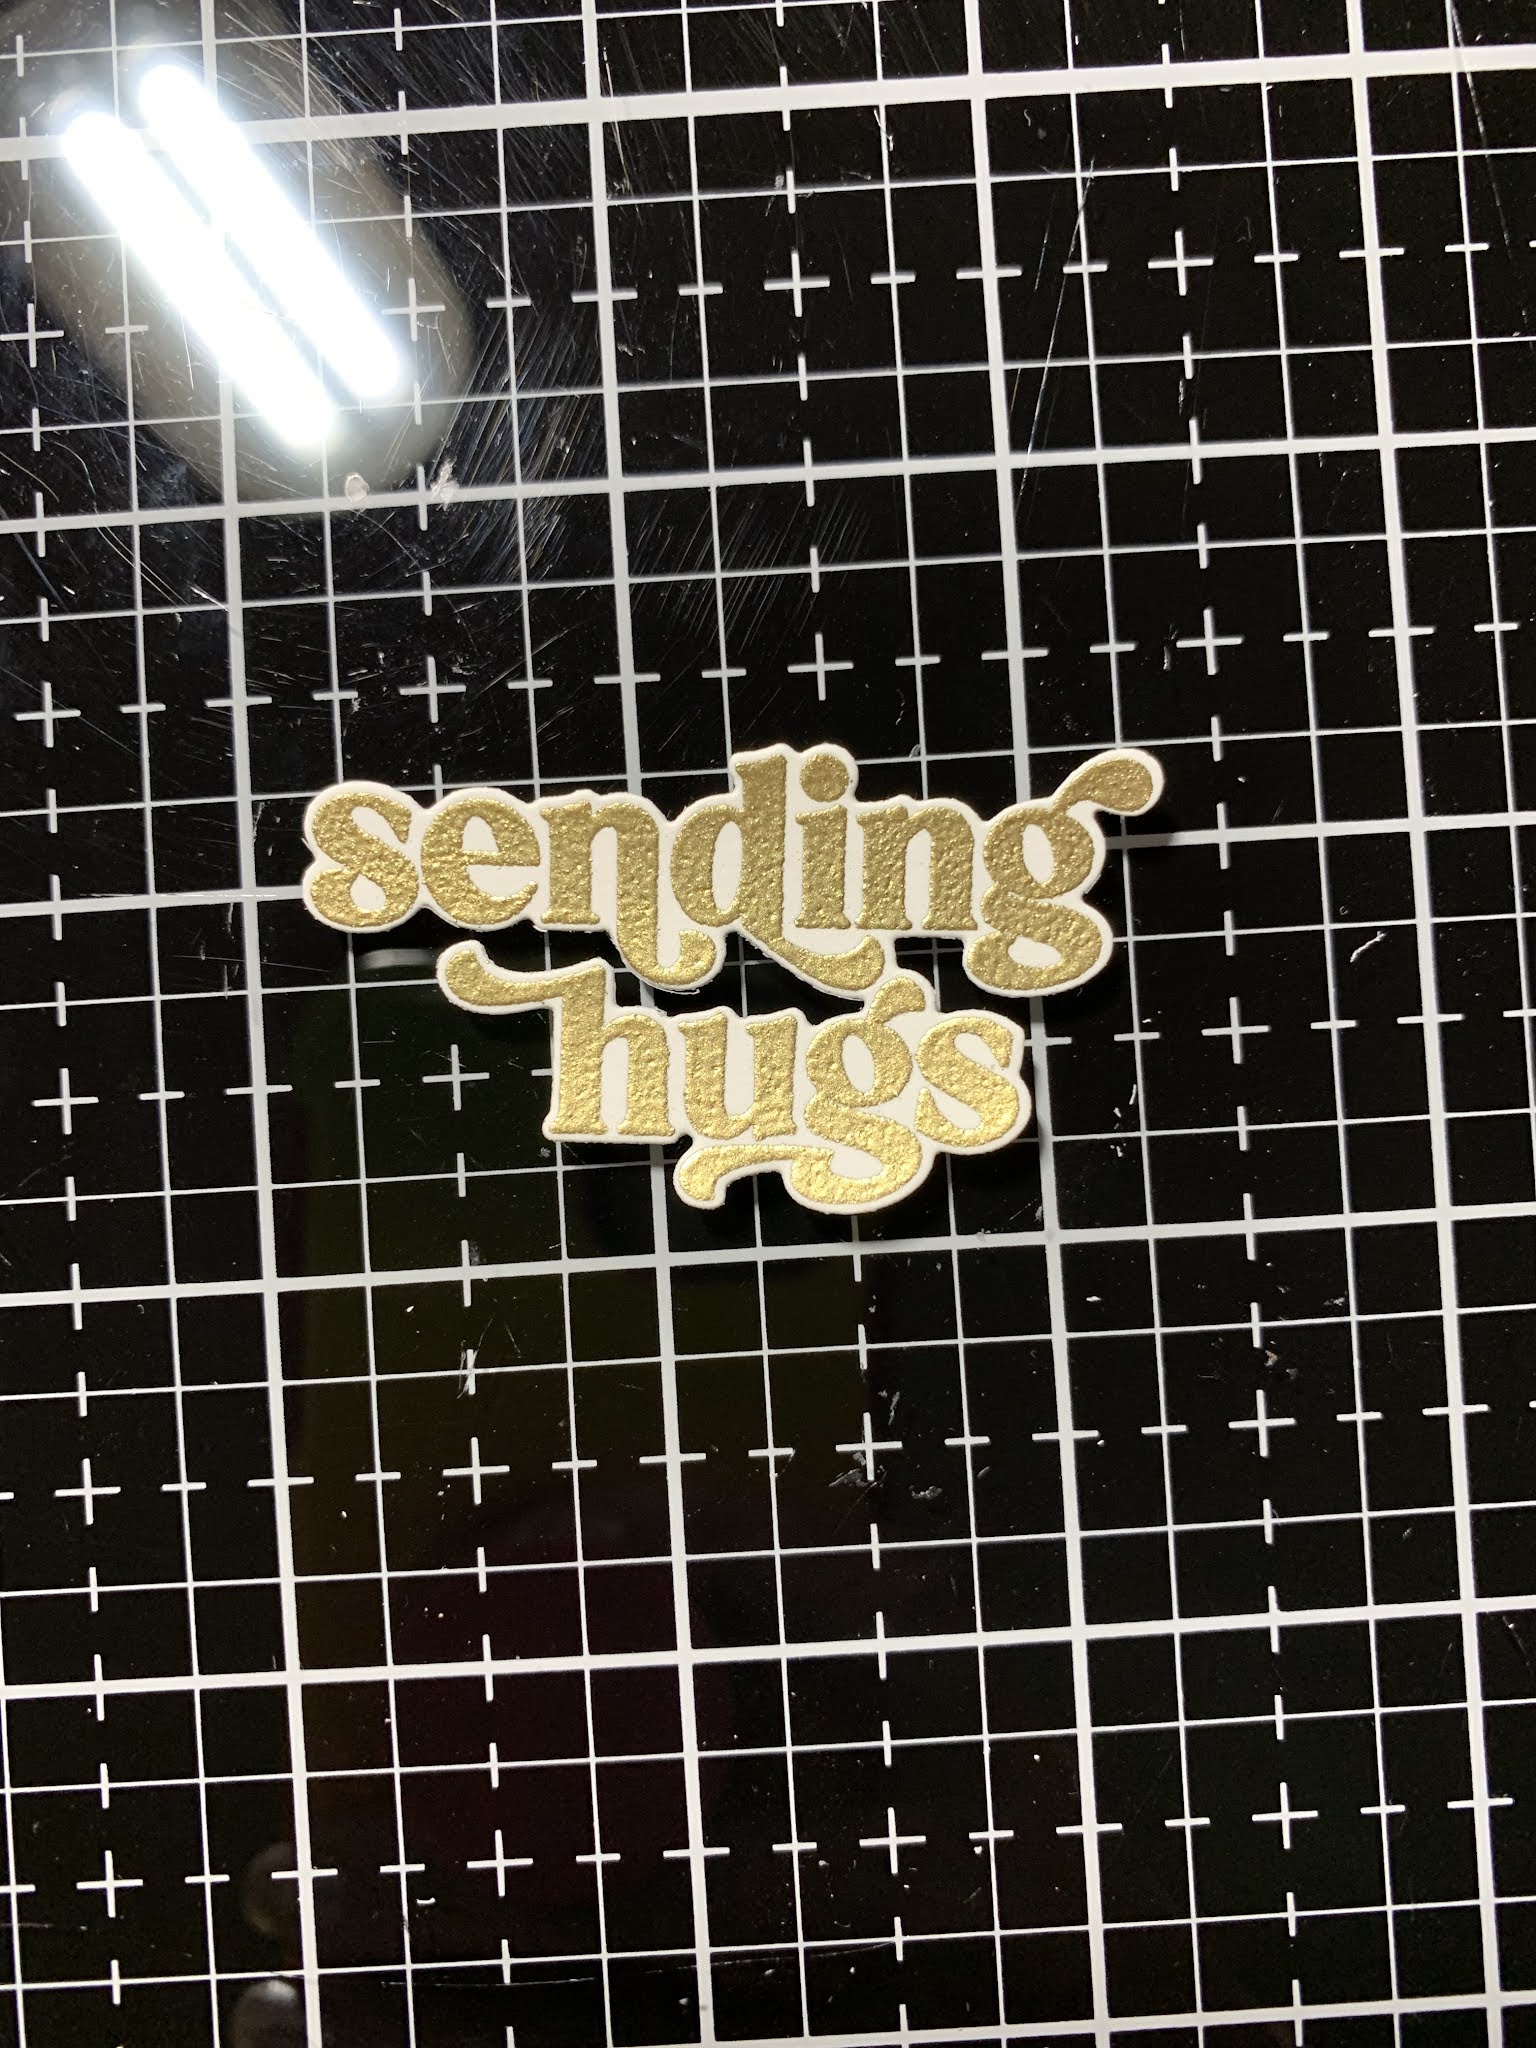
For my sentiment I place a 5 1/2" x 8 1/2" piece of White Cardstock into my MISTI and prep it with my Anti Static Powder Tool. Next, I stamp the panel with the Perfect Sentiments Stamp using Versamark Ink. I then add Gold Embossing Powder and heat set it with my Heat Tool.


Next, I line up the Perfect Sentiments Die over the stamped images and run them through my Big Shot. I now have eleven different sentiments with one pass through my die cut machine!


Using the same die I cut out of White Cardstock three times, running them through my Big Shot. I choose the sentiment "sending hugs" and stack and glue the coordinating white die cuts together then glue the embossed sentiment on top using Liquid Glue. I add Liquid Glue to the back of the stacked die cut and adhere it to the front of my card nestling it down in between the flowers and frame.


To finish I trim off the overhanging flowers on the edge of the card then use my Jewel Picker to add some White Pearls with Liquid Glue and this completes my card.

I hope you enjoyed today's card. Though I used products from multiple companies I love how they all coordinated together! The image was the perfect size and layout to wrap around the scallop frame. I'm really loving these sentiments... they can be made all at once and be stored for future use on other cards. The stencil I used is a great all around stencil that can be used to create soft subtle backgrounds for any occasion!
If this is your first time visiting my blog, welcome and I hope you return. If you are a returning visitor, thank you so much for your support!
Should you have any questions or comments please leave them in the comments section. I'd love to hear from you and what you thought about today's card.
If you would like to be notified by email each time I post something new to my blog, you can click on the subscribe button at the top of the page. *Be sure to verify your subscription through the email link to activate. There is also a follow button that you can click on located below my profile if you would like to follow my blog.
Thank you for visiting and I hope you come back soon!
Happy Stamping and God Bless!!
Jeannie
What a lovely card! Thank you for all the details and photography.
ReplyDeleteThank you so much Jo!!
DeleteSuch a beautiful card. You have inspired me to try watercolouring with my Distress Oxides. Thank you so much for all the details and the pics that you provided. You are so talented and I always enjoy your creations. Thanks for sharing!!
ReplyDeleteThank you so much for your kind words Sheree! Please do give it a try, you will amaze yourself. =)
DeleteWhat a gorgeous card! Thank you for sharing all the steps. Watercoloring intimidates me but you have made me think that I could do this. Have a great day!
ReplyDeleteThank you so much!! Be sure to give it a try, I know you will love it!!
Delete