Hello, welcome to my blog!!
I want to start out by thanking everyone for the support and nice comments you all leave for me. I truly appreciate the support of this blog!! I enjoy card making and bringing my creations to you, this wouldn't be possible without your support, so again, thank you!!
Today I have another card made with the new kit from Gina K. Designs. I will be using the Lace Flowers Stamp Set from this kit. Gina has so many beautiful stamp sets from this newest release as well as a Brush Caddy Insert for her Blending Brush Caddy and a Glue Holder. The insert holds two additional blending brushes and has other compartments to hold glue tubes or other tools and fits snuggly inside the brush caddy to save on desktop space. I am really loving my blending brushes and caddy and am excited to add the insert and glue stand to my collection. All of the stamps, inks and cardstock used on today's card are from Gina K. Designs. Let's get started!!

I will be doing all of my work on my Tim Holtz Glass Media Mat.
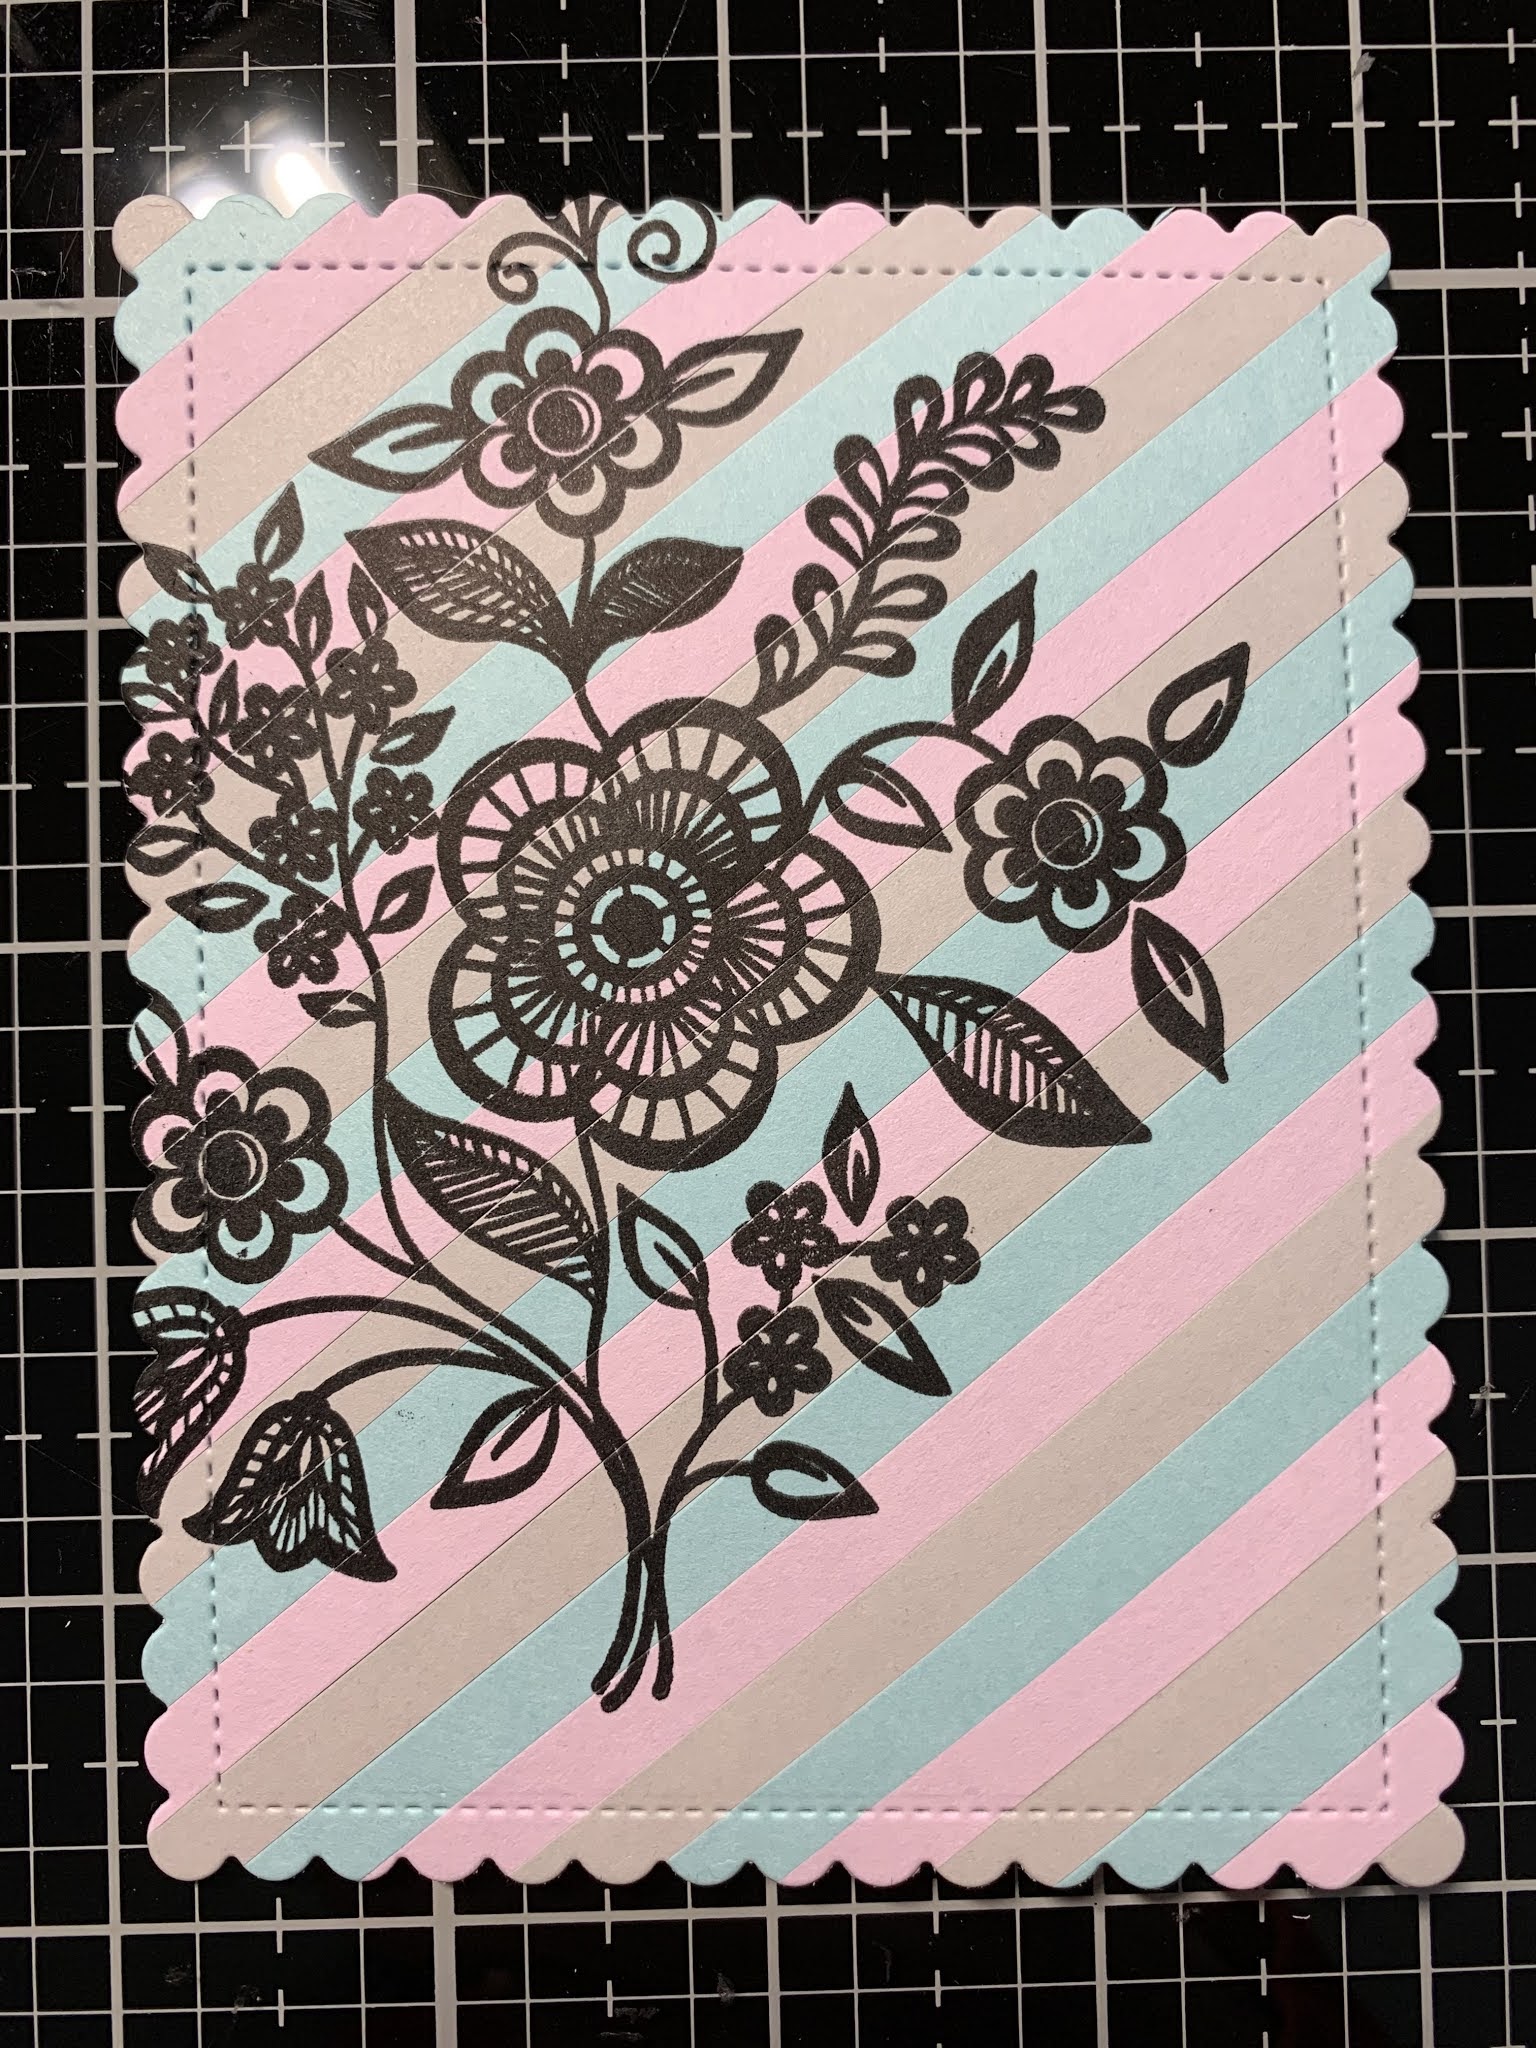
To start I use my Tim Holtz Guillotine Paper Trimmer and cut 1/4" x 5 1/2" strips from Ocean Mist Cardstock, Lovely Lavender Cardstock and Soft Stone Cardstock. I then cut a 4 1/4" x 5 1/2" panel from a piece of plain copy paper. Using Liquid Glue I adhere my first colored strip onto the copy paper panel at an angle. I then adhere the next two colored strip onto the panel pressing each strip tightly up against the previous strip. *The reason I use a piece of copy paper for my base is that I will be die cutting this panel. The copy paper is thin and will allow me to easily die cut without adding bulk.


I continue to glue down alternating colored strips onto the panel until the panel is completely covered then trim off all the overhang. *I like using Liquid Glue to adhere my strips as it gives me time to push each strip together before the glue dries.


I then place the panel into my MISTI Stamp Positioner and place the large image from the Lace Flowers Stamp Set towards the left side of the panel overhanging a bit. Using Amalgam Obsidian Black Ink I stamp the image a couple of times to get a crisp image.


After allowing the ink to dry for several minutes I place the large scallop die from the Master Layouts 4 Die Set and hold in place using Mint Tape. I then run them through my Big Shot Die Cut Machine.

I now take the Birthday and Shadow Die and cut it out of Lovely Lavender Cardstock once and twice out of White Cardstock. I also use the coordinating shadow die from the kit and cut once out of White Cardstock, running them all through my Big Shot. Using Liquid Glue I stack and glue the die cuts together then glue onto the shadow die cut. *The reason I didn't die cut three times out of the lavender cardstock is because I ran out of this cardstock (boo!). However, using white cardstock to die cut from when stacking dies is a great way to save your colored cardstock!


Next, I place the panel back into my MISTI and use the birthday die cut to figure out my sentiment placement. I then choose a sentiment from the Lace Flowers Stamp Set and stamp my panel using Amalgam Obsidian Black Ink.


For my card base I place a piece of 5 1/2" x 8 1/2" White Cardstock into my Scor Buddy and score at 4 1/4" creating a side folding card base. I add Foam Tape to the back of my panel then mount it onto my card base.


Using my Jewel Picker I add Dazzling Diamond Rhinestones with Liquid Glue to the centers of the bigger flowers and this completes my card.

I hope you enjoyed today's card and learned another fun way to use the sets from Gina's new card kit. The images from this set are bold and perfect for stamping over many different backgrounds and would also be great to use for the emboss resist technique. Gina made a beautiful emboss resist card using this set on release night if you want to go back and check it out HERE the card making starts at the 1:19:54 mark. On this same video you can see the entire release with everything detailed by starting at the beginning if you want to check it out.
If this is your first time visiting my blog, welcome and I hope you return. If you are a returning visitor, thank you so much for your support!
Should you have any questions or comments please leave them in the comments section. I'd love to hear from you and what you thought about today's card.
If you would like to be notified by email each time I post something new to my blog, you can click on the subscribe button at the top of the page. *Be sure to verify your subscription through the email link to activate. There is also a follow button that you can click on located below my profile if you would like to follow my blog.
Thank you for visiting and I hope you come back soon!
Happy Stamping and God bless!!
Jeannie
Comments
Post a Comment